Woodworking Plans for Beginners: Simple Table Plans and Which First Build to Pick
Woodworking plans for beginners: which simple projects make a good first build, what each one teaches and what to learn first, from a free chair to a table.
The best woodworking plans for beginners share a few traits: a short list of ordinary boards, joints that forgive small mistakes, no special machines and a result that is useful the day it is finished. Simple woodworking table plans fit that description well, as do a chair, a bench and a compost bin. This guide explains which of our plans suit a first build and why, what each one teaches you, and what to learn before you start.
All of our plans are generic DIY plans, not engineered drawings. Beginners should read the safety notes in each one and treat the plan as a guide to build at their own risk and with common sense.
What makes a plan beginner-friendly
Before comparing projects, it helps to know what you are looking for.
- Standard lumber only. A beginner plan uses 2x4s, 2x6s and 1x4s from a home center, with no special milling.
- Forgiving joints. Screws, glue and pocket holes are easier than cut joinery.
- A cut list. You should not have to work out the dimensions yourself.
- Numbered steps with drawings. One step, one picture.
- A useful finish. A project you will use is a project you will finish.
- Low risk if it goes wrong. A chair that wobbles is a lesson. A structure that falls is a problem. Start with the former.
The beginner shortlist
| Project | Why it suits a first build | What it teaches | Materials estimate |
|---|---|---|---|
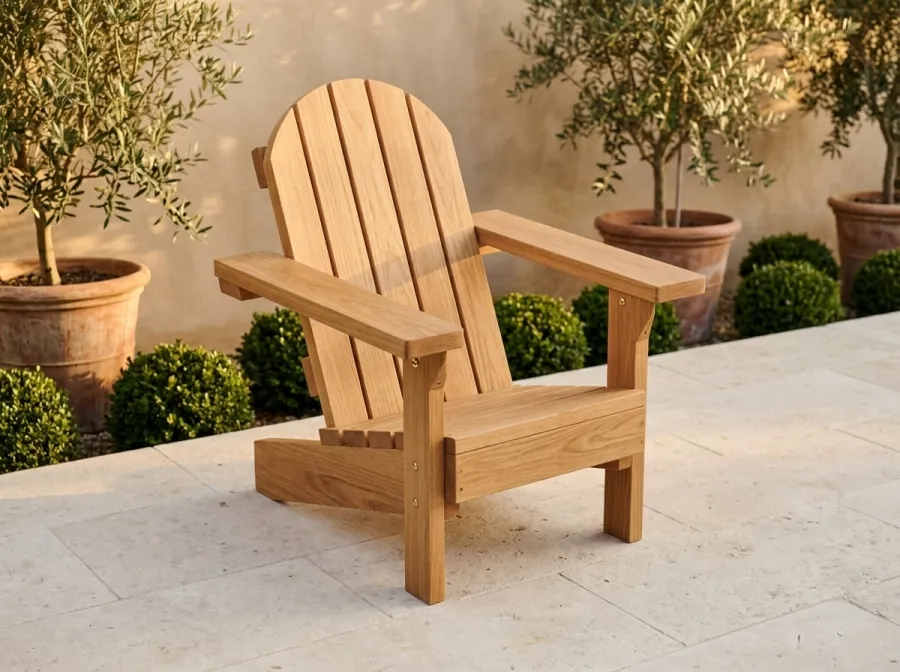
| Adirondack chair (free plan) | Lumber is 2x4 and 2x6 only, 22 pieces, full-size templates | Cutting from templates, angles, sanding | about $100 to $140 |
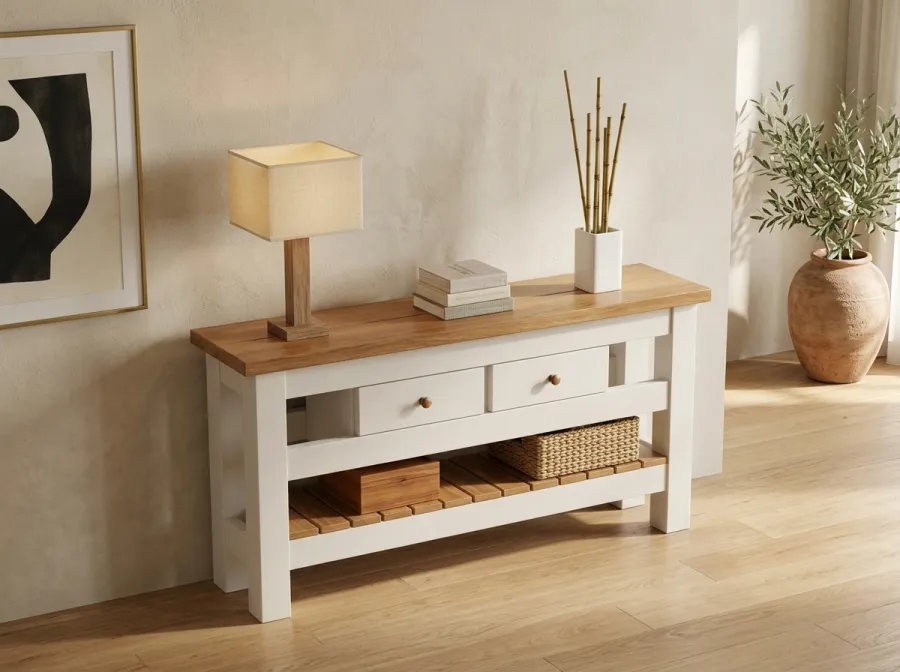
| Console table | Small, uses a short board list, one clear path | Squaring a frame, pocket holes, finishing | about $140 to $200 for the 60 in |
| Compost bin | Slats and posts, forgiving tolerances | Layout, repetition, outdoor lumber | about $140 to $200 for the single bin |
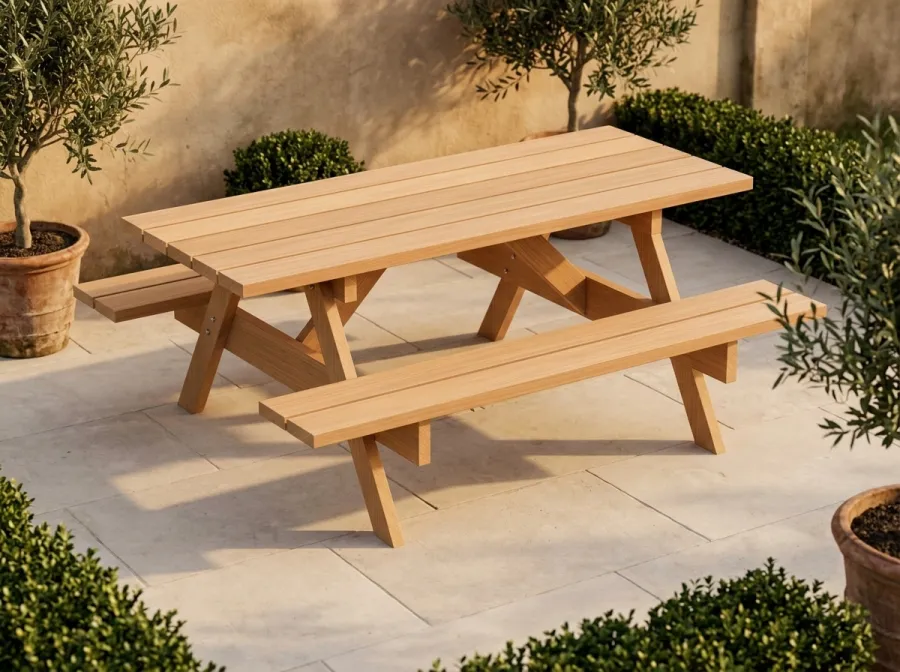
| Picnic table | Bolted joints, no fine fitting | Working with thicker lumber, bolts, bracing | about $150 to $220 for the 6 ft classic |
| Workbench | Basic framing, plywood top | Square cuts, solid assembly, a tool you will use again | about $220 to $320 for the 6 ft bench |
Estimates come from the plans’ materials lists at typical US home-center prices. They vary by region and cover materials only, not tools. Our build cost page explains how they are put together.
1. The Adirondack chair: the free first build
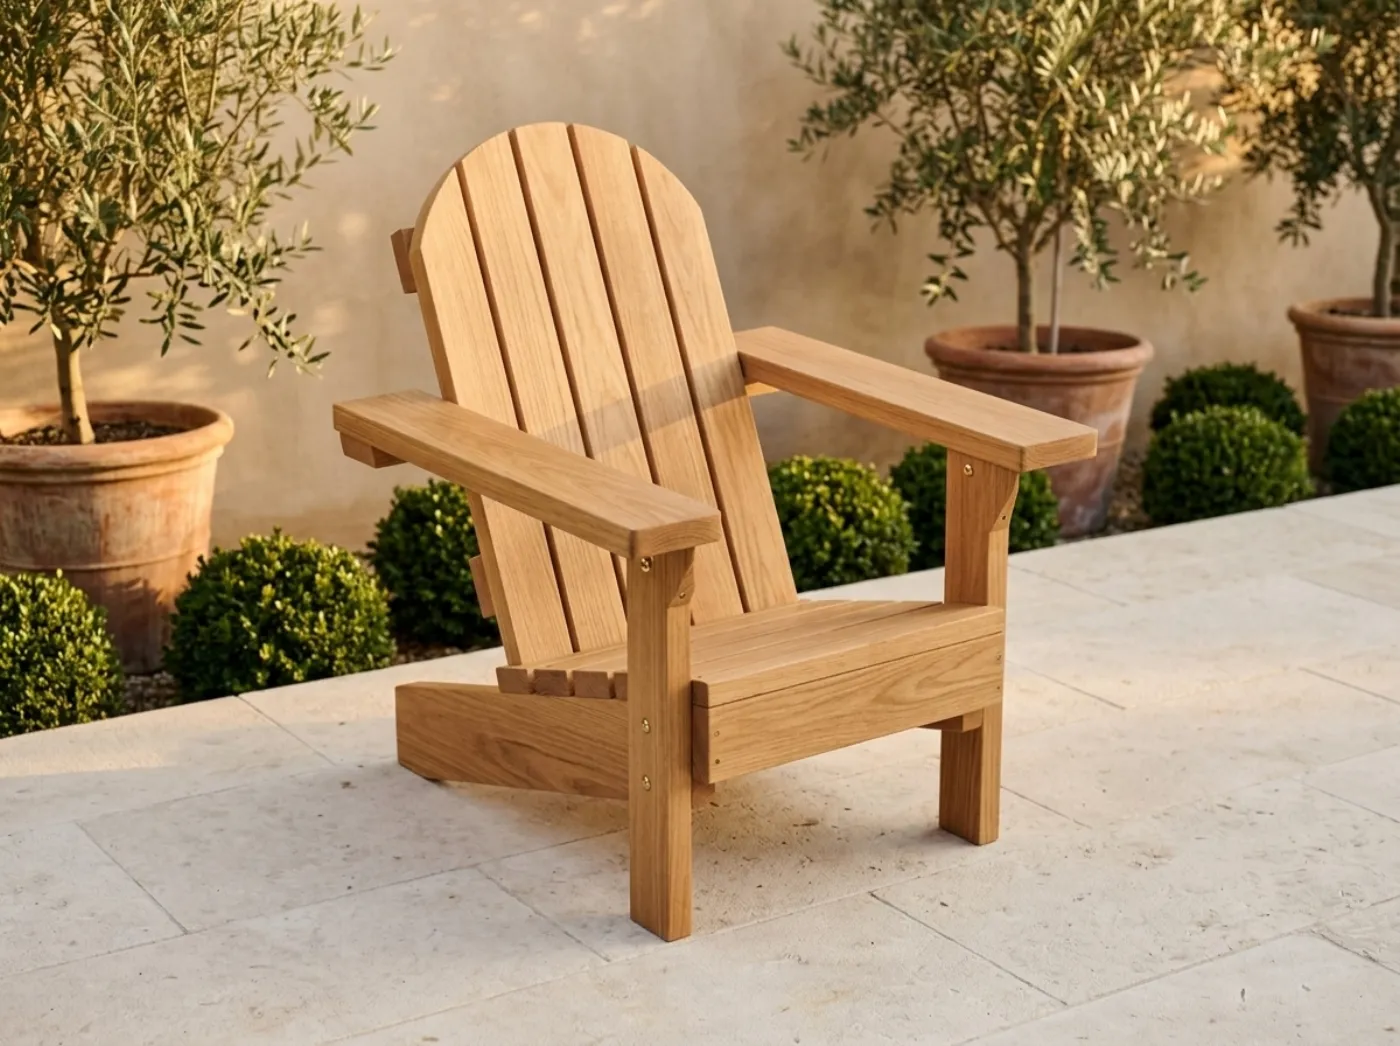
If you are not sure you will enjoy woodworking, start where it costs nothing. The Classic Adirondack plan is the free one, and it is a very good first project. The chair is about 31 in wide over the arms, 2 ft 9 in deep and 3 ft 2 in tall, with a seat 14-1/2 in high at the front sloping 15 degrees and a back leaning 24 degrees. It is 22 pieces from 2x4 and 2x6 lumber: two 2x6 stringers, five seat slats, five back slats cut on one smooth arch, two wide 2x6 arms with corbels, a front apron and rails hidden behind the back.
The plan includes four full-size template pages for the armrest front end, the outer back slat top, the inner back slat tops and the stringer rear end with angle gauges, each with a 1 in test square. That test square matters: print the page, measure the square, and you know the printer did not scale it.
What you learn: how to trace a template onto a board, how to cut a curve with a jigsaw, how to fasten with exterior screws and how to sand a project until it feels good. If you want to see how the chair compares with a teak original, read our Adirondack chair article.
A jigsaw and a set of exterior deck screws are the only tools beyond a drill and a saw.
2. The console table: the best simple table plan
For people who want to build furniture for the house, the Farmhouse Console plan is the best simple woodworking table plan we offer. It is a table with four square 4x4 legs, 2x4 aprons on edge, a slatted 1x4 shelf, 2x2 cleats and a top of two 2x8 boards. The 48, 60 and 72 in versions are 14-1/2 in deep and 30 in tall, and there is a narrow hallway version.
A console is the right size for a beginner. You can carry it, there are no moving parts, and every joint is visible, so you learn from it. The plan uses glue and pocket screws, and plain screws also work. It also teaches a lesson that applies to every piece of furniture you will ever build: squaring a frame by measuring diagonals.
What you learn: measuring and cutting repeatedly to the same length, pocket-hole joinery, flattening and sanding a top, applying a finish. For the how-to in order, see how to build a console table from scratch. The plan is $9.99.
3. The compost bin: a forgiving outdoor project
A compost bin is a slatted box on posts, so it tolerates small errors that would show up on a table. The Cedar Composter plans give a three-bin system (10 ft 11 in by 3 ft 4-1/2 in, three bays of 36 x 36 x 35 in, about 26 cu ft each) and a single bin 3 ft 10 in wide. It is built from 4x4 posts and 2x4 slats, and the front slats lift out for turning the pile.
What you learn: working with outdoor lumber, setting posts plumb, repeating a simple cut and spacing slats evenly. If it comes out a little rustic, it still works.
4. The picnic table: bolts and bracing
The Long Table Picnic Set includes a classic A-frame table in 6 ft, 8 ft and kids sizes, among other builds. A picnic table uses thicker lumber and carriage bolts, and it teaches how a structure resists racking with diagonal braces. It is heavier, so you might want a helper to move it. Choose the kids 4 ft version if you want the smallest first build.
What you learn: drilling accurate bolt holes, bracing and working at a bigger scale. Every member is checked against a stated load in outdoor wet-service values, and the plan states honestly that it is a generic DIY plan, not engineered, with the loads it assumes written on sheet A.
5. The workbench: a project that pays you back
The Workbench and Tool Wall plans include a 6 ft and an 8 ft 2x4 garage workbench, a mobile miter saw station and a French cleat tool wall. The workbench is basic 2x4 framing with a plywood top. It is a good second or third project, because a flat, solid bench makes every later project easier.
What you learn: square, repeatable cuts, strong frames and sensible plywood handling. The plan’s materials estimate for the 6 ft bench is about $220 to $320.
What to learn first
Before you pick up a saw, spend a little time on these fundamentals. They matter more than any particular project.
- Read the plan all the way through. Read the whole thing, including the safety sheets and the cut list, before you buy lumber. See how to read woodworking plans and cut lists.
- Measure twice, cut once, and mark the waste side. Draw an X on the offcut side of every line.
- Choose straight boards. Sight down each one. A bowed board will fight you at every step.
- Make square cuts. A speed square and a sharp blade are all you need. A crooked cut becomes a crooked joint.
- Pre-drill and countersink. It prevents splitting and gives a clean finish.
- Clamp before you fasten. Two clamps are worth more than a third hand.
- Sand in stages. Work up through the grits, and ease every sharp edge.
- Finish in thin coats. Wipe off the dust between coats, and be patient.
A starter tool list
| Tool | What it does |
|---|---|
| Drill and driver | Holes and screws |
| Circular saw or miter saw | Straight cuts |
| Speed square and tape measure | Layout |
| Clamps | Holding work |
| Sander | Smoothing |
| Eye and hearing protection, dust mask | Safety |
A speed square is the cheapest tool that improves your accuracy the most, and a combination safety glasses and ear protection set belongs in the first purchase. For the full list, see tools for your first furniture build.
Safety basics for beginners
- Wear eye and hearing protection every time a saw is running, and a dust mask when sanding or cutting plywood.
- Clamp your work and keep both hands behind the blade.
- Unplug or remove the battery before changing a blade or bit.
- Keep your work area tidy, and wear closed shoes.
- Anchor tall or narrow furniture to the wall, especially anything a child could pull on. See anchoring tall furniture to the wall.
- Follow local rules for outdoor structures, and read each tool manual.
- Know your limits. If a step feels beyond you, stop and ask someone experienced.
Which one should you pick?
It depends on what you want to end up with.
| If you want | Start with |
|---|---|
| To try woodworking for nothing | The free Adirondack chair |
| A piece of furniture for the house | The console table |
| Something for the garden that forgives mistakes | The compost bin |
| A big outdoor project for the family | The picnic table |
| A tool that makes every later project easier | The workbench |
Many people build the chair, then the console, then the workbench, and each one raises the skill level a little. Our complete collection includes all of our plans for $129 if you plan to keep building.
Summary
The best woodworking plans for beginners use standard lumber, simple joints and a clear cut list, and produce something you will use. Start with the free Adirondack chair if you want a no-cost trial, or the console table if you want a simple table. Learn to read a plan, cut square, clamp and sand before you worry about anything fancy, and treat the safety notes as part of the build.