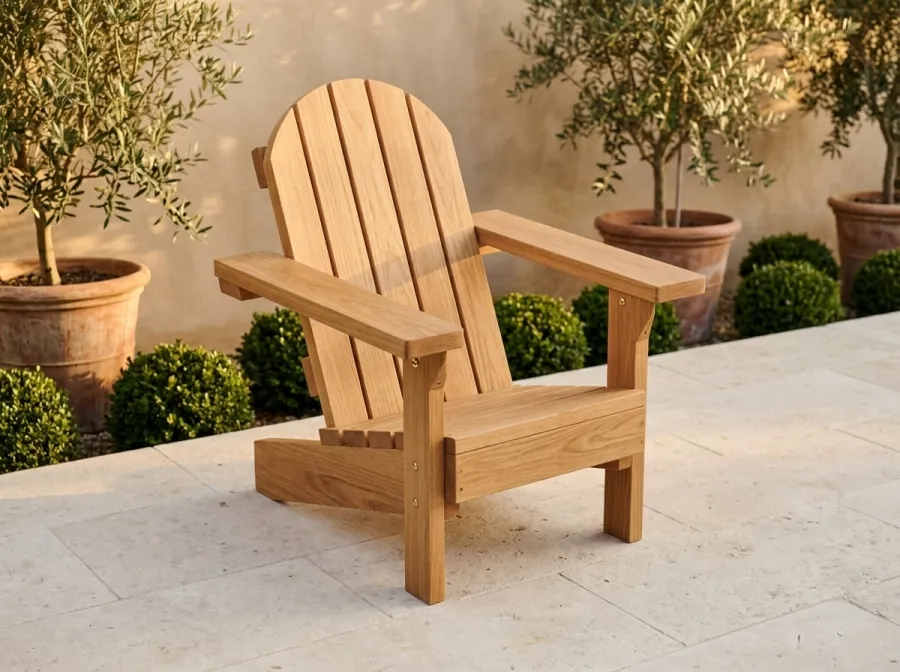
DIY Adirondack Chair vs Teak: What It Costs to Build Your Own
A classic Adirondack chair costs about $100 to $140 in materials to build, against $749 to $1,099 for comparable finished teak chairs. Here is the trade-off.
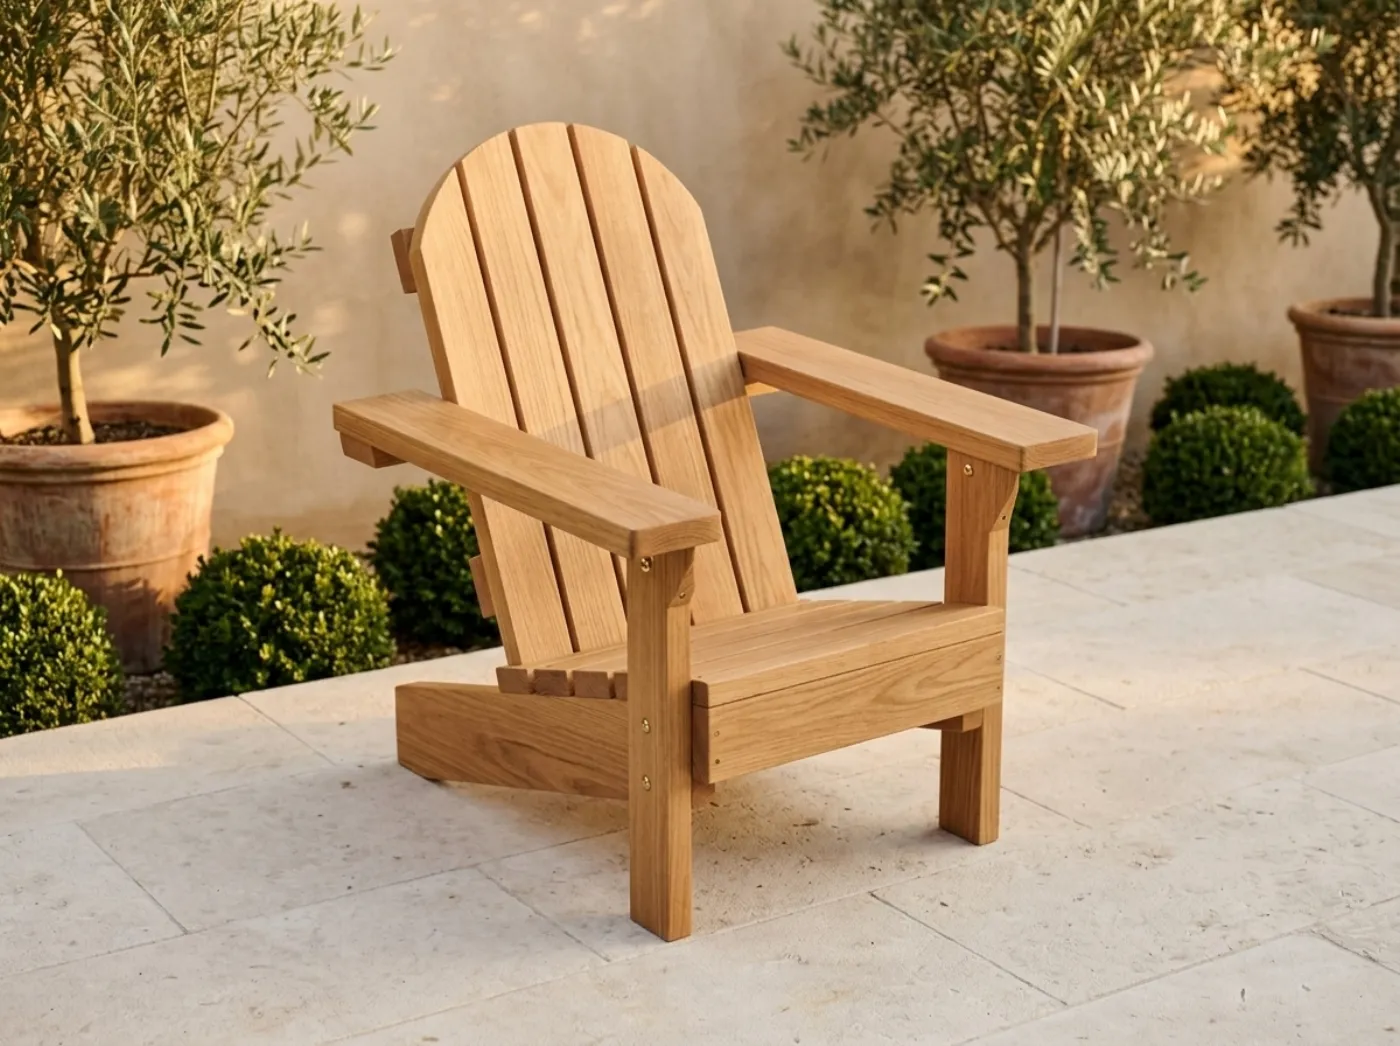
A classic wide-arm, reclined Adirondack chair costs about $121 in materials to build, with a realistic range of $100 to $140. Comparable finished teak Adirondack chairs, the kind sold through catalog retailers and showrooms, run about $749 to $1,099 each. That is a gap of roughly $600 to $1,000 per chair, which is large enough that a pair, or a set of four around a fire pit, changes the math completely.
The comparison needs care, though, because teak and painted pine are not the same material. Teak is a dense tropical hardwood that weathers well with little care. A chair built from ordinary 2x4 and 2x6 lumber is a different product, and the difference shows up over years of use. We will go through both sides.
Materials estimates here are at typical US home-center prices and vary by region.
The cost breakdown
Our Classic Adirondack plans call for 22 pieces cut from 2x4 and 2x6 lumber. Here is the estimate, rounded:
| Category | What is in it | Estimated cost |
|---|---|---|
| Lumber | Two 2x4 boards and one 2x6 board | $37 |
| Fasteners and glue | Exterior screws in two sizes, exterior wood glue | $29 |
| Finish | A quart of exterior primer and paint or penetrating oil, sandpaper | $55 |
| Total | about $121 |
Two things are worth noticing. First, lumber is only about 30 percent of the cost. Fasteners and finish together are more than twice the cost of the boards. Second, if you build more than one chair, the marginal cost drops, because you will not need to buy a second box of screws or a second quart of finish for every chair. Leftover screws and finish carry over, so the second chair is cheaper than the first, although the plans’ estimate prices each chair on its own.
The estimate also leaves out an optional bag of 3/8 in screw plugs, which you can add if you want hidden fasteners.
Build versus buy
What a finished teak chair gives you. Teak has natural oils and a dense grain that resist rot and insects. A finished teak chair can sit outside year after year with minimal care, and it weathers to a silver gray. It arrives assembled or nearly so, often with a warranty. For people who want a chair that will outlast a decade of weather without a maintenance routine, teak is a legitimate buy.
What a DIY chair gives you. A chair that is yours: your color, your finish, your size. It costs roughly one-sixth to one-ninth as much. You can build a pair for the price of a fraction of a single teak chair, and you can repaint or oil it when it needs it. For many households, a painted chair that gets a fresh coat every few years, and replaced slats if needed, is a very good outcome.
What you give up. Teak’s natural weather resistance, a warranty and a showroom finish. You also give up some time, and you take on upkeep.
The honest framing. If you compare a $121 chair to a $749 chair, you are not comparing two identical objects. You are comparing a project with annual care to a premium material with less care. The question is whether the difference in durability is worth $600 or more to you. For many people the answer is no, particularly for a second or third chair around a fire pit.
What moves the price
The wood you choose
The estimate assumes ordinary construction lumber at typical home-center prices, about $12 per 2x4 and $12.60 per 2x6 in the budget. That is the entry price. Choosing cedar or redwood, which resist decay better, raises the cost per board. Even if the lumber doubled, the chair would still cost far less than a teak one. If you choose pressure-treated stock, use outdoor-rated material, let it dry as the supplier advises, and finish it.
Finish
At $55, finish is the largest category. The plan lists exterior primer and paint, or a penetrating exterior oil or stain, as options. A good exterior stain or an exterior paint and primer will protect the chair far better than bare wood. Seal the end grain especially well, because water enters there. Four sheets of sandpaper in 80 and 150 grit are included; a random orbital sander saves time on the arms and back.
Screws
Exterior-rated screws prevent rust streaks. The plans specify coated or stainless steel. Stainless costs more but looks better over time. Look at stainless exterior screws #8 if the chair will see a lot of weather. Use exterior wood glue in joints.
Plugs and details
An optional 3/8 in wood plug set hides screw heads. A plug cutter lets you make plugs from your own offcuts.
The hard parts and how the plans handle them
Adirondack chairs look simple, but the angles are the part that makes them comfortable or not.
The geometry. The seat is 14-1/2 in high at the front, sloping 15 degrees, with the back leaning 24 degrees, a total of 99 degrees between seat and back. The chair is about 31 in wide over the arms, 2 ft 9 in deep and 3 ft 2 in tall. The plans give the geometry and angles on a dedicated sheet.
The curves. The back slats are cut on one smooth arch, and the arms are wide and rounded with corbels. The plans include four full-size template pages: armrest front end, outer back slat top, inner back slat tops and stringer rear end with angle gauges. Each has a 1 in test square so you can confirm your printer has not scaled the page. Print at 100 percent, check the square, and trace onto the wood. A jigsaw cuts the curves, and a flush trim router bit or sanding drum smooths them.
The stringers. Two 2x6 stringers slope down to the ground and carry the seat. Their rear ends are cut at an angle, and the plans include angle gauges to check your cut.
Strength. Every part is checked against a stated load in the plans, with a design basis and member schedule. These are generic DIY plans, not engineered drawings, so inspect the chair for loose joints and cracks before each season, and do not stand on it.
Safety and site
The plans include a Site permit and safety sheet. Place the chair on level ground, not on a slope or a wet deck edge, since a low reclined chair can tip if it is set on uneven footing. If you put chairs near a fire pit, keep them a safe distance and follow your local rules on open fires. Finishes such as oil-soaked rags can be a fire hazard in a pile, so lay them flat to dry or soak them in water before disposal, per the label.
Time, tools and skill level
This is a weekend project for people who want an Adirondack chair from ordinary lumber and who can follow a printed plan with templates. You will need a saw, a drill, a jigsaw, clamps, sandpaper and a tape. A pocket hole jig is not needed. The plans do not state an hour count, but with 22 pieces and several curved cuts, most builders should plan for a day or a weekend including finishing, and a second chair goes faster once you have templates traced and a rhythm.
Size
The plans cover one chair, about 31 in wide over the arms. The seat height is 14-1/2 in at the front, which is low and relaxed. Sit in a low chair before you build to be sure that height suits the people who will use it. A matching footrest or side table is not included.
What a set of four really costs
Take the plan’s estimate at face value for every chair: four chairs come to about $484 in materials, with a range of $400 to $560. That is less than the low end of the price for one comparable finished teak chair, $749. Six chairs would come to about $726, still under that figure. In practice the total would be a little lower, because you buy one box of screws and one bottle of glue and use them across several chairs, but the simple multiplication gives you a safe upper bound for planning.
Finishing for the long haul
A chair built from ordinary lumber lasts as long as its finish does, so the finish is the part to take seriously. Sand every face and edge, round the sharp corners that a hand or leg will touch, and seal the end grain on the bottoms of the stringers and the ends of the slats. Apply the product in thin coats and let each one dry fully. Paint hides the wood and gives the longest protection against sun, but it chips at the arms, where hands and drinks wear it. Penetrating oil is easier to refresh, since you wipe on a new coat without sanding back to bare wood, but it needs renewing more often. Either way, bring the chairs under cover in the worst months if you can, keep the feet off standing water and check the screws every spring.
Making a set
If you want four chairs, think about batching the work. Trace the templates once onto a thin piece of hardboard and reuse them. Cut all the like parts at the same setup, sand them in one session and finish the lot together. Check the sizes of boards when you buy, because small differences in thickness between stacks can cause slight misalignments in the slats. A set of four can be built over a couple of weekends, and you will end up with a patio group at a fraction of what a single teak chair costs.
Checking comfort before you finish
Because the angles matter so much, assemble the chair dry, with clamps or a few temporary screws, before you glue and sand. Sit in it, check that your knees and hips sit comfortably against the seat slope, and make sure the arms are at a height you can rest on. The plans provide angle gauges for the stringer ends so that you can confirm your cuts match the design, which is easier to correct before assembly than after. If something is wrong, it is usually a cut that drifted off the line, and re-cutting one slat costs very little. Once you are satisfied, take the chair apart or finish assembly with glue and the final screws, and move on to sanding.
Is it worth building?
For most households, yes. The saving per chair is large, the build is manageable, and the chairs can be repaired and refinished. If you want teak’s low maintenance and are happy to pay for it, buy teak. If you want a handsome chair at a modest cost and do not mind a coat of finish every few years, build. The build-cost hub shows how this project compares with others.
Where to go next
The Classic Adirondack plans cost $9.99 and run 60 pages. They include chair-at-a-glance, geometry and angles, lumber and finish guidance, four full-size templates, a cut list with checkpoints, a materials list, a build log and a maintenance log. For a patio full of projects, the complete collection bundles every plan for $129. Print the templates first, check the test squares, and see whether the shapes suit you with the Adirondack plans.