Tools for Your First Furniture Build: What You Need and What to Skip
A practical list of the saws, drills, clamps, sanders and safety gear for a first furniture build, with what to buy now, rent, borrow or skip, plus a table.
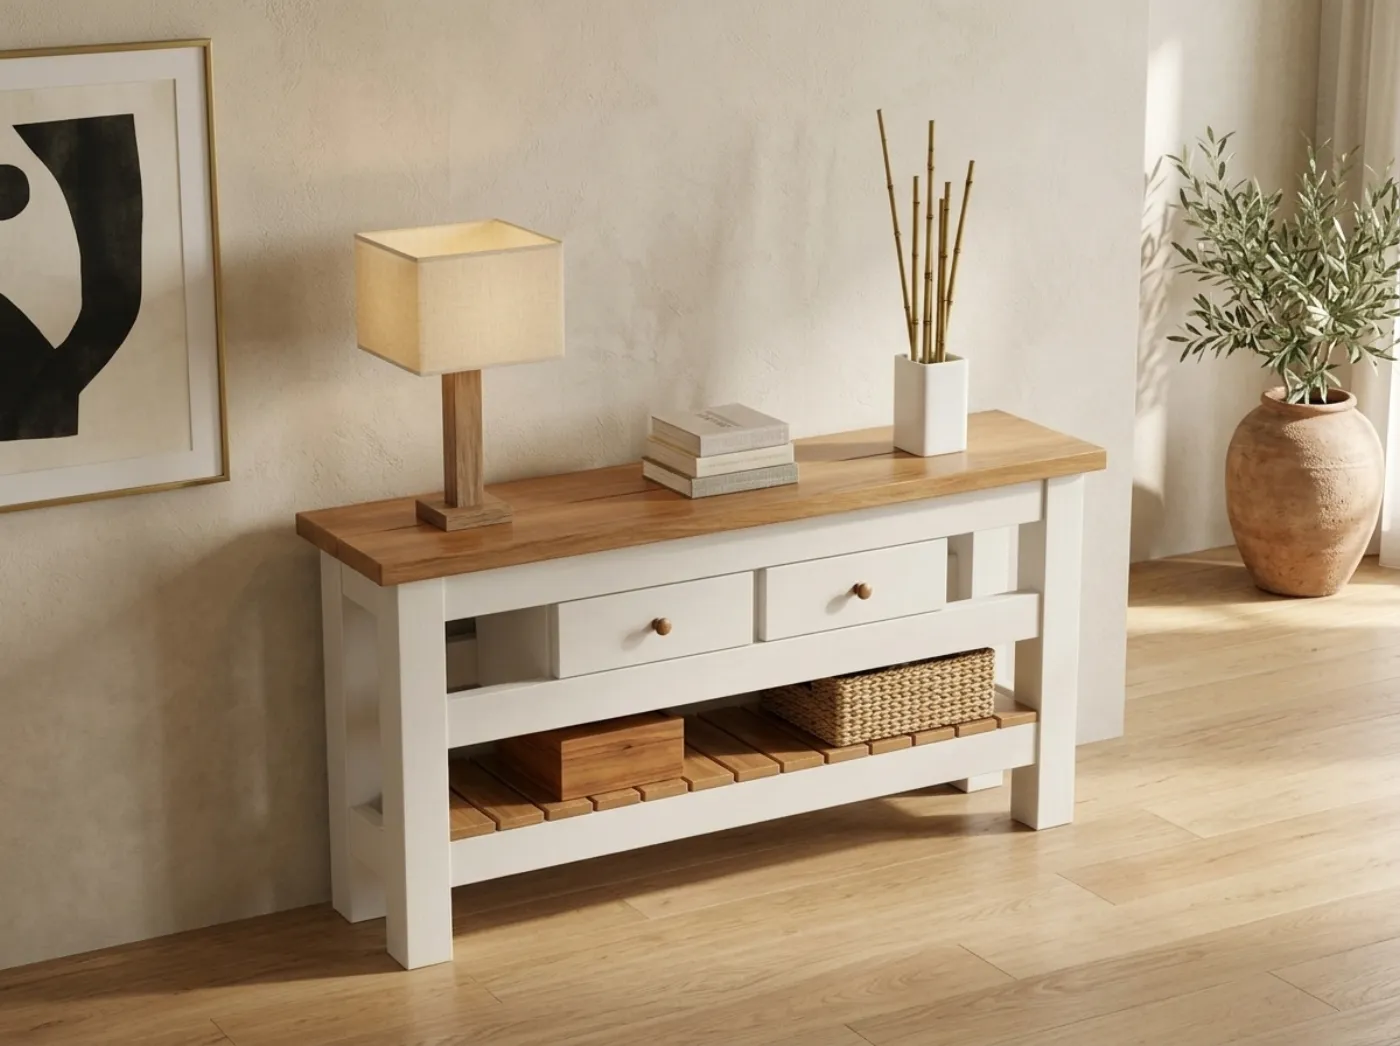
A first furniture project can stall before it starts if the tool list looks like a full workshop. It does not have to. The pieces in this catalog are designed around dimensional lumber and a short list of hand-held tools, and many builders complete their first console or bed with a circular saw, a drill and a handful of clamps. This guide separates the tools that do the real work from the ones that can wait.
The core kit
If you buy nothing else, buy for accuracy. Furniture parts that are cut to the same length and square make assembly easy. Parts that are off by an eighth of an inch make everything fight.
| Tool | What it does | Priority | Notes |
|---|---|---|---|
| Tape measure | Measuring and marking | Essential | Use the same tape for every cut |
| Combination square or speed square | Marking square lines | Essential | Check it for true by drawing a line, flipping it and comparing |
| Circular saw | Cutting boards and plywood | Essential | A 7-1/4 in corded saw handles all dimensional lumber |
| Cordless drill and driver | Drilling and driving screws | Essential | Buy a kit with two batteries |
| Clamps | Holding parts for glue and screws | Essential | Four bar clamps cover most projects |
| Random orbit sander | Smoothing surfaces | Strongly recommended | Hand sanding a table top takes much longer |
| Safety glasses, ear protection and dust mask | Protection | Essential | Wear them every time |
The saw question
A circular saw is enough for the cutting in most of the catalog plans, because they are built from standard 2x4, 2x6 and 1x4 boards cut to length. To make straight, square cuts, clamp a straight board or a saw guide to the work and run the saw’s base against it. A miter saw makes repeated crosscuts faster and more accurate, and the picnic and bar plans suit it, but it is a later purchase, not a first one. A table saw is only for builders who expect to keep going. If you have a bench saw from a friend, great, but you do not need one.
Drilling and driving
For driving screws into dense lumber, a drill with a clutch and a decent set of bits matters more than raw power. Buy:
- A countersink bit so screw heads sit flush.
- A set of drill bits for pilot holes, which prevent splitting near board ends.
- Square or star drive bits, which grip better than Phillips and strip less.
Joinery tools
The console table plan joins its 2x4 aprons and shelf rails with glue and pocket screws, and states that plain screws also work. That makes a pocket hole jig the one special tool on the list, and the plan treats it as helpful rather than mandatory. The outdoor sofa plan also says a pocket-hole jig is optional. If you already own one, use it; if not, skip it on your first project and use screws with pilot holes and glue. A good wood glue is cheap, matters a great deal, and belongs in the cart.
Layout and checking tools
| Tool | Why you want it |
|---|---|
| Pencil and marking knife | A fine line is a more accurate line |
| 4 ft level | Checks that frames and benches sit level |
| Framing square | Checks large corners |
| Stud finder | Needed for any piece anchored to a wall |
| Painter’s tape | Protects edges when finishing |
Diagonal measurements are the cheapest square check: on a rectangular frame, measure corner to corner both ways. If the two numbers match, the frame is square.
Finishing tools
Finishing is where a basic build starts to look like store furniture, and most of it is inexpensive:
- Sandpaper assortment in 80, 120 and 220 grit, which the console plan lists.
- Foam brushes and a natural bristle brush, plus lint-free rags.
- A sanding block for edges.
- A tack cloth for dust.
Oil-based finishes and stains need one note of care: rags soaked in them can generate heat as they cure and ignite if bunched up. Lay them flat outdoors to dry, or seal them under water in a metal container.
What the three plans ask for
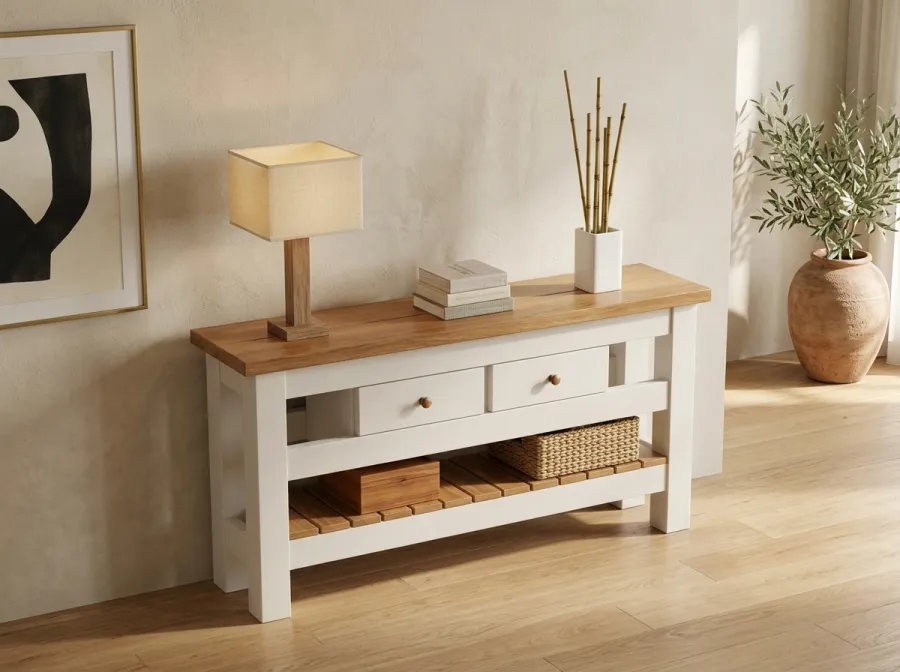
The Farmhouse Console has a Tools sheet and lists the basics: a circular saw, a drill and a clamp, along with a pocket-hole jig for the faster joints. It is a good first build because the parts are few and the joints are forgiving.
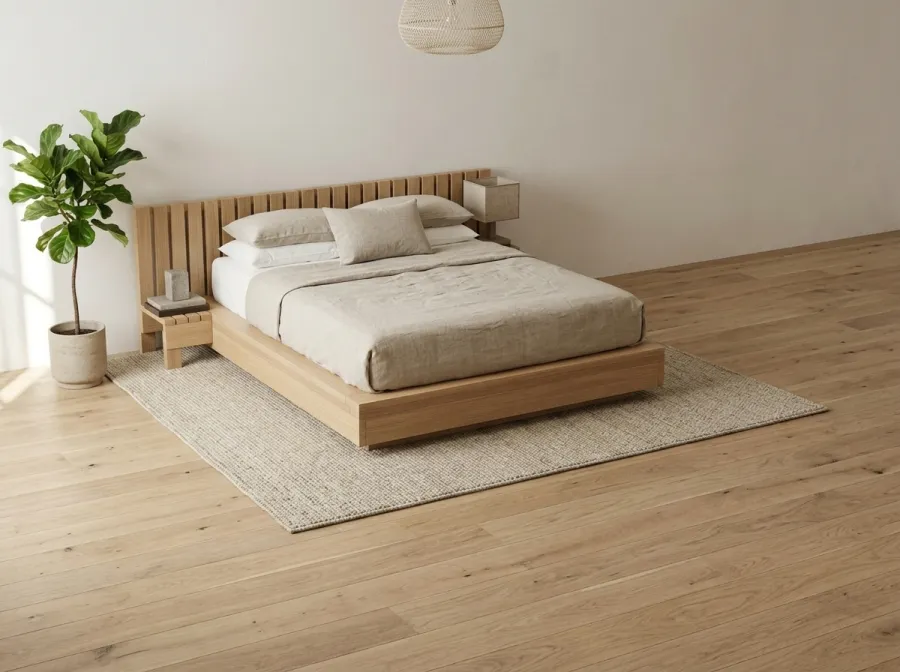
The Low Platform Bed is written for first-time builders who can follow flat-pack instructions. It has a Tools and hardware page, numbered steps with one drawing each, and uses only standard boards, so the tool list is short. Plan roughly 9 to 12 hours of work over a weekend depending on size.
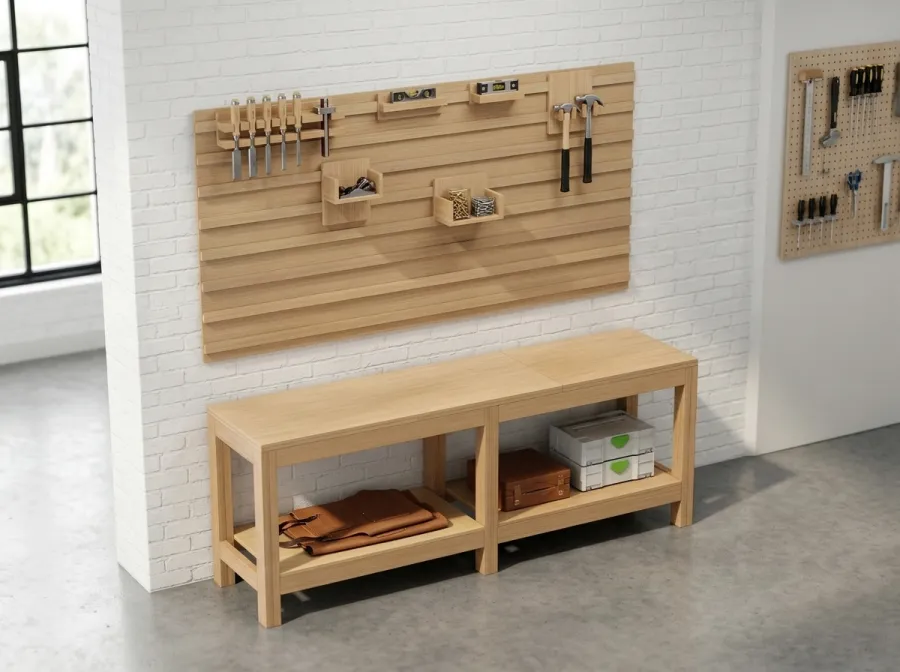
The Workbench & Tool Wall is useful in a different way. It includes a 6 ft and an 8 ft 2x4 workbench, a mobile miter saw station on locking casters and a French cleat tool wall with six holders. The first build many woodworkers make is a bench, since every later project goes faster on a flat, sturdy surface. If your garage lacks a work surface, building the bench first can be the smartest sequence.
What to rent, borrow or skip
| Tool | Advice |
|---|---|
| Table saw | Skip for now unless you already own one |
| Miter saw | Worth buying second, if you cut many repeated lengths |
| Router | Skip until you want rounded edges and decorative profiles |
| Planer and jointer | Skip; buy lumber that is already surfaced |
| Brad nailer | Optional; helpful for trim and skirts |
| Pocket-hole jig | Buy if you plan more than one build |
| Large clamps | Borrow or rent for tabletop glue-ups |
Work area basics
A few items matter as much as any tool. Use sawhorses or a work surface at a comfortable height. Keep the floor clear. Light the space well, so you can see your pencil marks. Keep a vacuum or broom within reach, since dust makes a mess of finishing. Always cut on the waste side of the line, so the line remains and you can fine-tune with sanding.
Safety habits that matter more than tools
- Eye protection every time you cut, drill or sand, because chips and dust are unpredictable.
- Hearing protection with saws and sanders, which are loud over long sessions.
- A dust mask for sanding, and a respirator suited to the finish for spraying or working indoors.
- Clamp the work before cutting or drilling rather than holding it with a hand.
- Unplug or remove the battery before changing blades or bits.
- Keep guards in place, and never defeat a saw’s blade guard.
- Ask for help with heavy pieces, like a plywood sheet or a finished bed frame.
Sequence of a first weekend
Knowing the order of work keeps the tool list honest. On the first evening, read the plan, lay out the cut list and buy lumber. The next morning, mark and cut the parts, labeling each. Sand the parts before assembly while they are flat and easy to reach, because sanding a finished frame takes more time. Assemble with glue and screws, check for square with a tape across the diagonals, and let the glue cure. Finish in thin coats, sanding lightly between them, and give the final coat time to harden before use. A beginner who follows this order tends to need fewer specialty tools, because each task happens while the parts are still simple.
Setting up a small workspace
You do not need a dedicated shop. A pair of sawhorses and a sheet of plywood make a perfectly good bench, and a garage floor or driveway works for cutting. Use a drop cloth to catch dust and a second one for finishing. Place a fire extinguisher or a bucket of water within reach if you use oil-based finishes, and keep a trash bin with a lid for finishing rags. Good light and a clear floor prevent most accidents, and a power strip with a switch makes it easy to turn tools off at once. If you live in an apartment or share a building, check noise rules and cut during the hours that are permitted.
Buying used or borrowing
Used hand tools and corded power tools are often as good as new. Check that the saw base is flat, that the blade guard moves freely, that cords are intact, and that the drill chuck grips firmly. Borrowing is fine for clamps and large saws, but make sure you have the owner’s manual or learn the safety features before you run the tool. Rental counters at hardware stores often stock sanders, miter saws and clamps by the day, which fits a single weekend build without a large purchase.
Measuring up
Accuracy is mostly habit. Measure twice, mark with a sharp pencil, and cut on the waste side. Keep one tape measure for the whole project, because the hooks on different tapes can differ slightly. Use a stop block for repeated lengths. Check each part against the cut list before you move on. These habits cost nothing and do more for the finished piece than any additional tool.
Reading tool manuals and labels
Every tool you buy comes with a manual, and it is worth ten minutes of reading. The manual tells you which blades and bits fit, how to set the depth and angle, and which guards must stay in place. Note the maximum rated capacity of clamps and the speed rating of sanding discs. Check the blade direction arrow on a saw before you fit a blade, and make sure the blade is tight before every session. A dull blade burns the wood, pulls the saw off the line and kicks back more readily than a sharp one, so replace blades when cuts get ragged. Keep spare batteries charged, and store tools dry. Small habits such as these keep a modest tool kit working well through many projects, and they are the best way to protect both your work and yourself.
A sensible budget order
If you are buying new, a good order is: tape, square, safety gear, drill and bits, circular saw, clamps, sander, glue and screws, then finishing supplies. Add the jig and the miter saw as projects demand. Check the build cost guide to see how tools and materials compare, and remember that a modest kit used well produces much better results than a large kit used carelessly.