Anchoring Furniture to the Wall: Anti-Tip Straps, Brackets and Studs
How to anchor tall furniture to a wall: find studs, choose anti-tip straps or brackets, handle drywall and masonry, and keep children safe around beds and tables.
Furniture feels stable when it stands still on a level floor. The risk shows up when something changes: a child climbs a shelf, a drawer is pulled out all the way, a heavy bed folds down, or a table is bumped. Tall or top-heavy pieces can tip forward, and a wall anchor is the simple, inexpensive step that prevents it. This guide explains how to find framing, which hardware to use, and how the beds and console table in the catalog handle anchoring. It is general guidance. Read the instructions for your own hardware, and follow your plans and local rules.
Why anchor
Anchoring serves two purposes. First, it stops tipping. A piece with weight above its center, such as a bookcase, a tall chest or a console with drawers open, can rotate forward over its front feet when a load is applied. Second, it keeps heavy furniture steady during use. Wall beds and bunk beds transmit forces to the structure when people climb, sit or fold them down, and a connection to the wall framing gives them the stiffness they need.
Children are the main reason to anchor. A small child can climb a drawer front like a ladder, and a console that looks stable to an adult can move when it is pulled. Anchoring is especially important where children or pets are present.
Find the studs
Most interior walls are drywall over wood or metal studs. The drywall alone is a weak anchor for anything heavy. A load that tries to pull a screw out of drywall can crumble the gypsum, but a screw driven into a stud holds.
- Use a stud finder. A stud finder detects density changes. Calibrate it on a blank area, scan across, and mark both edges of each stud.
- Expect spacing. Wood studs are commonly 16 in apart, measured center to center, though 24 in spacing exists. Once you find one, measure to look for the next.
- Confirm with a test. A small finishing nail or a thin drill bit through a spot that will be hidden can confirm that you have hit wood.
- Find the center. Mark the edges and use the midpoint, which gives the most wood for the screw.
- Beware of wires and pipes. Many stud finders flag live wires. Avoid outlets and switches, since cables run vertically from them. If unsure, ask an electrician.
If the piece sits against masonry or concrete, use masonry anchors with a hammer drill and a carbide bit, and follow the hardware instructions. Metal studs need special fasteners made for them. In plaster walls, the lath and the studs behind the plaster dictate what is possible.
Hardware choices
| Hardware | Use | Notes |
|---|---|---|
| Anti-tip furniture strap kit | Dressers, consoles, bookcases | Strap connects furniture to the wall; use one into a stud |
| Steel L-brackets or angle brackets | Beds, cabinets | Rigid; fasten to stud and to furniture frame |
| Structural wood screws | Anchor rails, cabinets | Check the rating |
| Lag screws with washers | Brackets into studs | Pre-drill a pilot hole |
| Hollow-wall anchors rated for the load | Where no stud is available | Second choice; check the rating and the wall thickness |
| Blocking behind drywall | New or open walls | Gives you wood where you need it |
Straps and anchors differ in how much movement they allow. A flexible strap stops a piece from falling but permits a bit of lean. A rigid bracket holds the piece tightly against the wall. Both are appropriate in the right place. Follow the manufacturer’s rated load, and do not mix a lightweight strap with a heavy piece.
If you have no stud where you need one, you can fasten a horizontal wood cleat across several studs, or open the wall and add blocking. Do not rely on small plastic anchors for a tipping load that could involve a child’s weight.
General installation steps
- Position the furniture where it will live, with the back flush to the wall, or use baseboard spacers if there is a gap.
- Mark the stud and the attachment point on both the furniture and the wall.
- Pre-drill pilot holes in the furniture frame and the stud, using a bit smaller than the screw’s shank. This prevents splitting.
- Attach the strap or bracket to a solid frame member of the piece, not to a thin back panel.
- Drive the screw into the stud until snug, not stripped.
- Pull on the furniture (gently, with a helper) to check that it holds.
- Recheck once or twice a year, as screws can loosen.
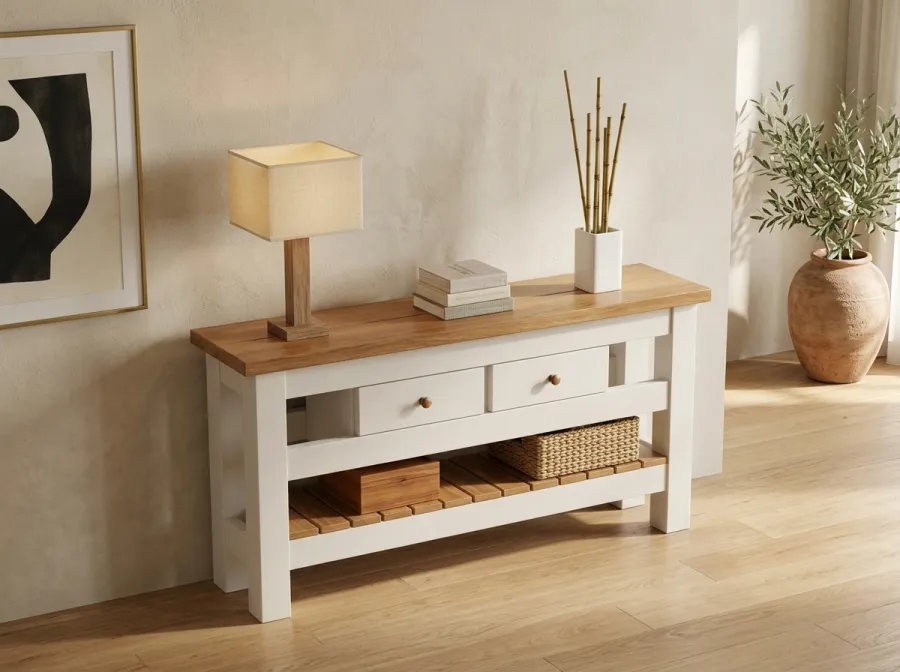
Anchoring the Farmhouse Console
A console table is usually about 30 in tall and slim, so it may not look like a tipping hazard, yet the optional drawer kit changes its behavior: with a drawer opened, weight moves forward. The Farmhouse Console has its own Anti-tip and safety sheet, and its materials list includes a furniture anti-tip strap or wall anchor kit, rated for the table weight or more, screwed to the back apron and into a wall stud. The plan also notes that the member checks include a tip-over check and asks you to tie the table to a wall stud with an anti-tip strap, especially where children or pets are present. The back apron gives you a solid 2x4 to screw into.
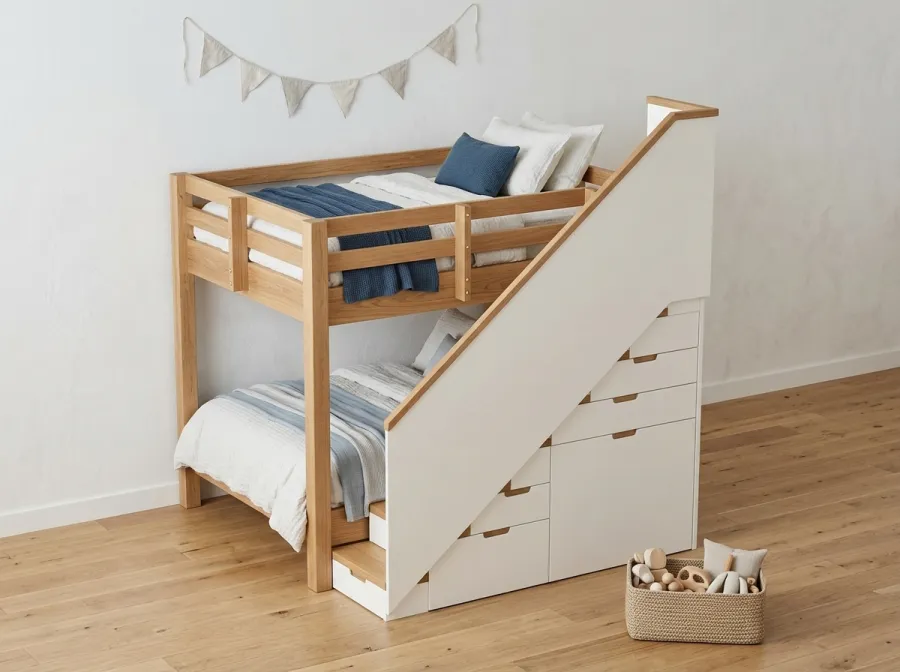
Anchoring the Heirloom Bunk Bed
A bunk bed is a tall structure with active use, so wall attachment is part of the design. The Heirloom Bunk Bed specifies steel angle brackets, 3 in x 3 in x 1-1/2 in wide and heavy duty, to tie the back posts to the wall studs: two per back post, one at each deck, for 8 in all. They are fastened with 5/16 x 3-1/2 in lag screws with washers into the studs, and #10 x 1-1/2 in screws onto the posts. The plan also includes a Room and wall prep sheet, so check that the bed is positioned where it can reach studs.
The plan’s safety content goes beyond anchoring. The top bunk is for children 6 and older, with guard rails on all four sides of the top bunk and every opening 3-1/4 in or less. The bed takes mattresses up to 8 in thick, with the top guard rail 7 in above an 8 in mattress, and the plan includes a label to place inside the top guard rail. These are generic DIY plans, not engineered or stamped, and the builder remains responsible for safe construction and local rules.
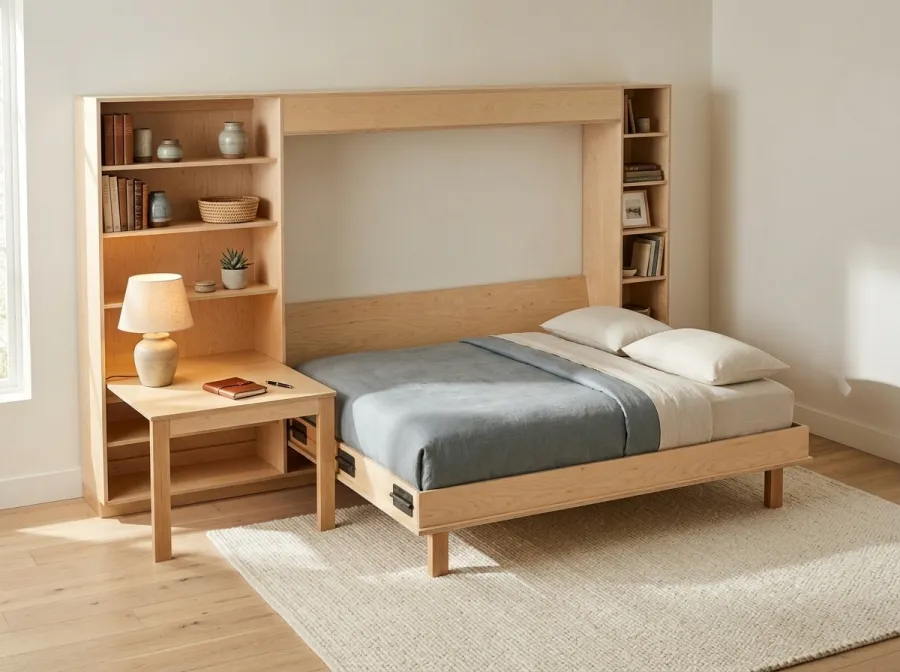
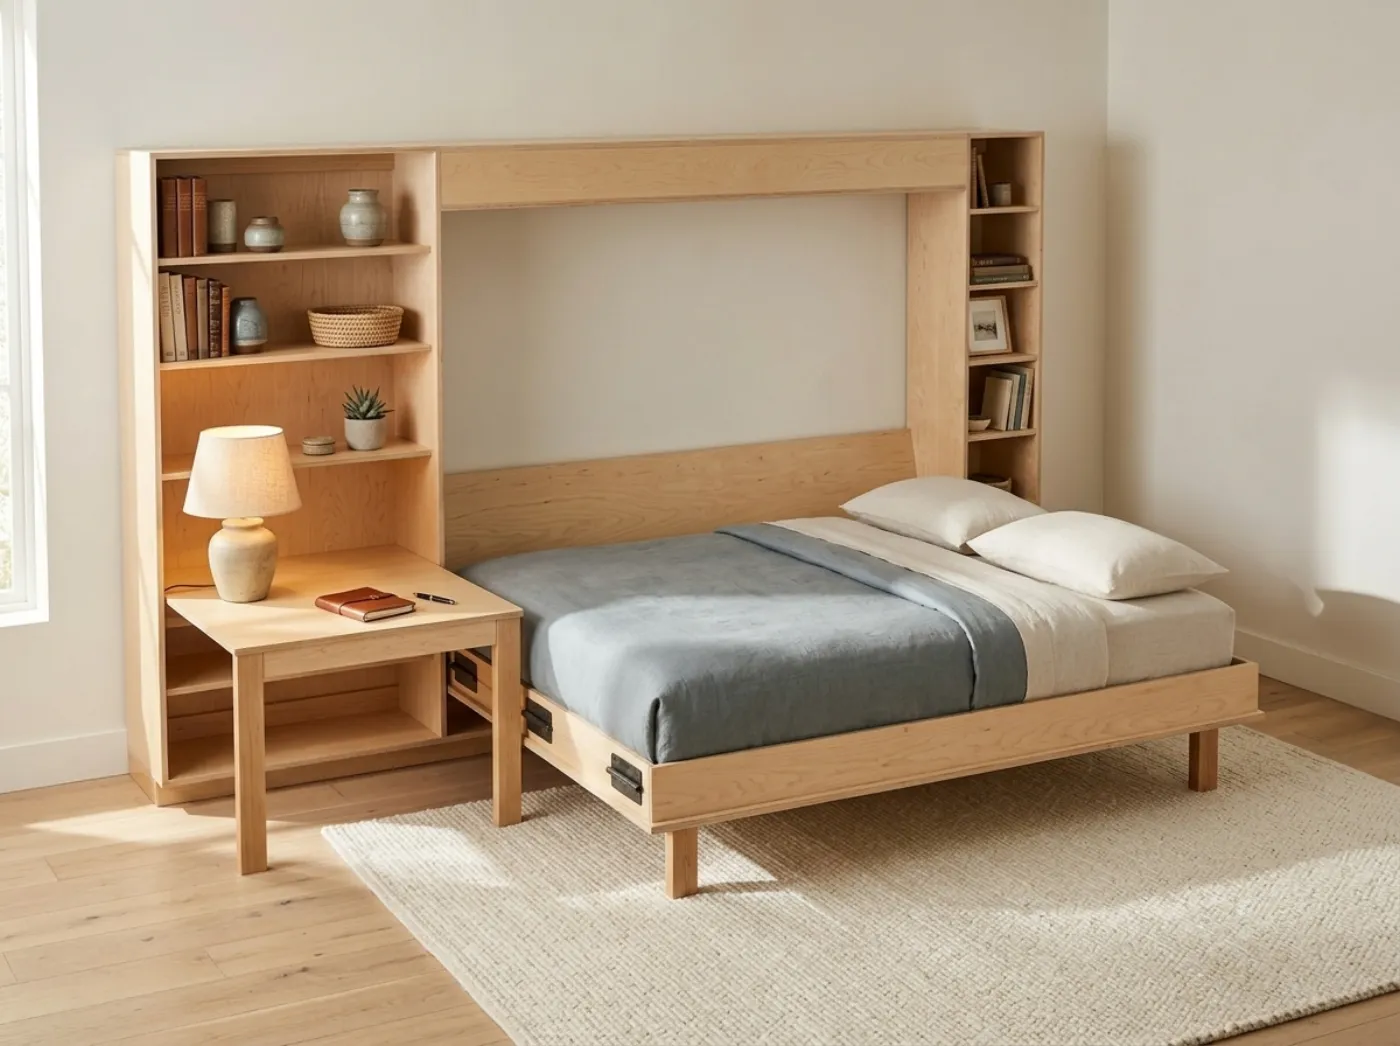
Anchoring the Library Wall Bed
A wall bed is the case where anchoring is built into the structure. The Library Wall Bed has a Safety and wall anchoring sheet, and its materials list calls for stud-rated structural wood screws, 5/16 x 5 in, one per stud crossing on both anchor rails, 20 in all. The cabinet is 11 ft 1 in wide for twin and full, 1 ft 6 in deep and 7 ft tall, and every member including the wall anchors is checked against a stated load. Because the bed folds down and a person may sit on its edge, the anchors hold against pulling forward. Use a stud finder to confirm that you have a stud at each crossing, and add blocking if you do not.
Do not operate a wall bed before it is anchored. Do not substitute shorter or lighter screws. If your wall is not framed at the right spacing, fix the wall before you build the cabinet.
Other tall pieces
- Bookcases and shelving. Anchor at the top rail.
- Dressers and chests. Strap at the top; keep heavier items in bottom drawers.
- TVs and stands. Use the strap kit supplied or a wall mount, and keep cords out of reach.
- Play kitchens and toy furniture. The play kitchen plan anchors the upper section to the wall with pan-head screws and hollow-wall anchors rated 50 lb or more, plus an optional anti-tip strap kit rated 50 lb or more per strap.
- Floating or stacked pieces. Fasten each unit, not only the top.
Child safety habits
- Keep drawers closed and teach children not to climb.
- Put heavy items low and light items high.
- Do not put tempting objects on top of tall furniture.
- Keep cords and curtain pulls away from beds.
- Check anchors when you move furniture or repaint, and re-fasten after any change.
Rentals and walls you cannot damage
Anti-tip straps leave small holes that are easy to patch with spackle. Safety is worth that. If you rent and need approval, a landlord will usually accept a few screw holes. Straps that attach to the wall with adhesive are not suitable for heavy tipping loads.
Choosing the height of the anchor
For a freestanding piece, attach the strap or bracket high on the back, near the top rail, since that is where the leverage is greatest. A strap near the floor does little to resist a forward rotation. For a bed, brackets at each deck level tie each platform to the wall, as the bunk bed plan does. For a console, the back apron sits near the top of the legs, which makes it a good attachment point. Whatever the piece, the screw must go through a solid part of the furniture and into a solid part of the wall.
What to do when the wall is not straight
Walls and baseboards are rarely flat. If the furniture sits proud of the wall because of a baseboard, use a spacer block the thickness of the baseboard behind the strap point, or notch the furniture back, so the piece stands plumb instead of leaning. A leaning piece puts constant strain on the anchor. Shims behind the bracket keep it flat against the wall, and felt pads under the legs keep the floor from scratching. Recheck level and plumb after anchoring, and adjust the glides if needed.
Teach everyone in the house
An anchor only works if it stays attached. Tell everyone who lives in or visits the home that straps stay in place when furniture is moved, cleaned behind or repainted. If you move, remove the anchors, patch the holes, and re-anchor in the new home. Make it part of the routine, like testing a smoke alarm.
A calm final check
Pull gently on the top front edge of a finished, anchored piece. It should not move. Open drawers fully if there are any, and push down on the open drawer fronts. Test again a few weeks later, and note the check in the plan’s maintenance log. For build details and the anchor hardware lists, see the plans for the Library Wall Bed, the Heirloom Bunk Bed and the Farmhouse Console, and use the build cost guide to budget for hardware.