How to Read Woodworking Plans and Cut Lists (A Beginner's Guide)
Learn to read woodworking plans: drawings, part letters, cut lists, materials lists, nominal versus actual lumber sizes, and how to plan cuts and avoid costly mistakes.
A set of woodworking plans looks intimidating the first time: drawings with arrows, part letters, tables of numbers, notes in small type. In practice, a good plan set is a sequence of questions answered in order. What am I building? What do I need to buy? How long is each piece? In what order do I put it together? Once you know where each answer lives, the whole document becomes a checklist. This guide explains the common sections, how to read them, and the habits that prevent mistakes.
The anatomy of a plan set
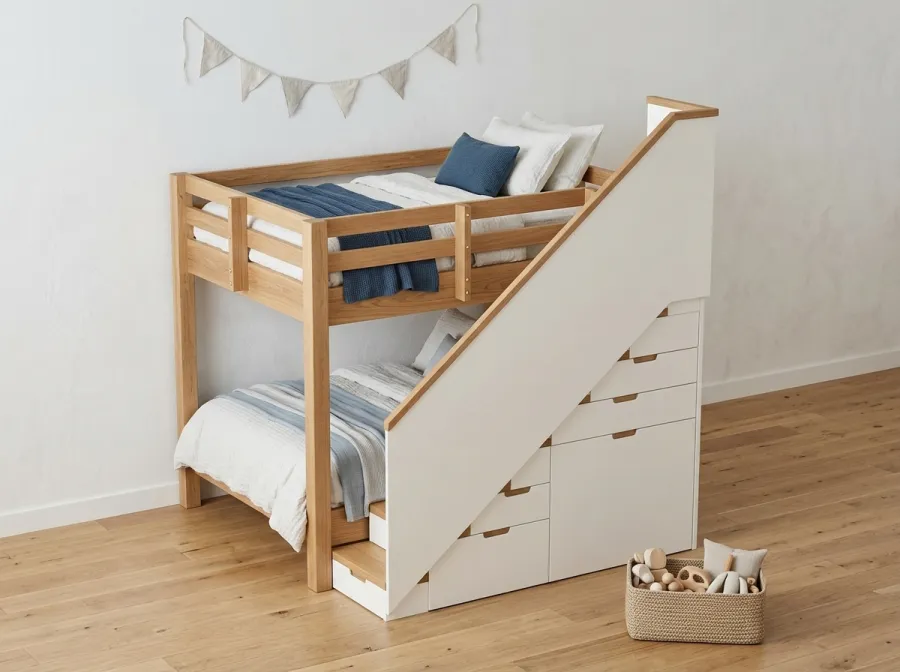
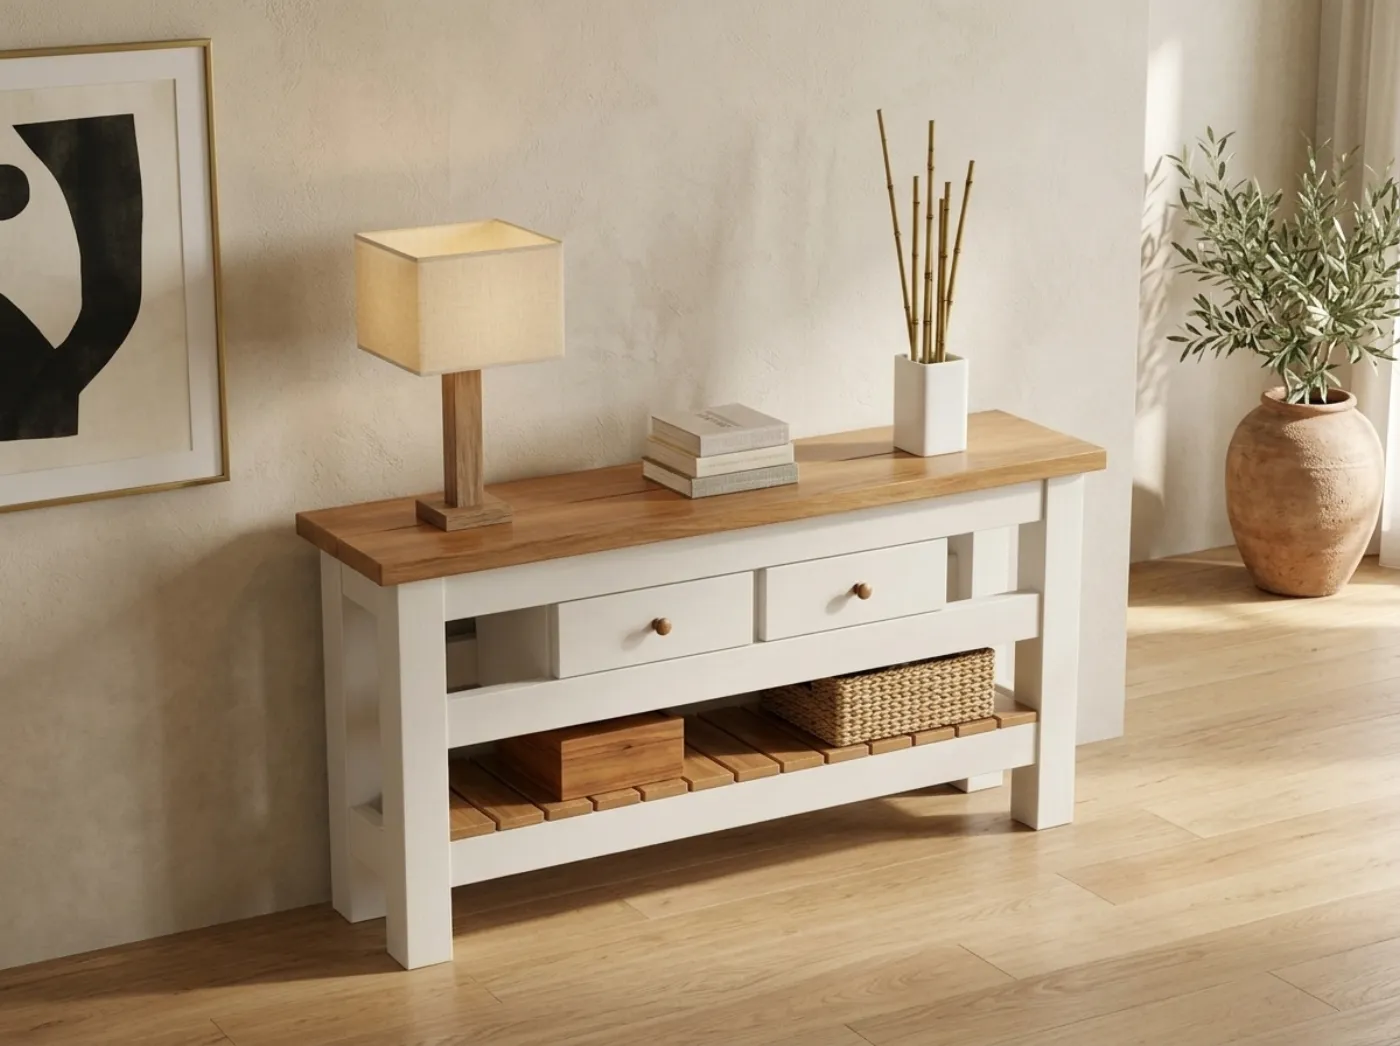
Most complete plans, including those in this catalog, follow a similar order. Using the console and bunk bed plans as examples, you will find:
| Section | What it tells you | When to use it |
|---|---|---|
| Plan selector | Which size or version you are building | First, before anything else |
| How to read the plans | The symbols, letters and conventions used | Once, before you start |
| Design basis and member schedule | The loads the design assumes and the size of every structural part | Before you change anything |
| Drawings and assembly | Views of the finished piece and how it goes together | Throughout the build |
| Cut list | Every part with its length, width and thickness | At the saw |
| Materials list | Everything to buy, with quantities | Before you shop |
| Tools | Equipment needed | Before you start |
| Build sequence | The order of assembly | While you build |
| Fastener schedule | Screw type, length and spacing for each joint | While you assemble |
| Finishing | Sanding and finish steps | Near the end |
| Checklist, budget and maintenance | Final checks and upkeep | Start, end and afterward |
The Farmhouse Console organizes this as A design basis and member schedule, B drawings and assembly, C cut list, D materials list, plus an optional E drawer kit. The Heirloom Bunk Bed uses A design basis and member schedule, B drawings and assembly, C storage stair and drawers, D guard rails and safety checks, E cut list, F materials list and G ladder option. The letters tell you where to look, and each size has its own set.
Start with the selector and your space
Before you read a single drawing, confirm that the piece fits. Measure the wall, the doorway and the room, and compare them to the finished dimensions. The console comes in 48, 60 and 72 in lengths, all about 14-1/2 in deep and 30 in tall, plus a narrow hallway version that is 60 in long and 9-1/4 in deep. The bunk bed comes as twin over twin or twin over full, and its fit sheet asks you to measure your mattresses and room, since mattress thickness changes the guard rail height. A plan is only useful if you pick the version that matches your space.
Understand lumber sizes
The single most common beginner error is assuming a 2x4 measures 2 in by 4 in. It does not. Lumber is named by its rough size before drying and planing. The actual size is smaller.
| Nominal size | Actual size |
|---|---|
| 1x2 | 3/4 x 1-1/2 in |
| 1x4 | 3/4 x 3-1/2 in |
| 1x6 | 3/4 x 5-1/2 in |
| 2x2 | 1-1/2 x 1-1/2 in |
| 2x4 | 1-1/2 x 3-1/2 in |
| 2x6 | 1-1/2 x 5-1/2 in |
| 2x8 | 1-1/2 x 7-1/4 in |
| 4x4 | 3-1/2 x 3-1/2 in |
Good plans work from actual sizes, which is why the console legs are described as square 4x4s and the top as two 2x8 boards laid flat. When you check your lumber at the store, measure it with a tape and trust the number you read. Lengths are nominal too: an 8 ft board is 96 in, but check, since some are cut a fraction longer.
Read the drawings
A drawing usually includes several views:
- Elevation. A flat view from the front or side, showing heights and widths.
- Plan view. Looking down from above, showing depth and positions.
- Exploded or assembly view. Parts pulled apart to show how they join.
- Detail views. An enlarged part, such as a joint or a hinge position.
Look for dimension lines, usually thin lines with arrows at each end and a number between. Note the units. Some plans print inches and millimeters together. Treat every dimension as the instruction, not the picture, because drawings in a PDF can be scaled differently when printed. If a plan includes templates, such as full-size curves, print them at 100 percent and verify the printed test square before you trace.
Letters on parts connect the drawings to the cut list. If part C appears in the drawing, you will find a row for C in the cut list that gives its size and count.
The cut list
The cut list is where plans become work. It typically contains:
| Column | Meaning |
|---|---|
| Part letter | Matches the drawing |
| Name | What the piece is: leg, apron, slat |
| Quantity | How many identical pieces |
| Thickness x width x length | Final dimensions, in actual sizes |
| Material | Which board or sheet it comes from |
| Notes | Angles, notches or special treatment |
Cut lists are long, but there is a straightforward way to use them.
Step by step
- Print the cut list and keep it at the saw in a clipboard or tape it to the wall. Mark off each part with a pen as you cut.
- Group parts by board. Many plans, and spreadsheet helpers, show which stock each part comes from. Sort the work so that parts from the same board come off together.
- Cut long pieces first, then use the offcuts for shorter parts.
- Account for the saw kerf. A blade removes about 1/8 in of wood with each cut. When you cut several parts from one board, measure and mark each part separately instead of marking all lengths and cutting along the marks.
- Label every part on a hidden face with its letter. Painter’s tape and a fine-tip marker work well.
- Cut identical parts together where possible. Clamp or tape parts together, or use a stop block so each length is the same.
- Check each piece against the list before assembly, and compare matching parts side by side.
Repeated cuts are where errors creep in. A stop block clamped to a fence or a saw guide guarantees equal lengths. Use a speed square to mark square lines, and a good quality tape measure with a tight hook.
The materials list
The materials list is your shopping list. In this catalog it is computed from the same model as the cut list, which is why quantities match. For the bunk bed, the twin over twin bed requires, for example, 2x2, 2x4, 2x8 and 4x4 lumber, 3/4 in plywood, 5/16 x 5 in structural wood screws, glue, steel angle brackets, lag screws and a low-odor children’s furniture finish. The stair has its own list with drawer slides, pulls, tread tape and plywood. Each line states the item and the quantity, sometimes with a note describing where it goes.
Use the materials list in three ways:
- Price the project. Multiply and total. The build cost guide helps.
- Shop in one trip. Take the list to the yard. Choose straight boards, and buy a spare piece for each long board in case of a bad cut.
- Check hardware before you start. Items like drawer slides, hinges and lift mechanisms need to be on hand before the cabinet is built, because they determine the opening sizes.
Where a materials list gives a rating, such as a screw designed for structural use or a bracket rated for a load, do not substitute something lighter. Ratings in a plan are tied to the design basis.
The design basis and member schedule
Sheet A in many plans is the least glamorous page and the most informative one. It states the loads the design assumes, lists each member with its size and span, and states where the plan does not apply. If you change a dimension, the design basis tells you what you are changing. For example, a console top that spans a wider gap may sag, and a bed rail that is shorter or thinner may no longer carry the stated load. Plans in this catalog are generic DIY plans and are not engineered or stamped, so the builder is responsible for safe construction and for checking local rules.
Fastener schedules and build sequences
The fastener schedule tells you screw size, length, spacing and, sometimes, pilot hole size for each joint. Follow it, because a screw that is too short does not reach the second piece and a screw that is too long breaks through the face. The build sequence puts the steps in the order that keeps joints reachable. Building a frame in the wrong order can leave you unable to get a drill into a corner.
The Farmhouse Console has a pocket screw and glue schedule on its own page, and the bunk bed plan has a fastener schedule that separates frame, deck and guard rail screws. Read it before assembly and mark screw positions with a pencil.
Dry fit before you glue
Assemble the main parts without glue first. Check that the faces are flush, that diagonals match on rectangular frames, and that the piece sits flat on the floor. Fix any problem when it is a loosened screw and not a cured joint. Once everything fits, take it apart in order, apply glue and screws, and clamp.
Common mistakes to avoid
- Using a nominal size in a calculation. Always use actual sizes.
- Cutting before reading the whole step. Read the full step, then cut.
- Mixing up left and right parts. Mark pairs as mirror images when needed.
- Skipping the checklist. Build day checklists catch missing hardware.
- Changing dimensions without recalculating. One change can affect several parts.
- Ignoring safety pages. For the bunk bed, the safety rules sheet, guard rail dimensions and top bunk age limit are not optional.
A worked example in plain words
Suppose a cut list line reads: leg, quantity 4, 3-1/2 x 3-1/2 x 29-1/4 in, from 4x4. Read it from left to right. You need four identical pieces. Each is a 4x4 trimmed to 29-1/4 in long. The width and thickness are already correct because a 4x4 is 3-1/2 in square, so only the length needs cutting. Mark one length, cut it, then use that first piece to mark the other three so every leg is identical. Write the part letter on each leg, and note on a hidden face which end is the top. When all four are cut, set them side by side on a flat surface and check the lengths with a square across the ends.
Keep a build log
Note which board went where, the date you glued, and any changes you made. If the project includes a maintenance log or yearly check page, fill it in. A written record makes repairs and repeat builds quicker. When you are ready for your next project, a plan that you can read quickly is a plan you can build with confidence.