How to Build a DIY Outdoor Kitchen: Boxes, Counter, Grill and Safety
How to build your own outdoor kitchen from flat-pack cabinet boxes on a plinth, with a built-in grill, counter and fire safety notes. A step-by-step overview.
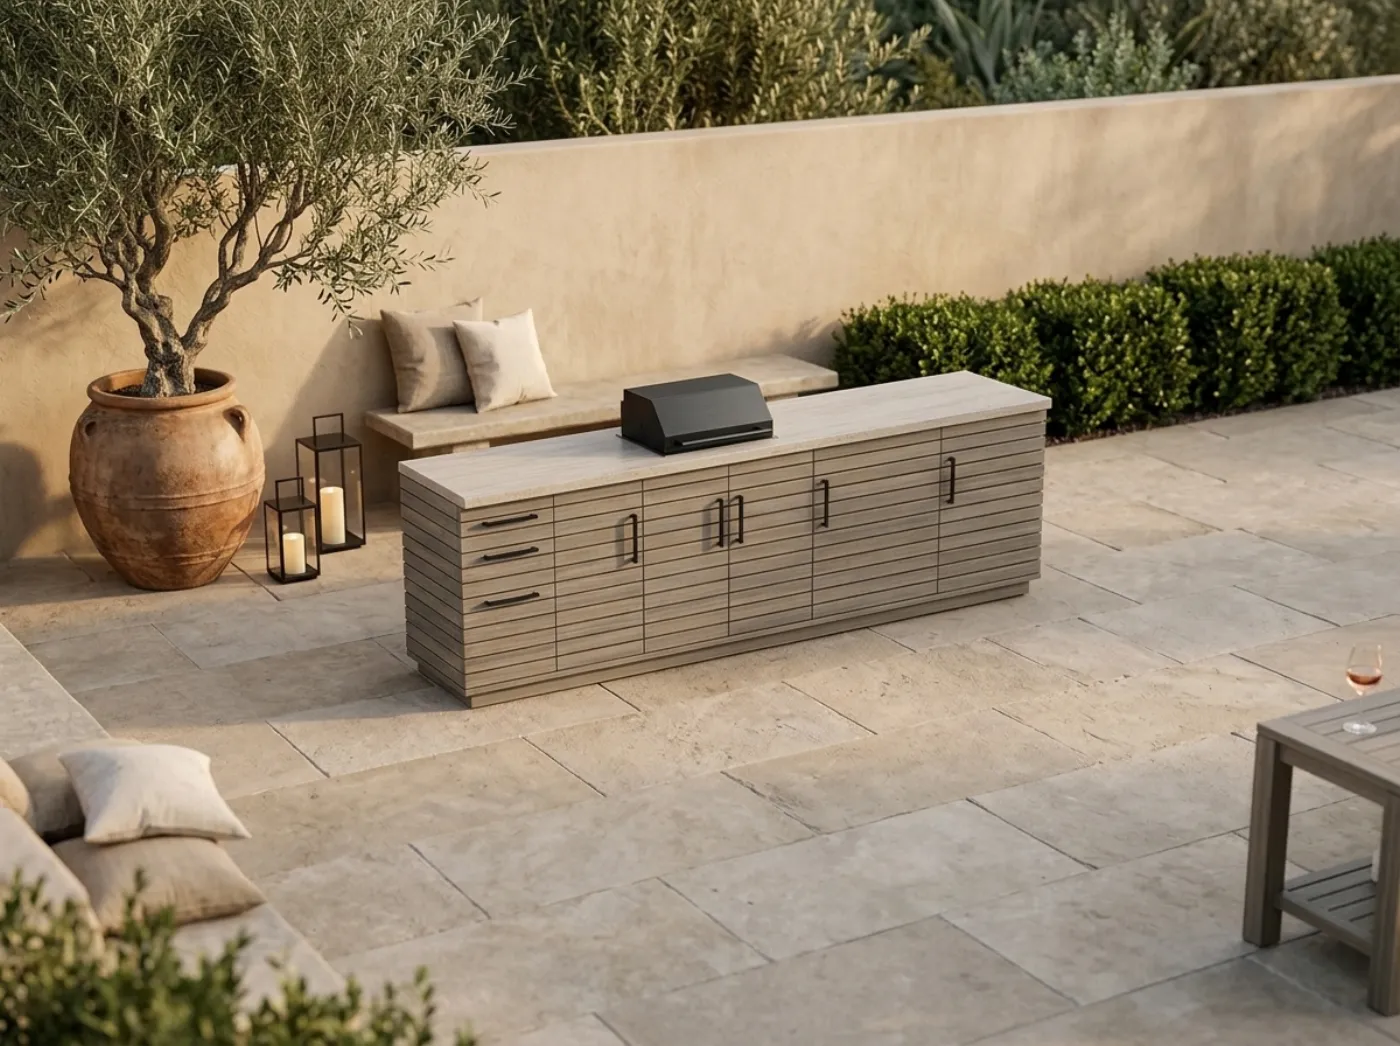
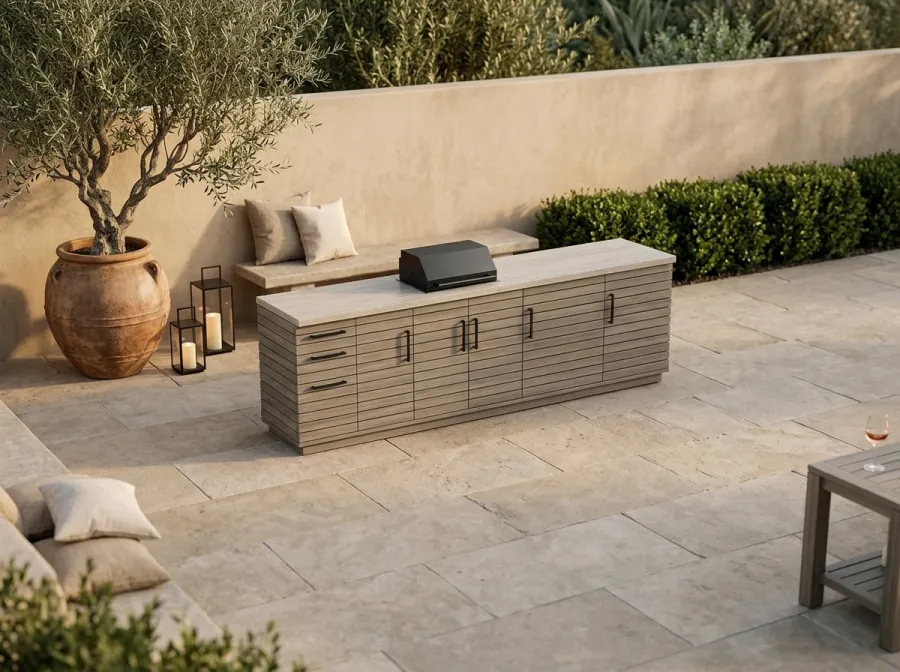
If you want to know how to build a DIY outdoor kitchen, the most useful thing to understand first is that it is a set of boxes. A catalog-style grill island looks like a custom stone-and-steel installation, but underneath it is a row of cabinets on a base, covered in cladding and topped with a counter. Build the boxes well, and the rest is a sequence of decisions. This guide shows how to build your own outdoor kitchen that way, using The Grill Island plans as the worked example, and ends with a lighter alternative for people who cook on a griddle.
These are generic DIY plans, not engineered drawings. An outdoor kitchen involves fire, gas and sometimes electricity, so the safety section matters more here than in most projects.
Start with the grill, not the lumber
Everything in an outdoor kitchen is arranged around the grill. The cutout size, the clearances to combustible material and the jacket requirement all come from the maker of your grill. They vary, so the plan does not guess: you get the cutout spec, clearances and jacket requirements from your own grill manual, then size the grill zone to match.
That order of work is the opposite of what most people do. Buy or at least choose the grill head first. Read its manual for:
- the cutout width, depth and height;
- the required clearance to any combustible surface, front, back, sides and above;
- whether it needs an insulated jacket when installed in a combustible enclosure;
- gas type and the connection point, and where the shutoff should be reachable.
If the manual and the plan ever disagree, the manual wins.
The system: two box sizes
The Grill Island is simple in concept. It uses only two box sizes, a 24 in box and a 48 in grill box, assembled like flat-pack furniture on a treated 2x4 plinth. That repetition is what makes the build manageable, because you learn the sequence on the first box and repeat it.
| Choice | Options in the plan |
|---|---|
| Length | 8 ft or 10 ft layouts |
| Each 24 in box | Door, three-drawer stack or trash pull-out |
| Counter | Poured concrete, tile over cement board, or quartz remnant with a thick front edge |
| Grill | Drop-in or built-in head in an insulated jacket, or a cart grill that rolls into an enclosed bay with matching doors |
| Extras | 12 in bar overhang on black steel brackets, L-shaped return, simple modern pergola |
Every member, from the plinth, stretchers and deck to the brackets, rafters, beams and posts, is checked against a stated load. Each module is about one weekend of work.
Tools and supplies
This is a bigger project than a table, so the tool list grows.
| Tool or item | Use |
|---|---|
| Circular saw with guide | Breaking down plywood for box sides, tops and bottoms |
| Drill and driver | Assembly with exterior screws |
| 4 ft level | Setting the plinth and each box dead level |
| Clamps | Holding boxes square during assembly |
| Cement board and tools | Liner around the grill and under tile counters |
| Sealant | Weatherproofing seams |
A 4 ft box level matters more than any other tool, since a tilted plinth means tilted doors. For the grill zone liner, cement board screws hold better than ordinary deck screws. Use exterior wood glue in the box joints, and choose exterior sealant for the seams.
Step by step: how to build an outdoor kitchen island
The plan uses 16 numbered steps for the build, plus the pad, counter and finishing sheets. The overview looks like this.
- Check the rules before anything else. Look up local permits, setbacks and any gas or electrical requirements. Call 811 before you dig for a pad or footings.
- Prepare the pad. The island needs a firm, level, non-combustible surface, such as a concrete pad or pavers on a compacted base. The plan has a pad and local rules sheet.
- Build the plinth. The plinth is a treated 2x4 frame that holds the boxes off the ground. Level it in both directions and shim it where needed.
- Assemble the boxes. Each 24 in box and the 48 in grill box is flat-pack plywood, glued and screwed. Check each one for square. Build all of them before moving to the next stage.
- Set the boxes on the plinth. Line up the fronts, clamp neighbors together and screw them to each other and to the plinth.
- Build the grill zone. This is the most important step. Line the grill bay with cement board, fit the insulated jacket your manual calls for, and keep the clearances the manual states.
- Add the deck. The counter deck spans the boxes and carries the counter weight. Stone-look counters are heavy, so follow the stated spans.
- Clad the front. Tight horizontal slats go over the plywood fronts. The look in the plan is gray-washed teak, but you choose the stain.
- Make the doors and drawer fronts. Plain slatted fronts with black pull bars keep the look clean. Hang them on exterior-rated hinges.
- Install the counter. Choose poured concrete, tile over cement board or a quartz remnant. Follow the thickness and support requirements in the plan.
- Set the grill. Drop it in or roll the cart grill into its enclosed bay.
- Connect gas and electricity by a licensed professional where your local rules require it.
- Add optional parts. The bar overhang, an L-shaped return and the pergola are separate modules, each about a weekend.
Fire and gas safety
Outdoor kitchens are where DIY meets real hazards. The plan has a fire safety and venting sheet and a “PLEASE NOTE” sheet, and the points below are the ones to remember.
- Follow the grill manual for every clearance. The maker states how far the grill must be from wood, the minimum distance above, and what jacket it needs. Do not estimate.
- Keep a non-combustible zone around the grill. That means cement board liners, a stone or tile counter near the heat and no wood trim within the manual’s clearances.
- Ventilate propane enclosures. A cabinet that holds a gas cylinder needs ventilation, as the manual requires.
- Hire a licensed professional for gas and electric work where local rules call for it. This is not a DIY step in many places.
- Keep a fire extinguisher nearby that is rated for grease and electrical fires, and know how to use it.
- Wear protection. Eye and hearing protection for sawing, gloves and a dust mask for cement board, which makes silica dust when cut.
- Mind the weight. Stone and concrete counters are heavy. Get help lifting, and do not exceed the spans in the plan.
- Check permits. Some areas require permits for built-in grills or pergolas. The builder is responsible for safe construction and use.
Pergola and hood
The plan includes a simple modern pergola with notes on hood and vent clearance. If you want a roof over the grill, treat this as a separate project with its own safety review. A hood, a vent or a covered structure over a flame has clearance rules that come from the grill maker and local codes, so plan the pergola last, after the grill is chosen and the clearances are written down.
A smaller option: the griddle station
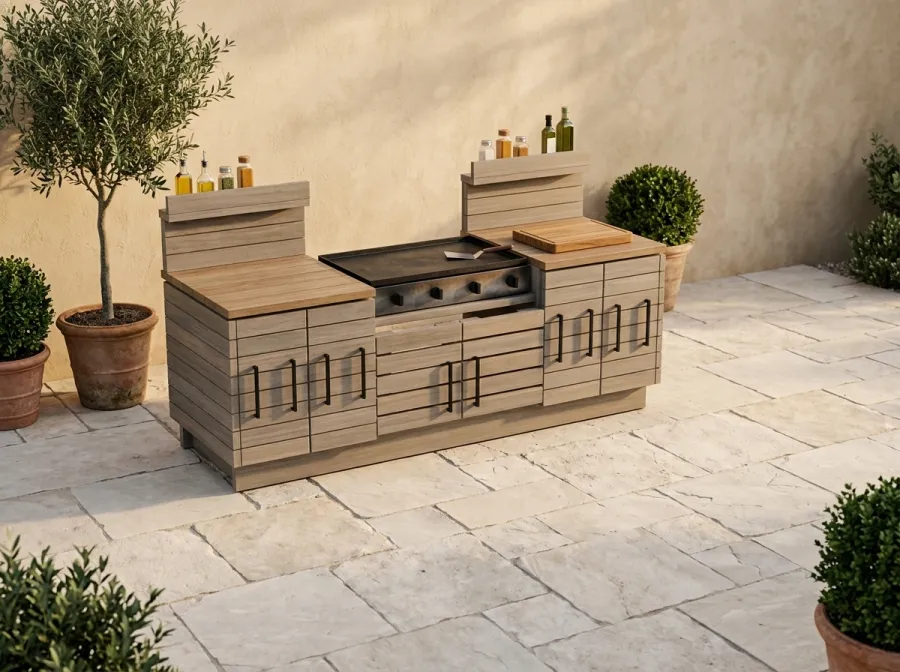
Not everyone wants a full island. If you cook on a cart griddle, The Griddle Station plans are a lighter build. It is a low gray-washed cabinet with a center bay that holds the griddle level with the counter, a plank prep counter on each side, and slat doors with black pull bars along the front.
| Version | Length | Depth and height | Materials estimate |
|---|---|---|---|
| 36 in griddle station | about 8 ft 1 in (bay 38 in) | 2 ft 9 in deep, 3 ft counters | about $730 to $1,040 |
| 28 in griddle station | about 7 ft 5 in (bay 30 in) | 2 ft 9 in deep, 3 ft counters | about $700 to $1,010 |
The design has a thoughtful detail: the doors under the griddle hide the propane tank in a vented cabinet, with gaps between the slats, a slot at the bottom and one at the top, the back left open, a hose pass-through to the griddle and a strap that keeps the tank upright. Every board is a standard 8 ft 2x4 or 2x6, and the plan estimates about 15 to 16 hours of work over a weekend. It is aimed at first-time builders with a cart griddle. As with the island, you measure your own griddle first, and the plan has a clearances sheet.
What it costs
Costs depend on the counter you choose, the grill and how much you do yourself, so check the materials list in the plan against local prices. For the island, compare against the catalog price range of about $3,743 to $8,999 for finished grill islands. For the griddle station, finished comparable stations run from about $649 to $2,499. Our build cost page explains how the estimates are made, and our outdoor kitchen island cost article goes through the numbers. Materials estimates are at typical US home-center prices and vary by region.
Wood choices and finishing
Outdoor wood needs to be rated for it. The griddle station plan calls for cedar, redwood or pressure-treated lumber rated for above-ground use, straight and dry. Pick one of those, and read the best wood for outdoor furniture before you shop. For the gray-washed look, see weathered teak look on outdoor wood. Whatever the finish, plan to inspect and recoat on a schedule.
Where the plans fit
An outdoor kitchen is not a project to wing. The island plan is a digital download at $16.99 and includes the grill cutout sheet, layouts and boxes, counter options, the build in 16 numbered steps, a cart grill variant, a shopping list, strength checks, a pergola and hood sheet, a weekend planner and a build day checklist. The griddle station plan is $12.99 and covers measuring your griddle, safety and clearances and the full cut list. You can compare them on the Grill Island page and the Griddle Station page.
Summary
To build an outdoor kitchen yourself, you start from the grill manual, prepare a level non-combustible pad, build a treated plinth, assemble repeating plywood boxes, line the grill zone, clad the fronts, hang the doors, set the counter and bring in licensed help for gas and electric. Done as a set of weekend modules, it is a realistic project for a careful home builder, and the safety steps are the part you should never shortcut.