How to Get a Weathered Teak Look on Outdoor Wood
Get the silver-grey weathered teak look on cedar, pine and treated lumber with stains, tannin tricks and sealers. Steps, a product table and upkeep advice.
Outdoor furniture sold in teak looks the way it does for two reasons. The wood itself is dense, oily and rot resistant, and the silver-grey patina that develops after a season outside has become the signature of a well-made patio piece. Real teak is costly. Ordinary cedar, pine and pressure-treated lumber are not, and with the right finishing you can get close to a weathered teak appearance without the price. This guide covers the color you are aiming for, the preparation that makes it last, and three different routes to get there.
What weathered teak actually looks like
Fresh teak is a golden brown. Left outdoors untreated, UV light breaks down the surface lignin and the color fades through honey and grey-brown to a soft silver. That silver is not paint: it is a thin layer of weathered surface fibers. The result is low contrast, slightly warm grey, with the grain still visible and a dry, matte feel. Designers love it because it hides dust, rain spots and minor scratches.
Three characteristics define the look:
- Muted grey with a brown undertone, not a cold blue-grey and not a flat charcoal.
- Visible grain, so a heavy film finish or opaque paint is wrong.
- A matte, slightly rough surface, not glossy varnish.
Keep those in mind when you pick products, and you will avoid the most common outcomes that look wrong: orange cedar, dark brown stain, and shiny spar varnish.
Start with the right lumber
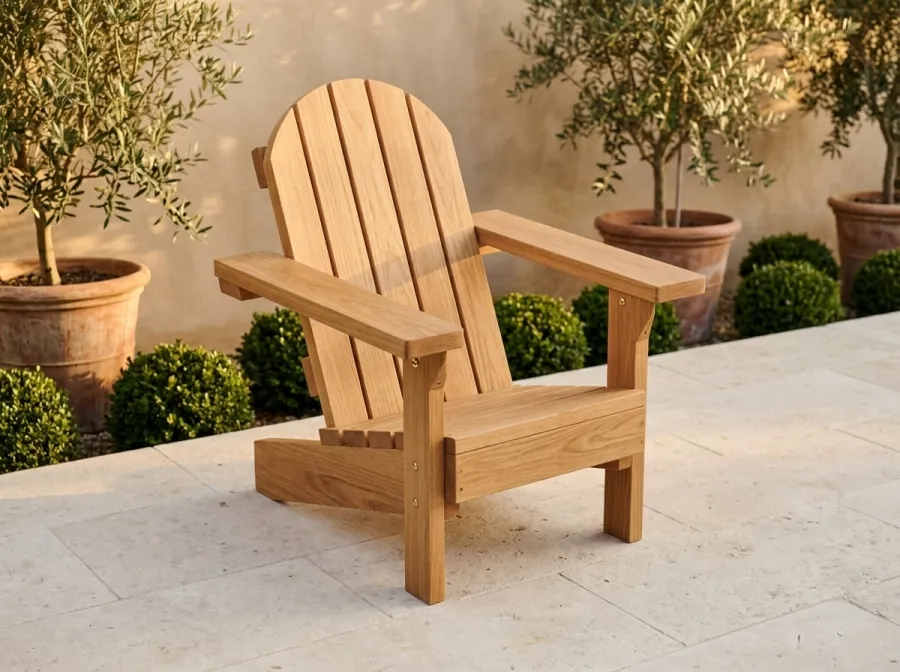
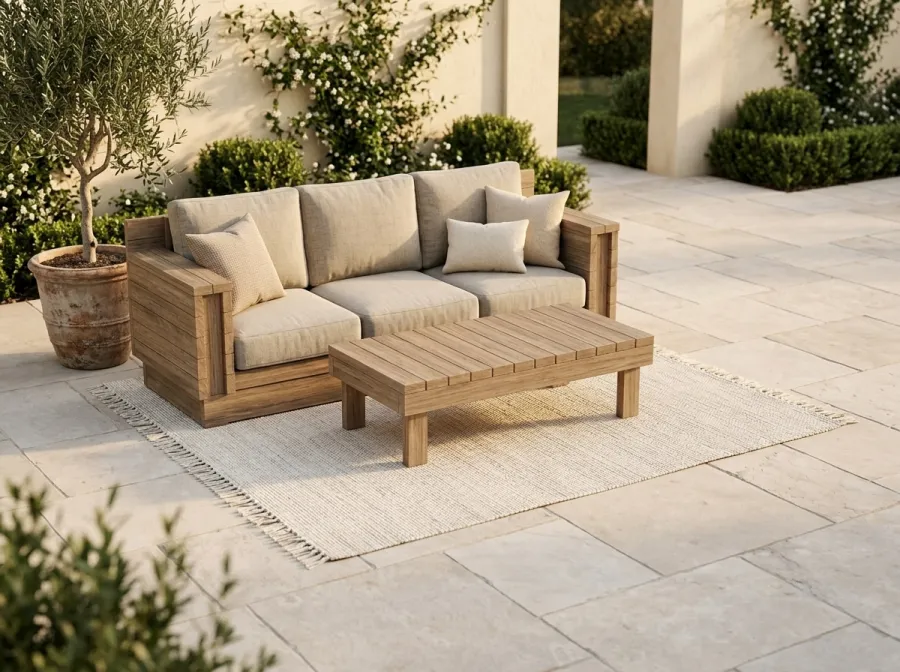
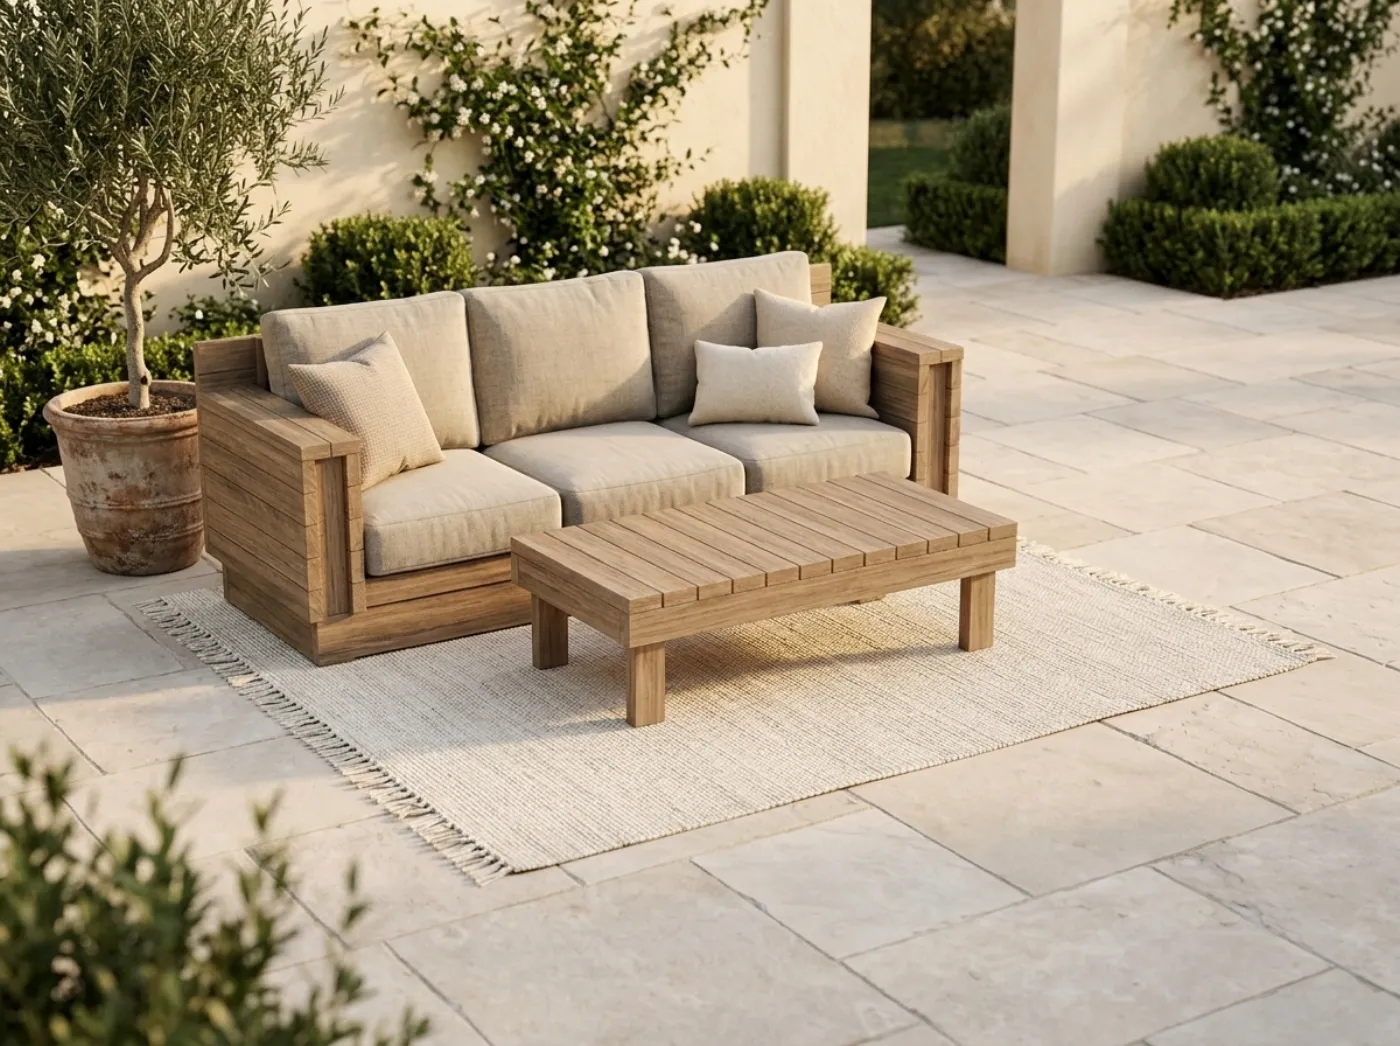
The two plans this guide supports use ordinary framing sizes. The Classic Adirondack is built from 2x4 and 2x6 lumber, with an arched five-slat back and wide rounded arms. The Coastal Platform Sofa is built entirely from 2x4 and 2x6 boards and calls for outdoor-rated lumber: cedar, redwood, or pressure-treated lumber rated for above-ground use, straight, dry and free of large knots. Both plans suggest exterior screws, coated or stainless, and exterior glue.
Each wood takes a weathered look differently:
| Lumber | Natural color | How it ages | Notes for the teak look |
|---|---|---|---|
| Cedar | Pinkish tan | Silvers evenly on its own | Easiest route, needs only a UV-protective grey wash or none at all |
| Redwood | Reddish brown | Fades to grey-brown | Needs a grey tint to cut the red |
| Pressure-treated pine | Green-tinted or brown | Greys unevenly, may crack | Must dry fully before finishing; use a grey semi-transparent stain |
| Untreated pine or fir | Pale yellow | Rots quickly outdoors | Not suitable for exposed outdoor use |
Treated lumber is often wet when it leaves the yard. Stack it with spacers in a shaded, ventilated spot and let it dry for several weeks before you stain it, or stain will not soak in and may peel. A simple check is to sprinkle water on a board: if it beads, wait longer, and if it soaks in within a few minutes, the wood is ready to take a finish.
Three routes to the look
Route 1: Let it weather naturally
On cedar, the cheapest option is to apply nothing or a clear water repellent and wait. Over several months to a season, the surface will turn silver. The tradeoff is that weathering is uneven. Areas under cushions, protected by roofing, or in shade grey at different speeds, so the piece may look patchy for a long time. Bare wood also checks and raises its grain, and it absorbs water at the end grain, which is where rot starts. For a sofa that sits near a pool or under trees, a bare finish is not the best choice.
Route 2: A semi-transparent grey-brown stain
This is the most dependable route. A semi-transparent exterior stain carries pigment and UV blockers, shows the grain, and gives you the color on day one.
- Sand with 80 grit and then 120 grit. The Adirondack plan lists 80 and 150 grit sheets, and the sofa plan lists 120 and 180 grit. Both are fine. Smooth surfaces on seats and arms matter because skin touches them. Sand the end grain a little smoother than the faces, since it soaks up much more stain.
- Clean with a brush and a damp rag. Remove all dust so the stain bonds to wood, not to dust.
- Test on a scrap of the same lumber. Look at it dry, and again after an hour, because stain tones shift as they dry.
- Apply with a brush or pad, in the direction of the grain, and work one board at a time. Wipe off drips and puddles within the time on the can, since stain that sits becomes a film that peels.
- Coat the end grain twice and the underside of any slat, arm or seat board, which is where moisture enters.
- Recoat after the time on the label if the color is too light, remembering that two thin coats outlast one heavy one.
Choose a product described as a grey, driftwood, silver or weathered tone with a brown base. A quick way to judge: if the swatch on the can looks blue, the result on yellow wood will look green. A tone that appears slightly warm on the label usually produces a neutral grey outdoors.
Route 3: Accelerated aging with a vinegar and iron solution
Woodworkers have long used a simple solution of white vinegar and fine steel wool to grey wood artificially. The iron reacts with tannins in the wood and darkens it to a grey or charcoal color. The effect depends heavily on the species: it works well on tannin-rich woods such as cedar, redwood and oak, and weakly on pine, which has little tannin.
To prepare it, put a pad of fine steel wool in a glass jar, cover it with white vinegar, leave the lid loose so gas can escape, and let it sit for a day or more. Strain it, brush it on a test board and watch the color develop over several minutes. To strengthen the reaction on pine, first brush on a strong, cooled black tea solution and let it dry, which adds tannin. Test carefully, since results vary and the solution can look blue or black on some boards. Once the color is right and the wood is fully dry, seal it with a clear, UV-protective exterior finish, because the solution gives color but no weather protection.
Seal for the long term
Color is cosmetic. Water protection is what keeps a piece lasting. Whichever route you choose, finish with a penetrating exterior oil or a water-repellent sealer with UV inhibitors rather than a thick film varnish. Penetrating finishes wear gradually and can be refreshed with a light cleaning and a new coat. Film finishes crack and flake, and then need to be stripped. The sofa plan calls for exterior stain and sealer, or exterior primer and paint, on every face, edge and end, with a budget of 5 quarts for the three-seat sofa, 4 quarts for the loveseat. The chair plan lists one quart of exterior primer and paint, or penetrating exterior oil or stain.
| Product type | Look | Maintenance | Good for |
|---|---|---|---|
| Semi-transparent grey exterior stain | Grey with visible grain | Recoat when faded | Sofas, chairs |
| Penetrating exterior oil | Warm, natural | Reapply seasonally | Cedar, redwood |
| Clear water repellent with UV blockers | Near bare | Reapply yearly | Letting cedar silver |
| Wood brightener | Cleans and lightens | Use before restaining | Renewal |
Fasteners and details that show
Black streaks coming off steel screws are a sign of corrosion and can stain cedar, which is naturally acidic. Use coated or stainless exterior screws. Plugging or filling screw holes helps protect them, and the chair plan lists 3/8 in screw hole plugs for this purpose. If you want a clean line, fill the recess with exterior wood filler, let it cure, sand, and then stain; the filler will look slightly different, so test the combination first.
A few more details improve the aged look and the lifespan:
- Ease every edge with 120 grit. Sharp edges chip stain and feel unfinished.
- Keep the piece off wet ground. Felt or rubber pads under the plinth of the sofa plan keep end grain out of puddles.
- Allow airflow. Slat gaps are there partly to let water out. Do not fill them with caulk.
Safety and cleanup
Wear safety glasses and a dust mask when sanding, and gloves when you brush on stain or the vinegar solution. Treated lumber dust should not be inhaled, so sand outdoors. Rags soaked with oil finishes can self-heat and ignite when piled: spread them flat to dry outdoors, or seal them under water in a metal container. Follow the safety information on every product label, and do not store solvents near heat.
Care over the first few years
New stain looks darkest in the first season, then lightens as UV fades the pigment. Once a year, scrub the piece with a soft brush, mild soap and water, rinse, let it dry for a day or two, and look for places where water no longer beads. Those spots need a fresh coat. Wipe pollen and mildew early. Tighten screws, check the joints before anyone sits down, and replace any slat that has started to split.
Tools and supplies for the job
The finishing work is simple and the supply list is short. A pair of chemical-resistant gloves protects your hands from stain and the vinegar solution. A fine steel wool pad is what you soak in vinegar for the aging solution. A natural bristle stain brush pushes stain into the grain and the gaps between slats better than a foam pad. Keep a stack of lint-free rags for wiping back, and a few disposable drop cloths so the patio or lawn does not take the drips.
Common problems and fixes
- The stain looks too dark. Wipe the surface with a rag dampened with the solvent named on the can while it is still wet. Once cured, light sanding with 120 grit and a fresh, lighter coat is the cleaner fix.
- The grey looks blue or green. The undertone fights the wood. Add a thin coat of a warm brown stain to neutralize it, and test on scrap first.
- Blotchy color on cedar. Cedar has bands of different density. Apply stain in thin coats and keep a wet edge along each board.
- Peeling. Film finishes lift when applied over damp wood or an old sealer. Strip back to bare wood, let it dry, and switch to a penetrating product.
- Mildew spots. Scrub with a soft brush and a cleaner made for outdoor wood, rinse, and let the piece dry fully before recoating.
Weathering is slow, and patience is the cheapest tool you have. A finish that looks slightly too light on day one usually settles into the right tone after a few weeks outdoors.
Closing the gap with the catalog piece
A retail teak platform sofa or reclined teak chair is priced by the wood, and many shoppers are paying for the patina as much as the species. The silver-grey finish is within reach for a builder using cedar or treated pine. Pair it with the plans for the Coastal Platform Sofa or the Classic Adirondack, pick a grey-brown sealer, and the finished piece will look like the one in the photo. Check the build cost guide for what the lumber and finishing supplies run before you buy.