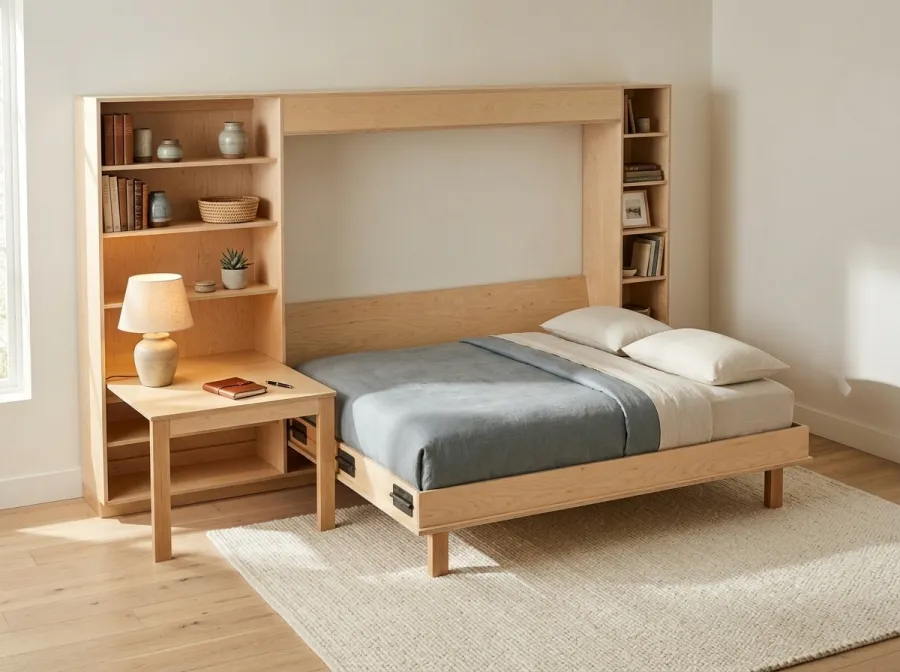
How to Build a Murphy Bed: A Simple Side-Tilt Wall Bed with Desk
How to build a Murphy bed from plywood and 2x4s: the cabinet, the pivot, the lift assist, the desk, anchoring and the daily-use question, step by step.
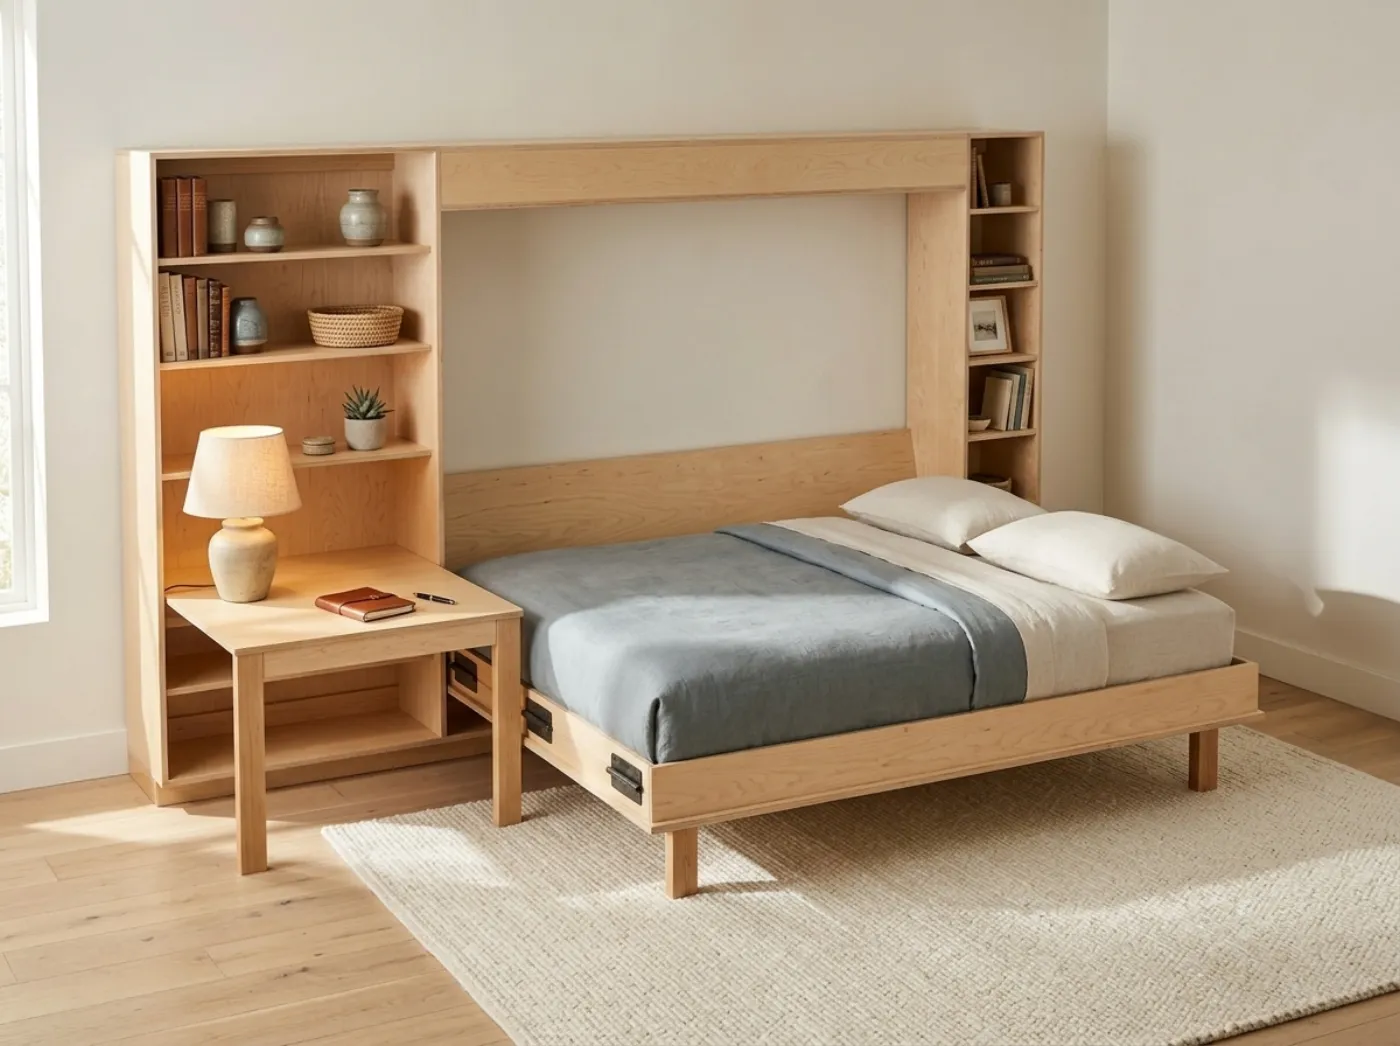
If you want to know how to build a Murphy bed, the short answer is that it is two projects in one. The first is a plywood cabinet, which is ordinary carpentry. The second is a hinged, counterbalanced bed box, which is where the care goes. This guide walks through the whole sequence for a simple side-tilt wall bed with a fold-down desk, so you can judge whether it is a project for you before you buy anything.
The bed we are describing is the one in The Library Wall Bed plans: a horizontal wall bed in a plywood cabinet, with a desk tower on the left and a shelf tower on the right. It comes in twin, full and queen. These are generic DIY plans, not engineered drawings, and a wall bed is heavy, so read the safety section below before you cut a single board.
What “simple” means for a Murphy bed
No wall bed is trivial, but some designs are simpler than others. A side-tilt (horizontal) bed stores with its long edge against the wall, so the closed unit is wider and shallower than an end-tilt design. In this plan the closed unit is 1 ft 6 in deep and 7 ft tall, and 11 ft 1 in wide for twin and full or 11 ft 6 in wide for queen. That width matters: the desk tower, the bed bay and the shelf tower are built as one piece, so you need a clear wall at least that long.
The simplicity comes from the construction. The bed is a flat plywood box hinged along its long bottom edge. Stored, it stands up behind a framed face. Lowered, it reaches 3 ft 4 in (twin), 4 ft 8 in (full) or 5 ft 2 in (queen) into the room, with two fold-out wooden legs under the foot. You buy the moving hardware rather than fabricating it, and the cabinet is built from 2x4s, 2x6s, 1x3s, 1x4s and six sheets of 3/4 in plywood.
Tools and hardware you will need
The plan is written for someone comfortable with a circular saw and a drill, with a helper available for lifting. Nothing here needs a workshop full of machines, but a few tools make the work safer and more accurate.
| Item | Why you need it |
|---|---|
| Circular saw with a guide | Breaking down plywood sheets and crosscutting 2x4s |
| Drill and driver | Pilot holes, countersinks and structural screws |
| Long level and tape measure | The cabinet has to be plumb against the wall |
| Clamps | Holding plywood panels while you fasten them |
| Stud finder | Locating wall studs for the anchors |
| Pivot hinges, lift assist, stop straps, latches | Bought hardware, rated for your bed size |
If you are building your tool kit from scratch, a circular saw guide rail helps you cut plywood straight, a stud finder takes the guesswork out of anchoring, and a set of bar clamps is worth having for the cabinet panels. For a deeper look at the moving parts, see our guide to Murphy bed hardware.
Step by step: how to build a simple Murphy bed
The plan has its own build sequence, fastener schedule and cut list for each size. What follows is the overview, so you know what the work actually looks like.
- Pick your size and confirm the wall. Measure the wall width, the ceiling height and the floor space the lowered bed needs. Check the mattress thickness against the plan. Locate every stud on the wall where the cabinet will stand and mark them.
- Buy the hardware first. The lift assist is rated to the weight of the bed, so you want its real dimensions and ratings in hand before you commit to the cabinet layout. Buying hardware last is the most common way a wall bed project stalls.
- Cut the sheet goods and lumber. Work from the cut list for your size. Label each piece with painter’s tape as it comes off the saw. The plan has a cut list for every piece, so nothing is left to improvisation.
- Build the cabinet carcass. The desk tower, bed bay and shelf tower are assembled as one frame, then squared and set against the wall. Use the glue and screw schedule in the plan, and check diagonals before the glue sets.
- Build the bed box. This is a flat plywood box with joists, rails and a pivot beam. It is the heaviest single component, and it is the part that carries the load every night.
- Mount the pivot hinges. The hinges go on the long bottom edge of the bed box and the cabinet. They must land in solid framing members, as shown in the drawings, with pilot holes and the screws the hinge calls for.
- Install the lift assist. The lift assist (gas pistons or springs) balances the bed so one person can raise it. The plan gives the bed weights, the ratings to look for and the torque the lift assist must hold. Do not guess here.
- Fit the stop straps, latches and legs. Straps limit the swing, latches keep the bed shut and the folding legs support the foot when it is open.
- Build the desk leaf. The desk leaf, 3 ft 3 in by 2 ft 6 in, hangs from the cabinet and not from the bed, so it stays level whatever the bed does.
- Anchor the cabinet to the wall studs. This is not optional. See the safety section.
- Finish, then test with a helper. Sand, prime and paint or stain. Then raise and lower the bed several times with a second person standing by before you put a mattress on it.
The desk question: a DIY Murphy bed with a desk
A fold-down desk is the most popular addition to a wall bed, and it is built into this design. The desk tower sits to the left of the bed bay. The leaf hangs from the cabinet on a continuous hinge, rather than from the bed. That separation is the key design idea: if the desk were attached to the bed box, it would tilt as the bed moved, and you would have to clear it every night.
Because the leaf belongs to the cabinet, the desk can stay as it is while the bed folds down beside it, as far as the dimensions allow. Check the fit between the lowered bed and the desk in your own room with the plan’s dimensions before you commit.
If you want a desk but not the shelf towers, note the limit the plan states plainly: the plans do not cover building the bay without the towers. The unit is designed as one piece.
Can you use a Murphy bed every day?
People ask this because they have seen wall beds that were used twice a year, and they wonder whether the mechanism holds up to daily raising and lowering. The honest answer is that a wall bed can be an everyday bed, but only if the hardware is rated for the job and the build is done carefully.
A few things decide it. First, the lift assist: a properly rated unit makes the raise and lower an easy motion, while an underrated one makes it a chore or a hazard. Second, the mattress: a mattress that is too thick or heavy changes the balance, so use the thickness the plan assumes. Third, maintenance: hinges, fasteners and straps are loaded every day, so inspect them regularly. The plan includes a maintenance and inspection log for this reason.
We have not tested these plans or any particular bed under daily use, and the plans make no claim about lifespan. What the plan does is check every member, including the deck joists, rails, pivot beam, legs, desk and wall anchors, against a stated load. For daily use, treat the hardware as a wear item, not a permanent installation, and replace anything that shows play or damage.
Safety: read this part twice
A wall bed stores a large, heavy object upright. If it tips, falls or closes unexpectedly, it can injure people. Treat the following as rules, not suggestions.
- Anchor to wall studs. The cabinet must be fastened to the framing behind the wall with structural screws. Drywall anchors alone are not a substitute.
- Use hardware rated for the weight. Check the rating for your size against the plan, and do not substitute lighter parts.
- Keep children off. A wall bed is not a toy, and a child can be trapped by a closing bed.
- Do not store a bed with the latch unchecked. Confirm the latch engages every time you close it.
- Use a helper to lift. The bed box is heavy during assembly even before the mattress goes on.
- Wear PPE. Eye protection and hearing protection for sawing, a dust mask when sanding or cutting plywood, and gloves when handling large panels.
- Check local codes. Some jurisdictions have rules about structural alterations or permits, and the builder is responsible for safe construction and use.
For more on securing tall pieces, see anchoring tall furniture to the wall.
What it costs to build
The plan’s materials estimates, at typical US home-center prices, run from about $1,110 to $1,590 for the twin, $1,170 to $1,680 for the full and $1,210 to $1,740 for the queen, including hardware. Prices vary by region, and these figures cover materials only. Finished wall beds with shelving, by comparison, run from about $1,659 to $2,699 in retail listings. For a fuller breakdown, see the build cost page.
| Size | Closed width | Lowered reach | Materials estimate |
|---|---|---|---|
| Twin | 11 ft 1 in | 3 ft 4 in | about $1,110 to $1,590 |
| Full | 11 ft 1 in | 4 ft 8 in | about $1,170 to $1,680 |
| Queen | 11 ft 6 in | 5 ft 2 in | about $1,210 to $1,740 |
Finishing
A wall bed is a piece of furniture that faces the room, so finishing matters. Sand the face frame and shelves through the grits, fill screw holes, and prime before painting. A durable paint such as a satin cabinet enamel holds up better than wall paint on surfaces you touch every day. Finish the desk leaf with a tougher coat, since it will carry laptops, mugs and elbows.
Where the plan fits
You can understand the method from this article, but you cannot build from it. The plan is the detailed next step: dimensioned drawings, a cut list for every piece, a computed materials list, the design basis sheet with member loads, the pivot, lift assist, legs and desk sheet, and a build day checklist. It is a digital download at $19.99, and it is made for builders who are comfortable with a circular saw, a drill and a helper to lift. You can see everything it includes on the Library Wall Bed plan page.
If you are still comparing options, read the build vs buy breakdown first. If you decide to go ahead, buy the hardware before the lumber, and keep a helper on call for the days when the bed box moves.
Summary
To build a simple Murphy bed, you make a plywood cabinet, build a flat bed box, hinge it on its long edge, balance it with a rated lift assist, add legs, latches and straps, hang a desk leaf from the cabinet and anchor the whole unit to the studs. The process is straightforward but unforgiving, because the hardware and the anchoring carry real weight. Done carefully, with the plan’s stated loads and a helper, it is a reasonable weekend-warrior project and a very different outcome from a store-bought wall bed.