Plywood for Furniture: Grades, Thickness and How to Cut It Cleanly
Choose the right plywood for cabinets, beds and workbenches: grades, thickness, edge banding, and how to cut sheets without tear-out. Includes a comparison table.
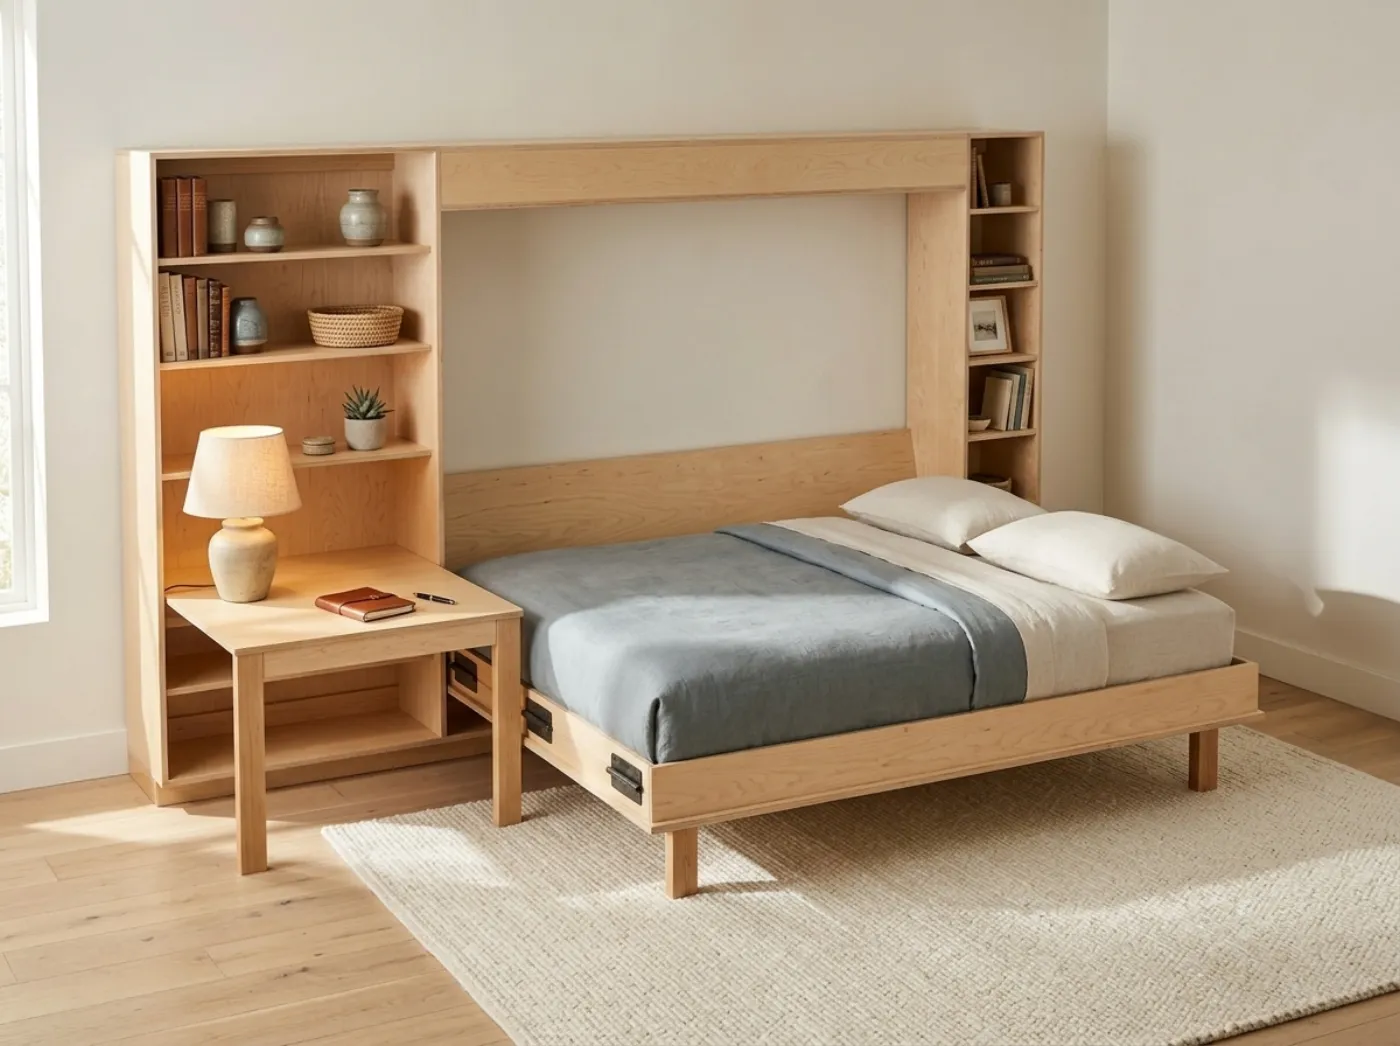
Plywood is the material behind most cabinets, wall beds and painted kids’ furniture. It is stable, it comes in large flat sheets, and it holds screws well along its faces. It also confuses first-time buyers because the sheets in the lumber aisle carry letters, numbers and brand terms that do not explain themselves. This guide sorts out the grades, thicknesses and cutting methods you need for furniture, and shows how three of the catalog plans use plywood.
How plywood is built
Plywood is made of thin layers of wood, called plies or veneers, glued together with the grain of each layer turned 90 degrees from its neighbor. That cross-graining is what makes a sheet resist the warping and splitting you see in wide solid boards. Most sheets have an odd number of plies, so the faces have grain running in the same direction. The face grain on a 4 x 8 ft sheet runs along the 8 ft length, which tells you the strongest direction for spanning a shelf.
Two construction terms are worth knowing:
- Veneer core uses real wood layers throughout. It is strong and holds screws.
- Void-free or “cabinet grade” core uses plies with few or no gaps in the inside layers, which gives cleaner edges and better screw holding.
Cheaper sheets can have voids in the core, small gaps that show on cut edges and that can make a screw near an edge spin or snap.
Reading the grade stamp
Plywood is graded by the quality of its two faces, using letters from A (smooth, repaired) to D (open knots and voids). A sheet marked A-C has one nice face and one rougher back. Sheets for furniture are often sold instead by the species of the face veneer: birch, maple, oak, or a general sanded pine.
| Type | Face quality | Typical use | Notes |
|---|---|---|---|
| Sanded pine or fir plywood, A-C or B-C | Smooth one side | Painted cabinets, shelves, shop furniture | Affordable; veneer is thin and sands through easily |
| Birch or maple cabinet-grade plywood | Smooth both sides | Furniture to be painted or clear coated | Void-free cores common; best edge appearance |
| Hardwood plywood (oak, walnut and others) | Decorative veneer | Visible clear-finished furniture | Easy to sand through; edge banding is a must |
| Sheathing (CDX) | Rough | Construction, hidden structure | Voids and rough surface; not for visible furniture |
| Exterior or marine plywood | Water-resistant glue | Outdoor pieces | Higher price; does not mean rot proof if unfinished |
| MDF and particleboard | Not plywood | Paint-grade cabinets | Heavy; swells when wet; weaker screw holding |
The letters on the stamp also include a glue rating. For indoor furniture, an interior or Exposure 1 sheet is acceptable. For anything that will see moisture, such as a workshop or a patio piece, step up to an exterior-glue sheet and seal every edge.
Thickness is smaller than the label
Nominal thicknesses, such as 3/4 in, 1/2 in and 1/4 in, are often a little thin in reality. A sheet sold as 3/4 in can measure close to 23/32 in, and thinner sheets can be a hair under their label. This matters when you cut a groove or dado for a shelf, because a 3/4 in router bit will make a slot that is slightly too wide. Measure your sheet with a ruler or calipers before cutting joints that depend on a tight fit, and cut from the real number, not the label.
| Thickness | Common furniture uses | Notes |
|---|---|---|
| 1/4 in | Drawer bottoms, cabinet backs | Bends easily; support it |
| 1/2 in | Drawer boxes, small panels, bed deck layers | Good for lightweight parts |
| 3/4 in | Cabinet sides, shelves, tops, bed platforms | The default for structure |
How the catalog plans use plywood
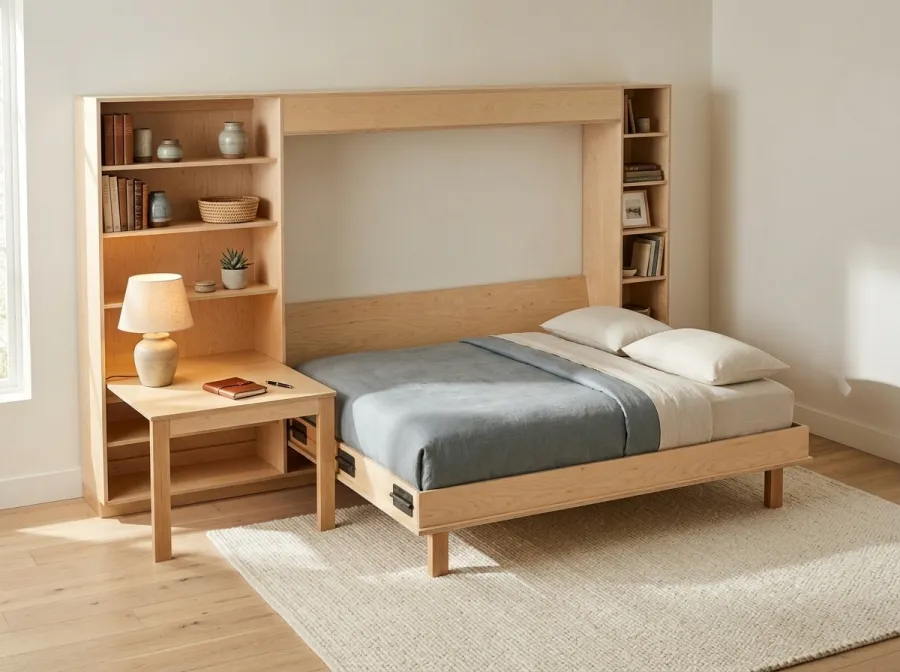
The Library Wall Bed. The Library Wall Bed is a plywood cabinet. The twin materials list calls for 6 sheets of 3/4 in plywood and 4 sheets of 1/2 in plywood, and the full uses 6 sheets of 3/4 in and 5 sheets of 1/2 in. The bed itself is a flat plywood box hinged along its long bottom edge. Plywood is a good choice here because large flat panels keep the cabinet square and the framed face stable. Because the plan includes iron-on edge banding in 3/4 in width, the plywood edges that show get a finished look.
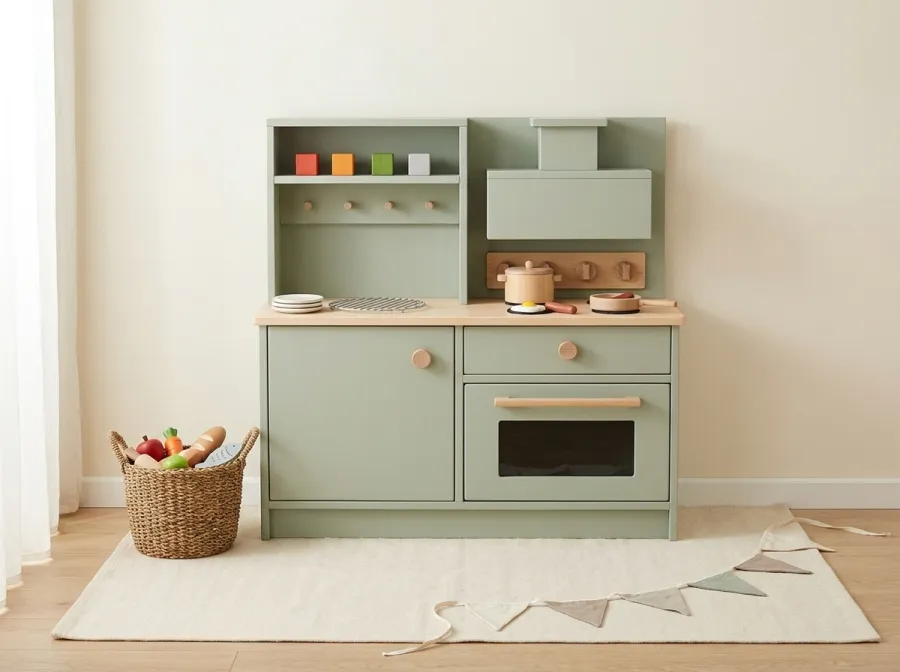
The Cottage Play Kitchen. The Cottage Play Kitchen is built from two sheets of 3/4 in sanded birch plywood, cabinet grade, plus 1x4 and 1x6 boards. Birch gives a smooth, tight-grained surface that takes paint well, and its edges look clean with optional iron-on birch edge banding. Since the kitchen is for children, every corner is rounded and the plan includes a plywood cutting diagram so you can lay out all the parts on the two sheets.
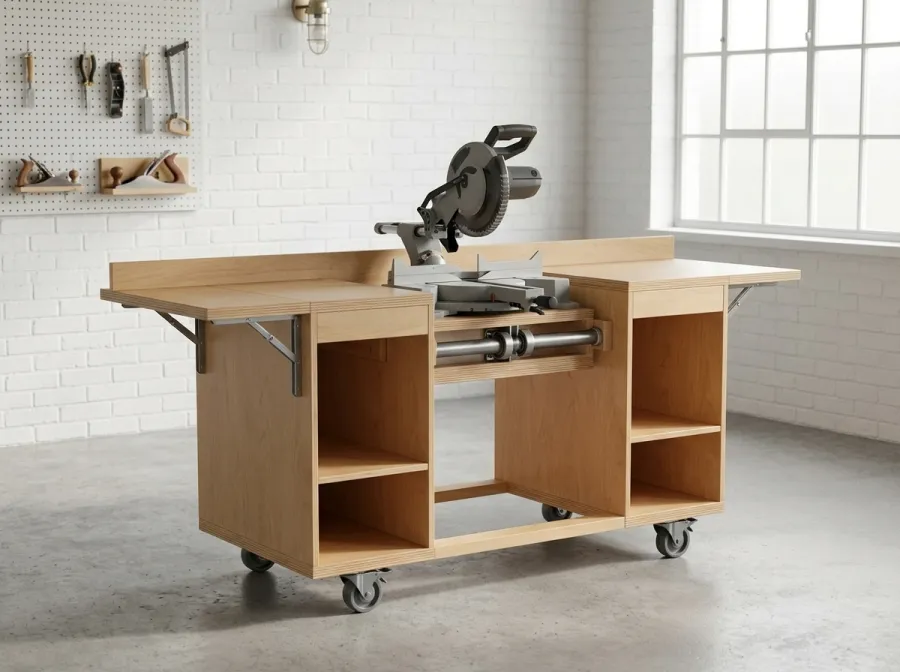
The Flip-Top Bench. The Flip-Top Bench uses 3/4 in plywood cabinets with 2x4 rails and platform frames. The compact bench materials list shows 4 sheets of 3/4 in plywood, with sheets of 1/2 in plywood, 1/4 in plywood or hardboard, and tempered 1/8 in hardboard for backs and liners. In a shop piece, plywood’s stability is what keeps a rolling cabinet flat.
Buying sheets
- Check for flatness. Stand the sheet on a long edge and sight along it. A slightly bowed sheet can often be pulled flat when screwed to a frame, but a twisted sheet will fight you.
- Look at the edges. Voids show as dark gaps. Pick the sheet with the tightest edge for visible parts.
- Inspect both faces. Some sheets have patches (“football” repairs). Fine for hidden faces, not for tabletops.
- Think about the haul. A 3/4 in sheet weighs a lot, and many people cut sheets down at the store or in a driveway before moving them. Have a helper.
- Store flat or supported. Leaning a sheet at a steep angle for weeks lets it bow.
Lumber and plywood are bought at a lumberyard or home center and not through the affiliate links in this guide. The plan shopping lists give quantities so you can walk in with a list.
Cutting plywood without tear-out
Tear-out is the splintering of veneer along the cut. These methods keep edges clean:
- Support the entire sheet. Lay it on sheets of rigid foam insulation or a pair of sawhorses with 2x4s across them, so the cut falls off in the waste area and the sheet does not pinch the blade.
- Use a fine blade. A plywood blade for a circular saw with 40 to 60 teeth cuts cleaner than a framing blade.
- Score or tape the line. Put painter’s tape along the cut and mark on top of it, or score the line with a utility knife.
- Cut with the good face down when using a circular saw, since the blade teeth enter from the top and push splinters upward on the top face. With a table saw, the good face goes up.
- Use a straightedge guide. A straightedge cutting guide for circular saws or a clamped board gives a straight cut. Measure the offset between the saw’s blade and its base edge.
- Make the final pass light. Let the blade reach full speed before it enters the wood, and cut at a steady pace.
Wear eye and ear protection, and a dust mask. Plywood dust contains glue residues, and cutting produces a lot of fine dust.
Edge treatment
Raw plywood edges show stripes of layers. Options:
| Method | Look | Effort |
|---|---|---|
| Iron-on edge banding | Looks like solid wood | Low; use a household iron and trim flush |
| Solid wood strips glued on | Strong, can be shaped | Medium |
| Filler and paint | Hides layers on painted pieces | Medium; sanding required |
| Leave raw and clear coat | Casual, modern look | Low |
For banding, press firmly while the glue is hot, then trim with an edge banding trimmer or a sharp chisel, and sand lightly with 220 grit.
Fastening into plywood
Plywood holds screws well on its faces and poorly on its edges, where screws can separate the plies. Pre-drill and countersink near edges, keep screws at least 3/8 in from an edge where you can, and use glue on every joint. The play kitchen plan pre-drills and countersinks plywood joints, and the wall bed plan uses #8 x 2 in screws to join plywood to framing, with glue. Pocket holes can work in 3/4 in plywood but are less strong than in solid wood.
Finishing
Sand with 120 grit and then 180 grit, and be careful with the thin face veneers: sanding through to a different color layer is hard to repair. Use a primer made for plywood before painting to stop grain showing through. Edge-banded edges and cut edges soak more finish, so a second coat often helps there. For a child’s item, use a finish labeled toy-safe.
Storing and handling sheets
Plywood stays flat when it is stored flat. If you cannot lay the sheets on a level floor, stack them on a few 2x4 sleepers spaced every 16 in or so, so the stack is supported across its width. Keep them indoors and out of damp basements for a few days before you cut, so the moisture content settles near the room’s normal level. Carry a sheet on its long edge with a helper, and wear gloves, since the edges are sharp and the face can splinter. Cut a sheet into manageable pieces early: a rough cut of a 4 x 8 sheet into smaller blocks is easier to move and to control on a saw guide.
Layout before the first cut
A cutting diagram saves material. Sketch the sheet to scale on paper, place the largest parts first, and note the grain direction on each part. Visible faces usually want the grain running along the longest dimension. Leave room for the saw kerf, about 1/8 in per cut, between every pair of parts. If your plan includes a diagram, follow it: it was laid out so that every part fits on the stated number of sheets. If you change a dimension, redraw the layout before you cut so that you do not end up short by one panel.
Catalog look from plain sheets
Retail painted cabinets and wall beds look expensive because their panels are flat, square, finely finished and edged. Plywood delivers flat and square at a low cost. Take your time on cuts, band the edges, and spend more of your effort on sanding and paint than on fancy joinery. For complete cut lists and cutting diagrams that make the most of each sheet, see the plans linked above, and check the build cost guide to see how plywood compares with other materials.