How to Make a Play Kitchen: A DIY Wooden Play Kitchen, Step by Step
How to make a play kitchen from two sheets of plywood: oven door, sink cutout, counter, shelves, a child-safe finish, and what to do about older kids.
If you are wondering how to make a play kitchen, the good news is that it is a very approachable woodworking project. It is built from two sheets of 3/4 in plywood and a few 1x boards, it uses straight cuts, and the details that make it charming, such as a working oven door, a sink and a range hood, are simple once you see how they are made. This guide explains how to make a play kitchen in order, with the Cottage Play Kitchen in our play kitchen plans as the example. It also addresses the question of older kids, with an honest note about what the plan does and does not cover.
These are generic DIY plans, not engineered drawings. Because the finished piece is for children, the safety section below deserves a careful read.
What the finished kitchen looks like
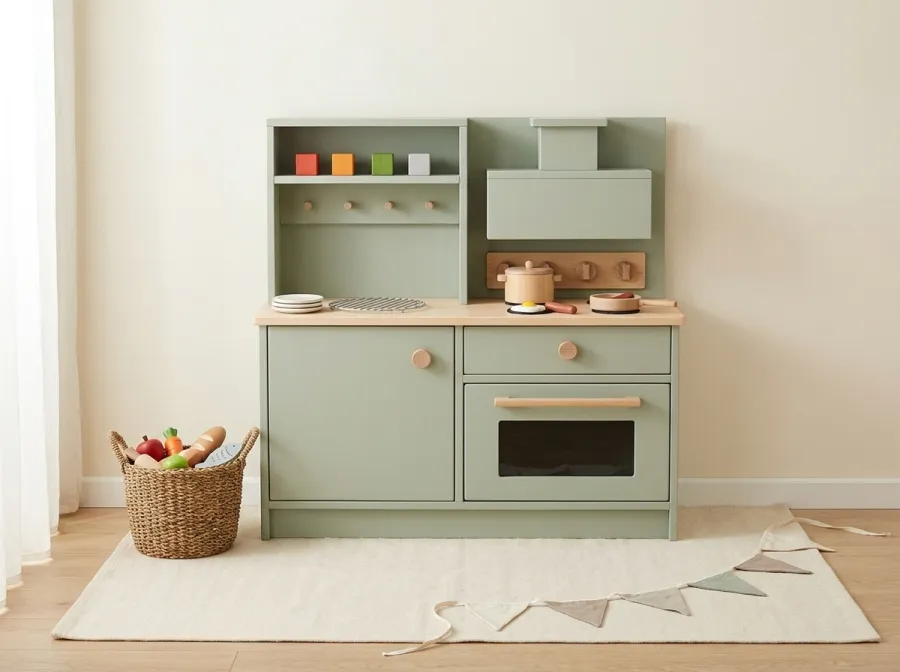
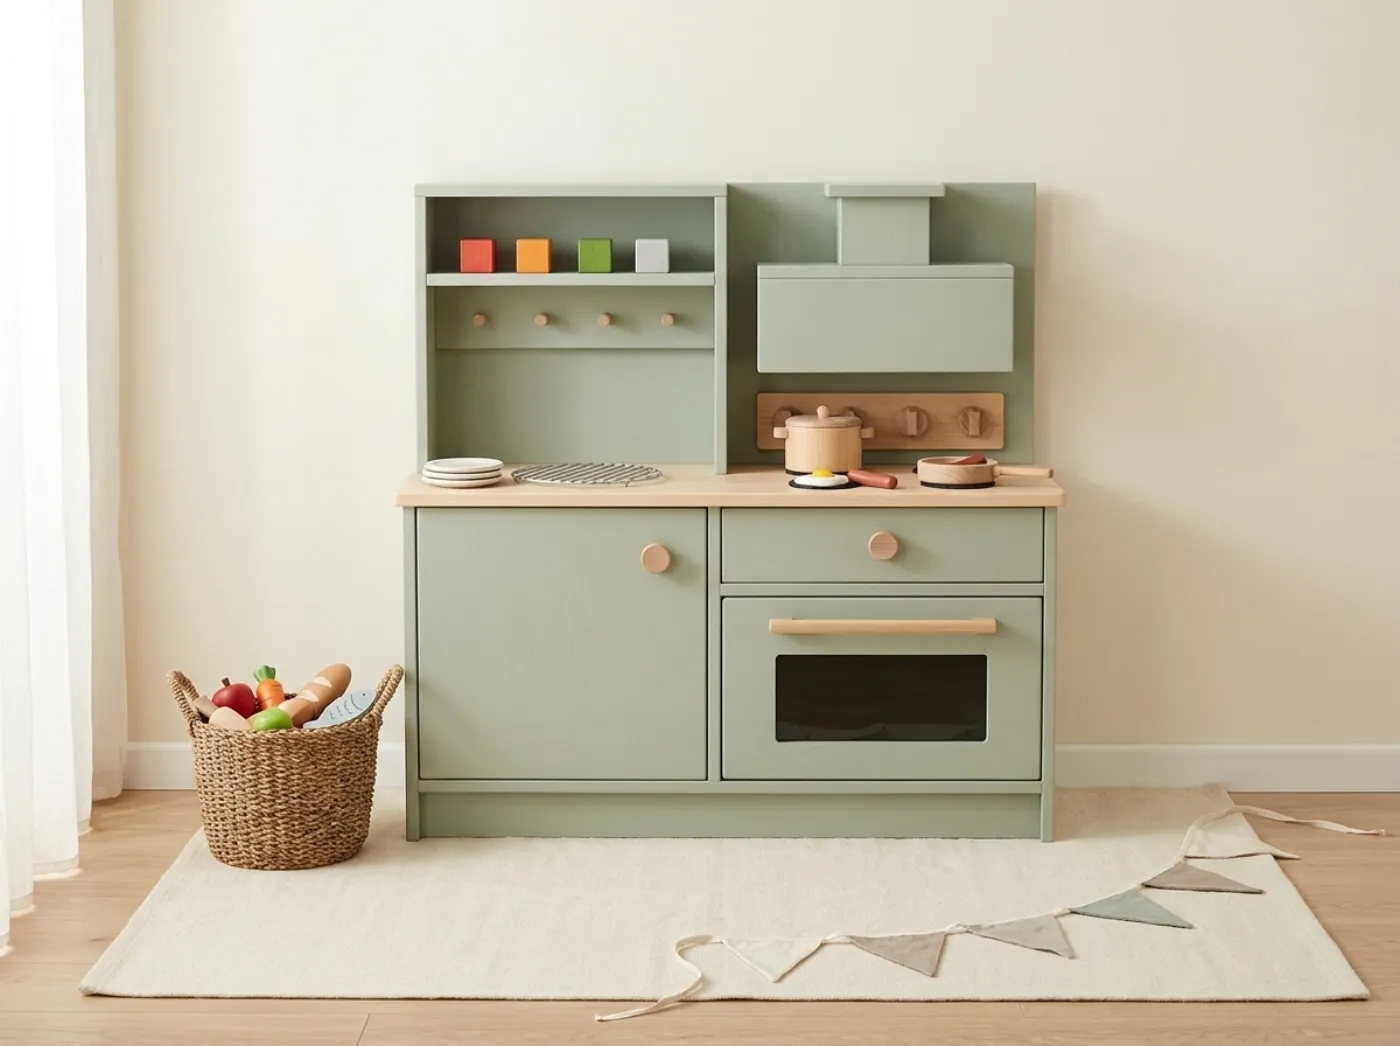
The plan builds a play kitchen 40 in wide, 13 in deep and 38 in tall, for ages 3 and up, with the counter about 21 in high. It has these parts:
- A painted base in white or sage, with an oven door that has a window, hinged at the bottom with a soft stop, a cupboard door under the sink and a small drawer.
- A light wood counter with a sink cutout sized for a common stainless mixing bowl (the plan includes the method for measuring your own bowl) and four painted burners.
- An upper backsplash with two shelves, a hook rail, a faux range hood and four knobs made from wooden drawer pulls.
- Rounded corners and no small parts, which is the design principle that matters most for a child’s piece.
Everything comes from two sheets of 3/4 in plywood and a few 1x boards, all standard 8 ft sticks. The plan estimates about 13 hours of work over a weekend, plus a few days for the paint to cure.
Tools and supplies
| Item | What it does here |
|---|---|
| Circular saw with a guide, or a table saw | Cutting plywood panels cleanly |
| Jigsaw | Cutting the sink opening and rounded corners |
| Drill and driver | Pilot holes, countersinks, screws |
| Router with a round-over bit, or a sander | Softening every edge |
| Clamps | Holding panels during assembly |
| Brad nailer (optional) | Quick trim work |
| Sandpaper | Smoothing before paint |
A round-over router bit set rounds edges quickly and evenly, and a jigsaw with fine-tooth blades gives a clean cut for the sink. A stainless steel mixing bowl is the sink insert, so buy it before you cut the opening. For the paint, look for a child-safe water-based enamel and read the label for its intended use.
Step by step: how to make a play kitchen
The plan includes a plywood cutting diagram, a lettered cut list and one page per numbered step. The overview:
- Measure your bowl. The sink cutout depends on the bowl you buy, so the plan puts “Measure your bowl” near the front. Buy the bowl, then size the hole to match.
- Read the child-safe sheets. The plan has a “Round every corner” page and a “Safety and child-safe finish” page. Read them before cutting.
- Lay out the plywood. Use the cutting diagram to get every panel from the two sheets with minimal waste. Mark with a pencil and check twice.
- Cut the panels. Use a guide for the long straight cuts. Cut the sink opening with a jigsaw after drilling a starter hole in each corner.
- Round every corner and edge. Do this before assembly, while the panels lie flat. Sand or rout until nothing feels sharp.
- Assemble the base. Glue and screw the sides, top and bottom with pilot holes and countersinks. Check for square.
- Make the oven door. The oven door is hinged at the bottom with a soft stop, so it lowers gently. Fit a clear acrylic window in the opening.
- Make the cupboard door and drawer. Keep the gaps even. Use hardware that does not pinch fingers.
- Build the counter. Fit the counter with the sink cutout, paint the four burners, and ease every edge.
- Add the upper backsplash. Two shelves, a hook rail and the faux range hood. The four knobs are wooden drawer pulls.
- Sand, prime and paint. Use a child-safe finish, with enough coats for a durable surface.
- Let it cure. The plan allows a few days for the paint to cure before the kitchen goes into use. Plan around it.
Time by stage
| Stage | What happens | Notes |
|---|---|---|
| Planning and shopping | Measure bowl, buy plywood and hardware | Buy the bowl first |
| Cutting | Panels from the diagram | Cleaner with a guide |
| Rounding and sanding | Every edge and corner | Slow, but it matters |
| Assembly | Base, doors, drawer, counter, shelves | Roughly the weekend |
| Painting and curing | Coats, then days of cure | Do not rush |
The plan estimates about 13 hours of work in total, with a few extra days for the paint to cure.
Making it safe for children
A play kitchen is for a child, so it is built to a different standard than a bookcase.
- No small parts. The plan avoids loose pieces a child can swallow. Check every knob, hinge and screw head, and replace anything that could come loose.
- Round every corner. Square corners at toddler height are hazards. Sand or rout until they are soft.
- Use a child-safe finish. Read the label, and allow the coating to cure fully before use.
- Anchor it. The plan lists an anti-tip strap kit rated for 50 lb or more per strap. A kitchen that stands against a wall should be strapped to it. See anchoring tall furniture to the wall.
- Watch fingers. The oven door has a soft stop so it does not slam. Check the hinge gaps, and keep the drawer from pinching.
- Supervise. The plan is for ages 3 and up. Younger children need extra attention.
- Wear PPE while cutting and sanding: eye and hearing protection, and a dust mask. Plywood dust is not for breathing.
- Inspect regularly. The plan includes a regular check log. Tighten knobs, look at hinges and look for splintering.
DIY play kitchen for older kids
A common question is whether a play kitchen can be made for older children. Here is what can be said honestly.
The plan is designed for ages 3 and up, with the counter about 21 in high and the whole piece 38 in tall. That is a good height for a young child. A child who is much taller could find the counter low, and one who has moved on from pretend play will want something different.
The plan does not include an older-kid version, so any change is your own design. If you want to adapt it, there are a few sensible ideas:
- Raise the base. Adding height to the base would raise the counter. Because that changes the proportions and the structure, treat it as your own design and check the stability, especially the anti-tip anchoring.
- Choose grown-up finishes. A butcher-block look counter, darker paint and metal-look pulls make the kitchen feel less like a toy.
- Use real functions. Some families like a working oven door that holds a small tray, or hooks for real small utensils.
- Skip it. For older children, a simple kids’ cooking stool or a real step-up is sometimes a better answer than a larger play kitchen.
Whatever you change, remember that the plan’s checks apply to the plan as drawn.
What it costs
The plan estimates about $340 to $490 in materials for the Cottage Play Kitchen, at typical US home-center prices (these vary by region, and the estimate includes plywood, which is the main cost). Comparable finished wooden play kitchens run from about $349 to $599 in retail listings. At the low end, the savings are slim, and the case for building rests on the fact that you choose the finish, the colors and the quality of the materials. For how the estimate works, see our build cost page and the play kitchen build vs buy article.
| Item | Detail |
|---|---|
| Size | 40 in wide, 13 in deep, 38 in tall |
| Counter height | about 21 in |
| Age | 3 and up |
| Sheet goods | Two sheets of 3/4 in plywood |
| Materials estimate | about $340 to $490 |
Painting tips
White and sage are the colors in the plan. Prime first, sand lightly between coats and apply thin layers. Painting the pieces before final assembly, where you can, makes it easy to reach inside corners. A good primer is worth buying: stain-blocking primer stops plywood knots and edges from showing through.
Where the plan fits
You could find your way around a play kitchen from this overview, but the plan does the measuring. The Cottage Play Kitchen plan is a digital download at $12.99 and includes a plan at a glance, the bowl measuring method, the round-every-corner page, the safety and child-safe finish page, the finished piece and parts with the cut list, the plywood cutting diagram, one page per numbered step, a shopping list, finishing and care, a budget planner and a regular check log. It is designed for first-time builders who can follow flat-pack instructions. See it on the Cottage Play Kitchen page.
Summary
To make a play kitchen, you measure the bowl for the sink, cut the plywood from a diagram, round every edge, assemble the base, hang an oven door with a soft stop, build the counter and the backsplash, paint with a child-safe finish, let it cure and anchor it to the wall. The plan is built for ages 3 and up. For older kids, any change in height or design is your own, so take extra care with stability.