Pocket Hole Joinery for Furniture: A Practical Beginner's Guide
Learn pocket hole joinery for furniture: jig settings, screw length by thickness, coarse vs fine thread, glue, clamping, plugs and common mistakes to avoid.
Pocket hole joinery is the fastest way for a beginner to make strong, square joints without chisels, mortises or a table full of clamps. A small jig guides a stepped drill bit at an angle into the back of one board, and a screw driven through that pocket pulls it tight against the next. The method is popular for face frames, aprons, shelves and cabinet boxes, and it is a good fit for several projects in this catalog. This guide explains how it works, how to set up, and where it works best.
How a pocket hole joint works
The jig drills a hole at about 15 degrees into the face or end of a board, with a flat shoulder at the bottom of the hole. The screw head seats on that shoulder, and the screw shank crosses into the mating board. The angle lets you join a board end to the edge or face of another board, which is hard to do with straight screws without splitting. Glue and clamps do the rest.
The strengths:
- Speed. A joint takes a minute or two.
- Clamping force. The screw pulls the joint tight, so you can often skip long clamp time.
- Hidden fasteners when holes are placed on the back or underside.
- Little skill needed, compared with traditional joinery.
The limits:
- Visible holes if you place them on show faces. They must be hidden, plugged or filled.
- Racking strength is less than a well-made mortise and tenon in some cases, though sufficient for the loads in most small furniture.
- End grain to face joints without glue are weaker, and glue is advised in most cases.
What you need
| Item | Purpose |
|---|---|
| Pocket hole jig | Guides the drill at the right angle |
| Stepped pocket hole drill bit with a stop collar | Drills the pocket and pilot hole in one pass |
| Pocket hole screws | Washer-head screws made for the angle |
| Face clamp or right-angle clamp | Holds boards flush while driving |
| Square drive bit | Grips the screw head |
| Wood glue | Strengthens the joint |
| Pocket hole plugs | Hide holes where they show |
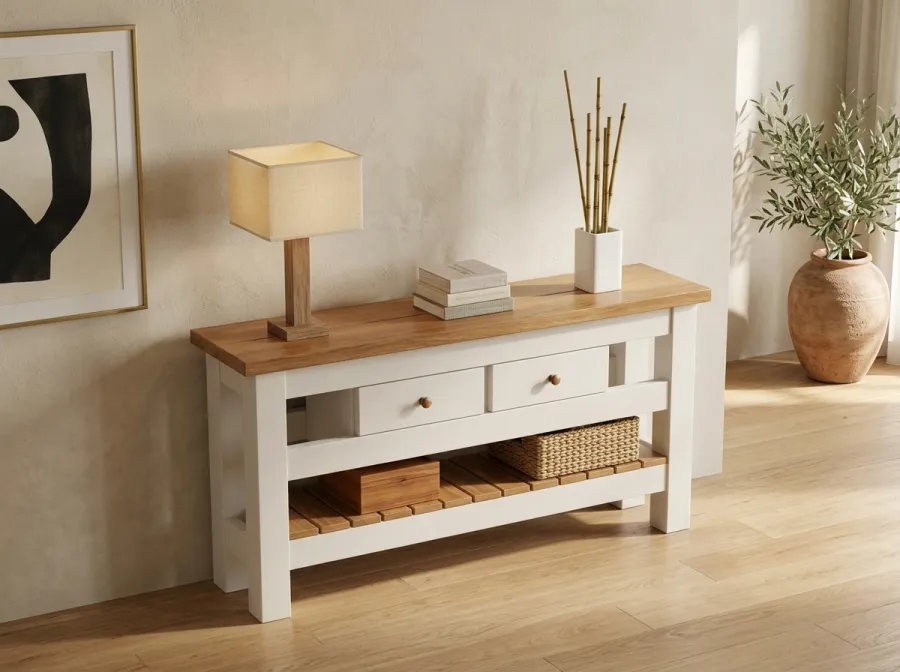
The console table plan lists 2-1/2 in coarse-thread pocket hole screws, used with a jig set for 1-1/2 in stock, along with wood glue and stainable filler for holes on show faces.
Set the jig by thickness
Pocket hole jigs have three settings: the drill depth (stop collar on the bit), the jig block position, and the screw length. They must all match the thickness of the board you are drilling. A common chart:
| Board thickness | Screw length | Typical use |
|---|---|---|
| 1/2 in | 1 in | Thin panels, drawer parts |
| 3/4 in | 1-1/4 in | Plywood, 1x boards, shelves |
| 1 in | 1-1/2 in | Thick 1x stock |
| 1-1/2 in | 2-1/2 in | 2x lumber, like the console aprons |
The most common source of trouble is a mismatch. A screw that is too long pokes out of the face, and one that is too short may not bite. Make a test joint in scrap of the same material first, and measure the result.
Setup steps
- Measure the board thickness with a ruler or calipers, since 2x lumber measures 1-1/2 in, not 2 in, and a “3/4 in” plywood sheet can be a little thinner.
- Set the jig block or guide to that thickness, following the jig’s instructions.
- Set the stop collar on the drill bit by placing the bit in the jig hole and tightening the collar at the correct depth.
- Clamp the board in the jig, with the face you want hidden facing the jig.
- Drill with the drill running, push steadily, and withdraw the bit to clear chips.
- Test on scrap with the screw you plan to use.
Coarse thread or fine thread
Screw threads matter. Coarse-thread screws bite well in softwoods such as pine, fir and cedar, which are soft and tear easily. Fine-thread screws are used in hardwoods and plywood, because they do not split dense wood as readily. The console plan specifies coarse-thread screws for softwood. In the play kitchen plan, which uses birch plywood, poplar, pine and birch 1x boards, the plan uses ordinary flat-head wood screws with pilot holes, countersinks and plugs for the main joints, so pocket holes there are a choice for the framing parts.
Orient holes thoughtfully
Plan your pockets before you drill. Put holes where they are hidden:
- Underside of a shelf or tabletop rail.
- Back face of a cabinet or the inner face of an apron.
- Inside an assembled box.
Drill pockets on the part that will end up on the hidden side. For a four-sided frame, keep all holes on the same interior face. Mark each piece with a pencil showing which side gets the pocket, and label the mate. When holes must show, as on a bookcase seen from the front, use wood plugs or filler.
Assembly steps
- Dry fit each joint and check the orientation.
- Apply glue to the mating surface. Use a thin, even layer, and wipe off squeeze-out with a damp rag before it dries. Dried glue blocks stain.
- Clamp the parts flush so the faces align. A face clamp prevents the board from slipping when the screw bites.
- Drive screws at a moderate speed, with the clutch set so that you do not strip or overdrive.
- Check alignment and clean up glue.
- Let the glue cure for the time on the label before putting stress on the joint.
On joints that are wider, use more than one screw and space them evenly, a few inches from each edge. Stagger pockets on boards that meet at a corner so the screws do not collide.
How the Farmhouse Console uses them
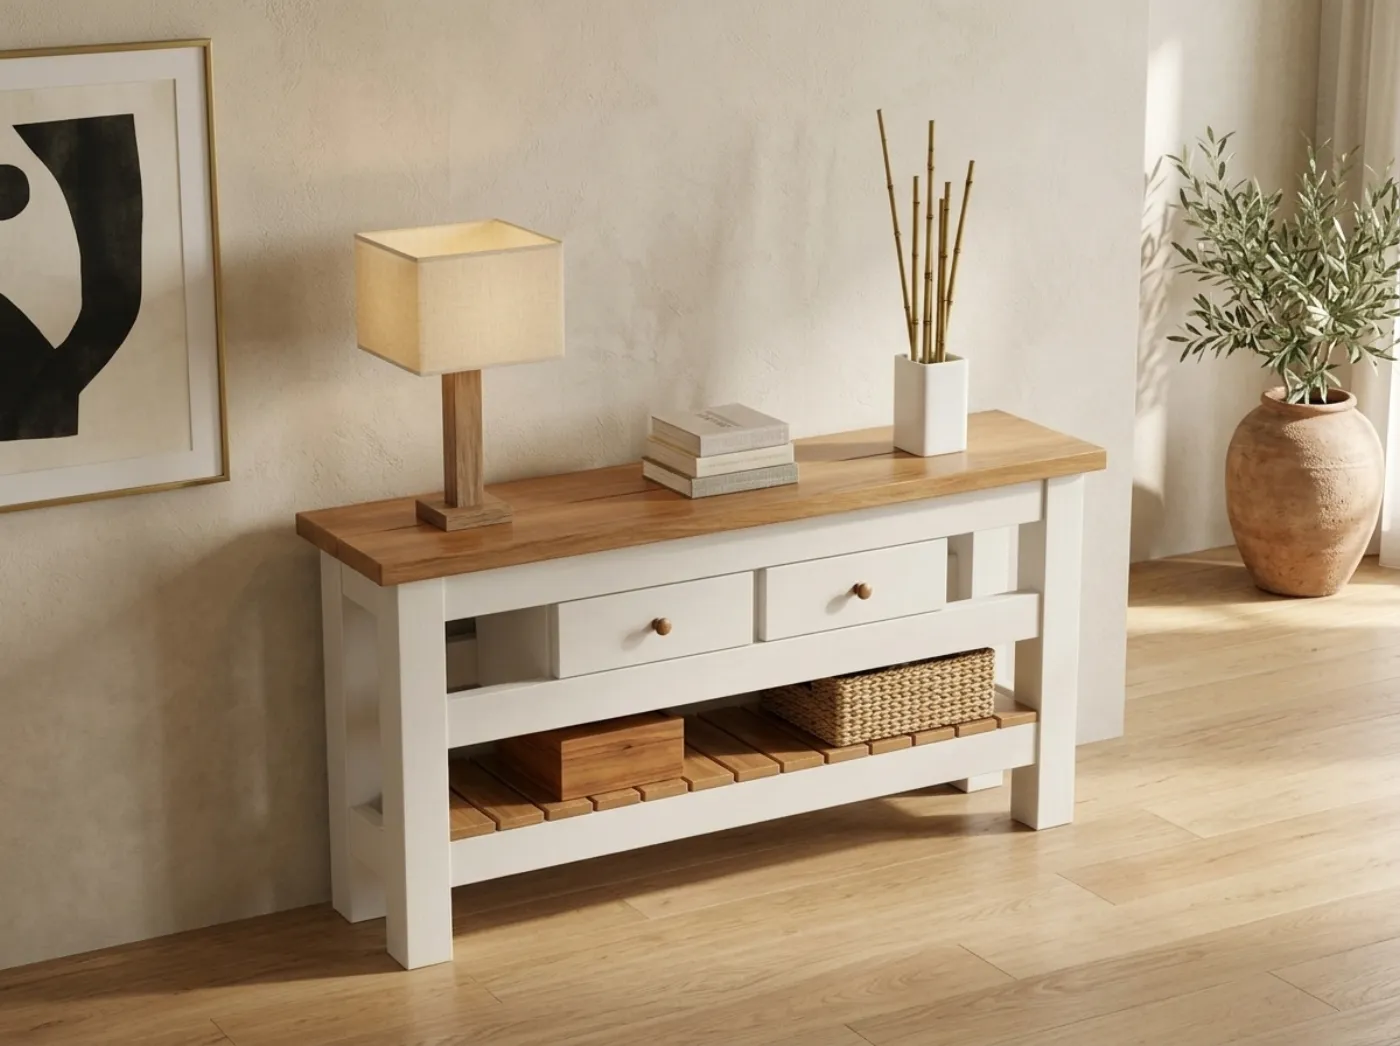
The Farmhouse Console joins its 2x4 aprons and shelf rails, set on edge, to four square 4x4 legs with glue and pocket screws. A pocket screw and glue schedule appears on its own plan page, and materials lists for the 48 in table include 40 pocket-hole screws and a bottle of glue, increasing for longer tables. The plan says that plain screws also work if you do not own a jig. The top is made of two 2x8 boards laid flat, attached with 2x2 cleats and screws, so no pocket holes show on the visible surface. Slats on the bottom shelf are screwed to the shelf rails with #8 x 1-1/4 in screws.
Because the console is a slim table with relatively little racking load, pocket screws plus glue make a stiff frame. The plan also adds an anti-tip strap, which is separate from the joinery.
How the Cottage Play Kitchen can use them
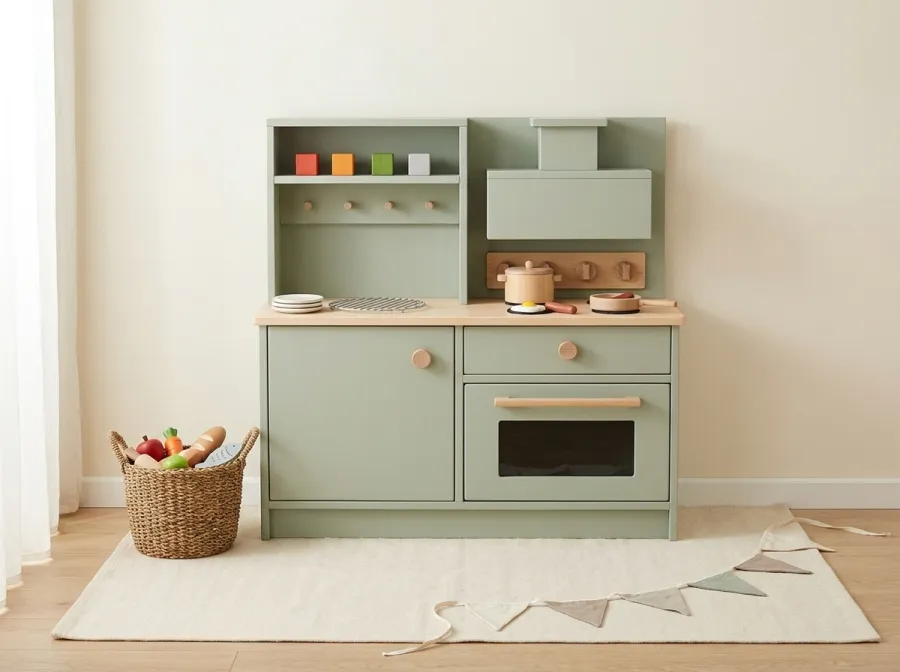
The Cottage Play Kitchen is a plywood and 1x board build in which all corners are rounded and the finished piece is painted. The plan joins plywood with glue and #8 x 2 in screws, pre-drilled and countersunk, and plugs the screw holes in the counter and shelves. Builders who own a jig can use pocket holes on hidden faces of the 1x frame parts, such as the back of a hutch shelf, to speed assembly. Because this is a child’s item, the safety points matter more than the method: sand every edge smooth, make sure no screw points protrude, anchor the upper section to the wall, and use a finish labeled safe for toys.
Common mistakes
| Mistake | Result | Fix |
|---|---|---|
| Wrong screw length | Screw tip pokes through, or joint is weak | Match to thickness, test on scrap |
| Boards shift as the screw bites | Misaligned faces | Use a face clamp, drive slowly |
| No glue on end grain joints | Weak joint | Add glue to every joint |
| Overdriving | Stripped hole, crushed wood | Adjust clutch, stop when seated |
| Fine screws in softwood | Poor grip | Use coarse thread in pine |
| Coarse screws in hardwood | Splitting | Use fine thread, drill a pilot |
| Holes on show faces | Visible pockets | Plan placement, plug holes |
Filling and finishing
Where holes must be covered, glue a plug in with the grain aligned, trim it flush with a flush-cut saw and sand with 120 and 180 grit. A stainable wood filler is the quick alternative, although it will often take stain differently, so test it. Apply wood conditioner before stain on pine. A paint finish hides repairs easily.
Safety
Wear safety glasses and a dust mask when drilling and sanding. Clamp small parts; do not hold them by hand while drilling. Keep fingers away from the bit. Unplug or remove the battery when changing bits.
Spacing and number of screws
As a rule of thumb, place a pocket about 1 in to 2 in from each end of a board and space the rest at intervals of roughly 6 in to 8 in. A narrow rail needs two pockets. A wide board, like a 2x8, can take three or four. Keep pockets at least a screw width away from the edge so the screw does not break out. Drill all the pockets on a part before you begin to assemble, then label the part so you can find the right face quickly.
Practicing before the real build
Take a few pieces of scrap from the same kind of lumber you will use and make three or four test joints. Join them at right angles, then try to twist them apart by hand. Examine where the screw tips emerge. Adjust the collar and the screw length, then repeat. Ten minutes of practice prevents ruined show faces on the real piece, and gives you a feel for how hard to drive the screw in softwood versus plywood.
Gluing tips specific to pockets
Because a pocket screw pulls the joint tight within seconds, it is tempting to skip glue, but glue is what gives the joint long-term strength, especially across end grain. Use a thin film, since too much glue squeezes into the pocket and makes the screw harder to drive. Wipe the squeeze-out from visible faces right away with a damp cloth, then let the remaining glue skin before you scrape it. For painted pieces, small amounts of residue are less of a concern than on stained ones. Keep the work clamped until the glue sets according to its label, and do not stress the joint until it has cured.
When to choose something else
Pocket holes are not the best choice for every joint. For outdoor furniture in wet conditions, exposed fasteners and moving joints, use exterior screws and bolts. For heavy racking loads such as a bunk bed, follow the fastener schedule in the plan, which uses structural screws. For fine show surfaces, think about hidden placements. For a first project, pocket holes help you reach square, strong results quickly, and the console plan is a good place to start. Browse the plan, and check the build cost guide if you are weighing a jig against alternatives.