How to Make Pine Look Like White Oak: A Finishing Guide
Turn ordinary pine lumber into a pale, quiet, white oak look with conditioner, a neutral tone, open grain texture and a matte clear coat. Steps and a finish table.
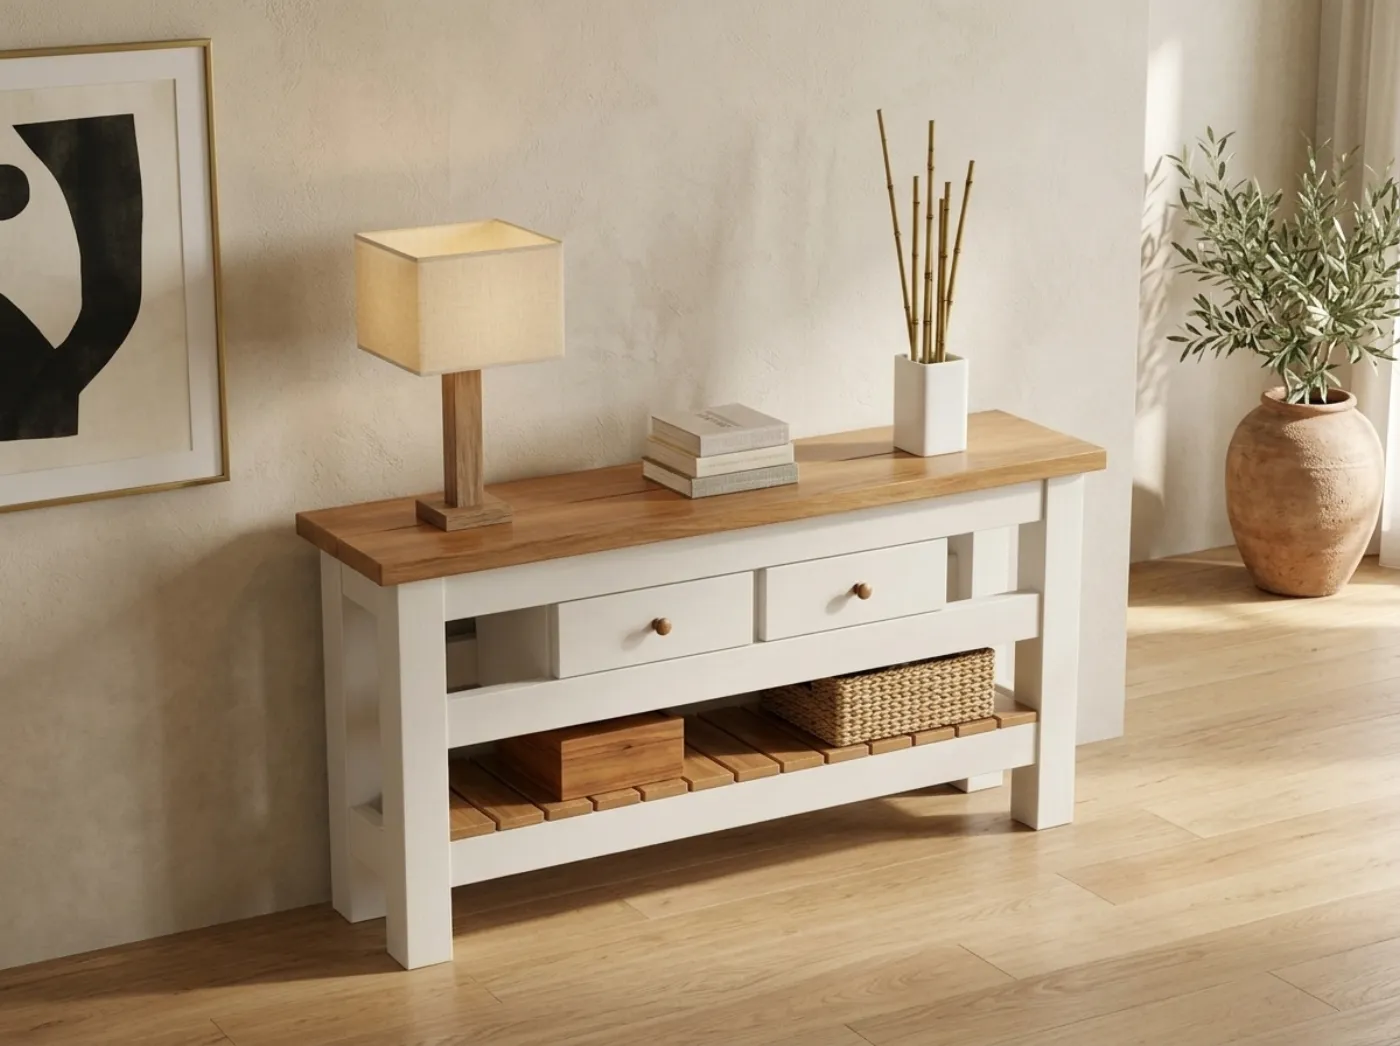
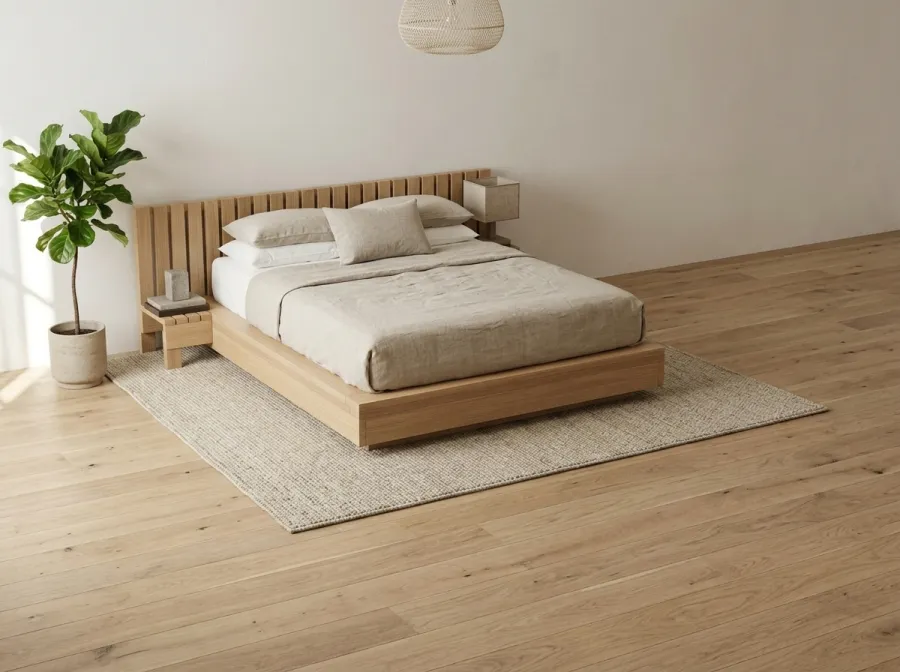
The low platform beds and thick-topped console tables you see in design catalogs are almost always shown in one color family: a pale, slightly grey-beige oak with a soft, dry-looking surface. That look reads as expensive because solid white oak is expensive, and because the finish is restrained. Pine is cheap, soft and eager to turn yellow, yet with the right preparation and a neutral tone it can sit very close to that catalog look. This guide walks through the whole process, from choosing boards to the final coat.
Why white oak looks the way it does
Understanding the target makes every decision easier. White oak has four traits that shoppers read as quality:
- A cool, neutral undertone. Fresh white oak is a pale tan with little red or orange in it. Pine, by contrast, is warm and yellow, and it deepens toward orange under most clear oil finishes.
- Visible but fine grain. Oak has straight, tight grain with small flecks, which looks calm. Pine has a stronger contrast between soft early growth and hard late growth, which is what makes it look busy and blotchy under stain.
- A matte, dry surface. Catalog photography favors low-sheen finishes that look like bare wood rather than plastic.
- Texture you can feel. Oak has open pores. A slightly textured surface sells the illusion more than any color trick.
So the job is to remove the warmth, even out the absorption, add a hint of texture and keep the sheen low.
Choose the right pine
Not every board in the rack is worth finishing. Pick kiln-dried boards that are straight, with small tight knots or none. Boards with tight, vertical grain on the face stain more evenly than boards with wide, swirling cathedral patterns. Sight down each board for twist and bow before you buy, and avoid boards with dark resin streaks, because pitch can bleed through light finishes.
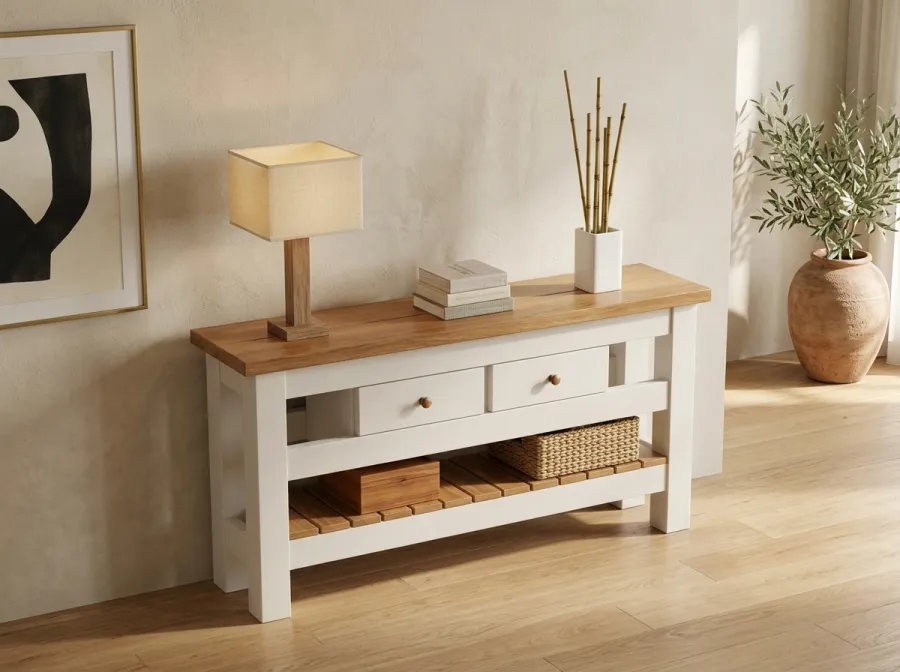
If a board has a large knot in a visible spot, plan to use it where it ends up underneath or hidden, such as a shelf rail or an inside cleat. The plans for the Low Platform Bed list kiln-dried, straight lumber with no large knots, in pine, fir, poplar, ash or oak, and they offer a light oak or ash tone for the clear finish. The same advice applies to the two thick 2x8 top boards on the Farmhouse Console, which are the most visible surface on the piece and deserve the best boards in the stack.
Supplies
| Item | Purpose | Notes |
|---|---|---|
| Sandpaper in 80, 120 and 180 grit | Surface preparation | Stop at 180 for pine that will be stained |
| Pre-stain wood conditioner | Evens absorption | Essential on pine and fir |
| Water-based gel stain in grey-beige | Neutral tone | Avoid labels with red, golden or honey in the name |
| Brass or steel wire brush | Raises grain texture | Use a soft brass brush first |
| Matte water-based polyurethane | Protective topcoat | Water-based stays clear instead of amber |
| Hardwax oil, clear or white-tinted | Alternative to polyurethane | Easy to repair, very low sheen |
| Tack cloth | Dust removal between coats | Wipe lightly |
| Dust mask rated for fine particles | Sanding safety | Wear it for all sanding |
The platform bed materials list also names wood conditioner, a light oak stain, a water-based clear finish or hardwax oil, and 120 and 180 grit sandpaper. For the twin bed it budgets 5 quarts of clear finish, and for the full bed 6 quarts, so a bed is a real finishing project and worth doing properly.
Step by step
1. Sand in stages
Finish quality is decided here. Work through the grits in order and do not skip:
- 80 grit to remove mill marks, planer ripples and any pencil lines. Sand with the grain, never across it.
- 120 grit to remove the 80 grit scratches.
- 180 grit as the last pass before stain.
Going finer than 180 on softwood closes the surface and makes it take less stain, which can leave a pale, uneven result. Break every sharp edge by hand with a light pass of 120 grit. Catalog pieces rarely have razor edges, and a slight softening also helps finish adhere at corners.
Vacuum the dust, then wipe with a tack cloth or a barely damp rag and let the wood dry before moving on.
2. Fill and repair before color
Pocket holes on show faces, screw heads and small dents should be filled now. Use a stainable wood filler and expect it to take stain differently from the surrounding pine. Fill slightly proud, let it cure, and sand it flush at 180 grit. For the best result, fill only where the repair will be hidden or where you can accept a faint mark. Glue squeeze-out is the most common finishing mistake: even a thin film of dried glue stops stain from soaking in and shows as a pale patch. Scrape or sand any glue before you finish.
3. Apply a wood conditioner
Pine blotches because its soft areas drink stain while its dense areas barely take it. A pre-stain conditioner partially seals the surface so the stain goes on more evenly. Brush or wipe on a generous coat, let it penetrate for the time on the label, then wipe off the excess. Stain within the window stated on the can. Water-based conditioners are the safe choice under water-based stain; follow the maker’s pairing advice for oil-based products.
4. Build the color in thin layers
The common error is trying to get the color in one heavy coat. A white oak tone is pale, so build it up in thin layers.
- Start with a very light grey-beige or a diluted neutral stain. Wipe it on, leave it briefly, and wipe it off with the grain.
- Look at the board in daylight and in lamplight. Pine under a warm bulb will always look more yellow.
- If it still looks warm, a thin wash of grey or a white-tinted pickling stain over the top cancels yellow tones. Apply it, wipe back, and let the grain keep a bit of the white in the pores.
Always make a test board from the same lumber, sanded to the same grit, and run the entire finishing schedule on it, including the topcoat. Many color problems appear only after the clear coat goes on.
5. Add texture with a wire brush
This step is optional but is the single biggest thing that makes pine read as oak. Pine’s soft early growth wears away more easily than its hard late growth. Drag a soft brass-bristle brush along the grain with moderate pressure, and the soft bands recess slightly, leaving a ridged surface that holds stain and looks like an open pore. Brush in the direction of the grain only, vacuum, and then stain or pickle. After a stain wash, lightly sand with 220 grit so the ridges are smooth enough to touch comfortably without losing the texture.
6. Seal with a matte, non-yellowing clear coat
Oil-based polyurethane ambers as it cures, which undoes the neutral color you just built. A water-based clear coat or a hardwax oil keeps the tone cool. For a piece that sees daily use, such as a bed ledge or a console top, a water-based polyurethane in matte or satin gives a durable film. Apply thin coats, and sand lightly with 220 grit between coats once the first has fully dried. Hardwax oil is a rubbed-in finish with almost no film thickness, and it looks the most like bare wood. Scratches can be spot repaired later without refinishing the whole piece.
Allow the full cure time on the label before putting a mattress on a bed or setting items on a table top. A finish can feel dry long before it is hard.
Comparing finishing approaches
| Approach | Look | Effort | Durability | Best for |
|---|---|---|---|---|
| Conditioner plus light grey-beige stain plus matte water-based clear | Closest to catalog white oak | Medium | Good | Table tops, bed ledges |
| White-tinted pickling wash plus matte clear | Pale, washed, slightly Scandinavian | Medium | Good | Headboards, shelves |
| Clear hardwax oil only | Natural pine, warm | Low | Fair, repairable | Low-traffic areas |
| Paint-grade white wash, wiped back | Soft whitewashed grain | Low | Fair | Decorative pieces |
| Standard oil-based stain plus oil-based clear | Orange or golden | Low | Good | Not recommended for this look |
Finish safety
Oil-based and some penetrating finishes generate heat as they cure. Rags soaked in them can self-ignite if balled up or left in a pile. Lay used rags flat outdoors, away from buildings, until fully dry and stiff, or submerge them in water in a sealed metal container before disposal. Check the product label for its own instructions. Work with ventilation, wear a respirator suited to the finish when you spray or work in a closed space, and wear a dust mask whenever you sand. Water-based products are far less of a combustion concern, but ventilate anyway.
Troubleshooting
- Blotchy patches. The conditioner went on unevenly or was left too long. Sand back to bare wood at 120 grit and restart, with a more even conditioner coat.
- Still too yellow. Add a thin grey or white wash. Do not add more of the original stain, since this builds the warmth.
- Raised, fuzzy grain after a water-based coat. Water lifts wood fibers. Sand lightly with 220 grit after the first coat dries, then apply the next.
- Streaks on a wide top. Work in wet edges, finishing one full board length at a time, and do not stop in the middle of a surface.
Matching the look across a whole room
A single piece in a pale oak tone can look odd if the room holds other woods in orange or red tones. If you are building a bed and a console together, finish both from the same test board and the same batch of stain so they read as a set. Keep the same sheen on both, since a satin bed beside a matte console can look mismatched even when the color is identical. Look at the pieces together in daylight before the final coat goes on, because a small tonal difference is easy to correct at that stage and hard to fix after the clear coat has cured.
Remember too that wood continues to shift. Light changes the surface over the first months, and a clear water-based finish stays cool while an oiled surface will slowly warm. If you want the tone to stay put, choose the water-based route and keep the piece out of constant direct sun.
Bringing it back to the catalog look
Retail pieces in this style often cost several hundred dollars to a few thousand dollars because of solid oak and the labor to finish it. The shape itself is not hard to build: a slim table with thick legs and a chunky top, or a bed that hovers on a recessed base. The finish carries the price tag in the buyer’s mind. If you give pine a neutral tone, a little texture and a quiet matte surface, you capture most of that impression with ordinary lumber. If you would like a complete set of drawings, cut lists and finishing notes to begin with, browse the Farmhouse Console plans, the Low Platform Bed plans, or the complete collection, and check the build cost guide to price the lumber and finishing supplies before you shop.