How Much Does a DIY Console Table Cost? Farmhouse Console, Build vs Buy
A 60 in farmhouse console table costs about $140 to $200 in materials to build, against $599 to $5,330 for comparable finished thick-top consoles. See the math.
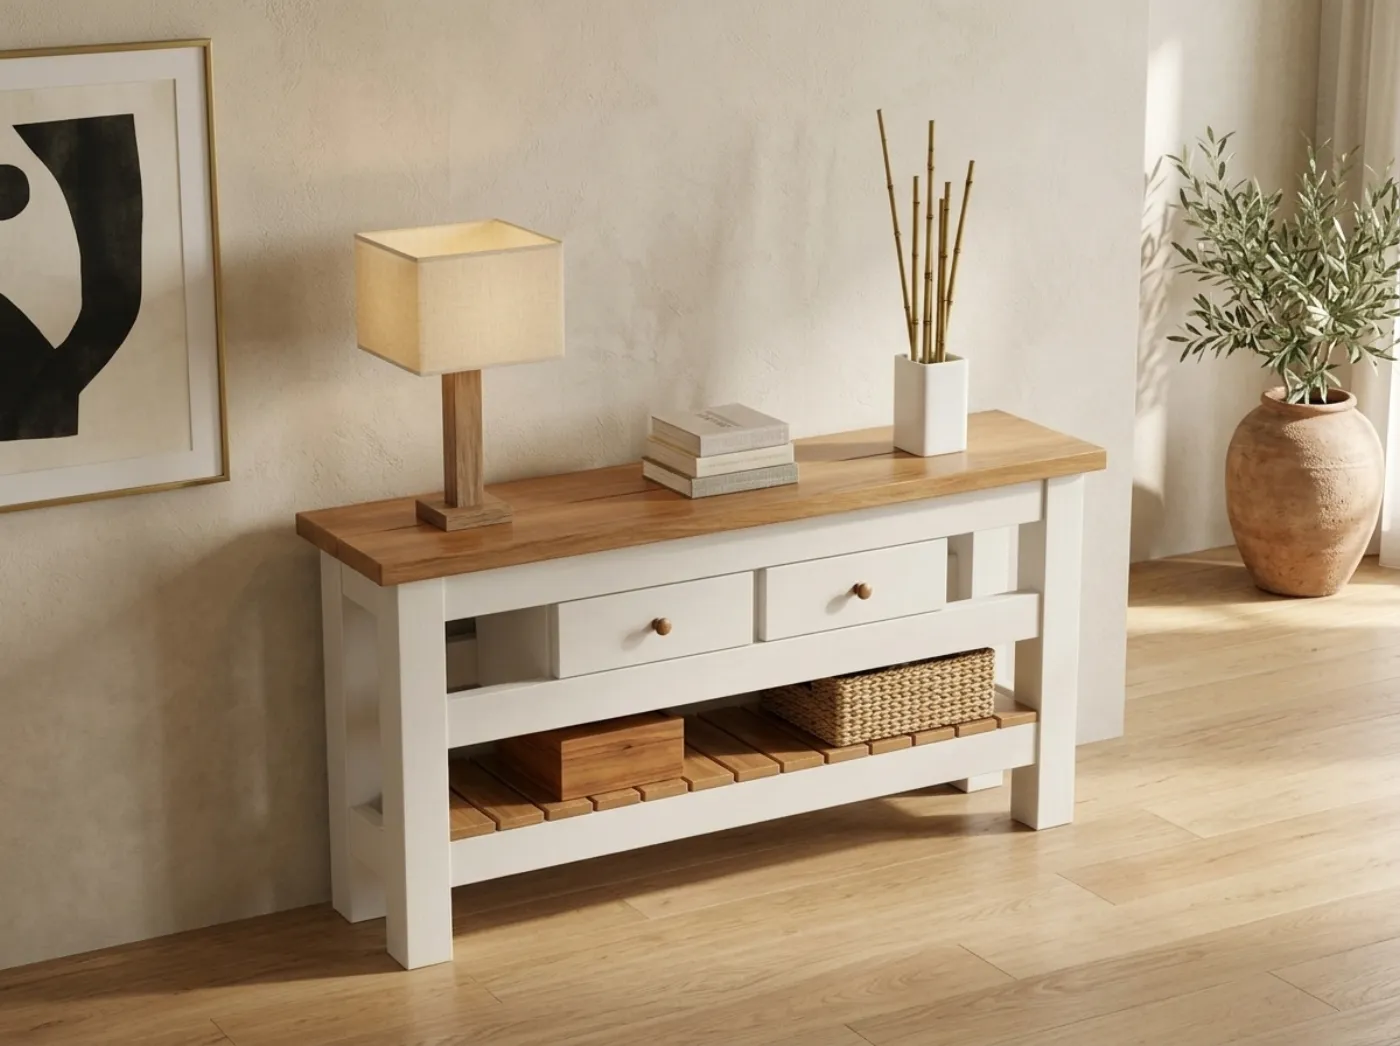
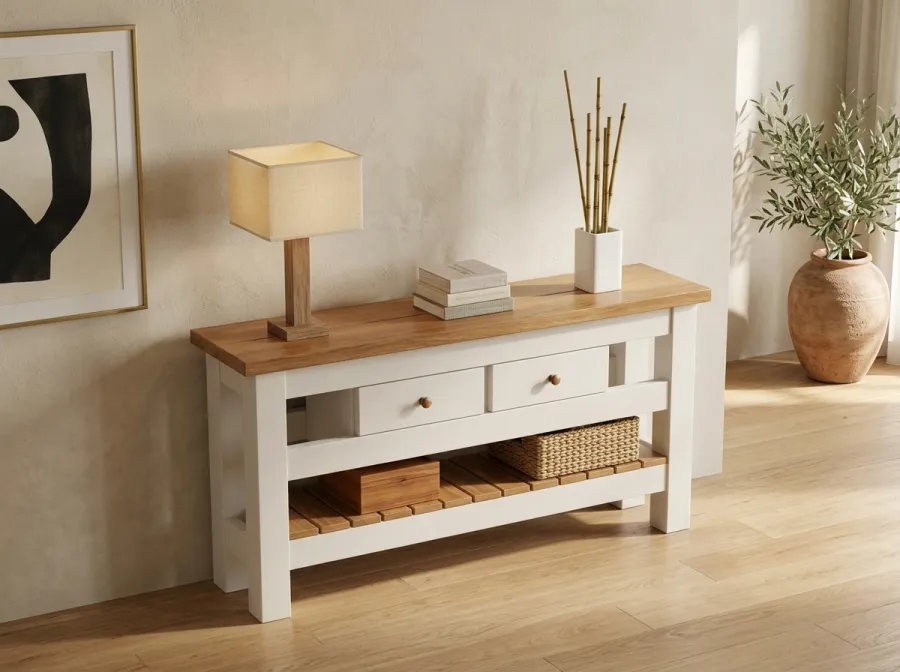
A 60 in farmhouse console table with a thick two-board top and a slatted lower shelf costs about $177 in materials to build, with a realistic range of $140 to $200. The 48 in version is about $161, the 72 in about $187, and a narrow 60 in hallway version about $155. Comparable finished consoles with thick plank tops and lower shelves, sold through catalog retailers and showrooms, run from about $599 to $5,330. That is a very wide range, and it tells you something: most of what a store version costs is not the wood.
Materials estimates are at typical US home-center prices and vary by region. They cover materials only, not tools you may need to buy.
Why the gap is so large
A console table is one of the best-value projects in furniture building. It uses a short list of boards, it is small enough to handle alone, and it needs few tools. The lumber for the 60 in version is five kinds of board, about $70. Fasteners add about $27. A good finish, filler and sandpaper make up about $66, which is more than the lumber itself. Add a nine dollar anti-tip kit and some glides and you are done.
The retail range most likely reflects differences in wood species, finish, construction and design, though we cannot say how any one maker prices its pieces. At $599 you are at the lower end of comparable finished consoles, and at $5,330 you are at the top. Even compared against the lowest figure, a DIY version at $140 to $200 costs a third as much or less.
The 60 in cost breakdown
| Category | What is in it | Estimated cost |
|---|---|---|
| Lumber | 4x4 legs, 2x8 top boards, 2x4 aprons and rails, 2x2 cleats, 1x4 shelf slats | $70 |
| Fasteners and glue | Pocket-hole screws, wood screws, wood glue | $27 |
| Safety | Anti-tip strap or wall anchor kit | $9 |
| Hardware | Adjustable glides or felt pads | $4 |
| Finish | Sandpaper, stainable filler, conditioner and stain or primer and paint, polyurethane | $66 |
| Total (60 in) | about $177 |
And across the sizes in the kit:
| Version | Size | Estimated materials | Range |
|---|---|---|---|
| 48 in | 14-1/2 in deep, 30 in tall | $161 | $130 to $180 |
| 60 in | 14-1/2 in deep, 30 in tall | $177 | $140 to $200 |
| 72 in | 14-1/2 in deep, 30 in tall | $187 | $150 to $220 |
| Hallway 60 in | 9-1/4 in deep, 30 in tall | $155 | $120 to $180 |
Going from 48 in to 72 in adds only about $26, which makes the bigger table a cheap upgrade if your wall allows it.
The optional pair of drawers is not in these totals. The drawer kit adds two drawers on 10 in side-mount slides that you buy separately, so add the cost of the slides and any pulls to your own budget.
Build versus buy
What a store version gives you. A finished console arrives assembled or nearly so, with a consistent finish, and perhaps a warranty. You can see the color in person. For someone who needs a table by Friday and has no tools, buying makes sense.
What the DIY version gives you. A table sized to your wall, and you control the depth, the length and the finish. The lumber top, two 2x8 boards laid flat, is genuinely thick and solid, because it is solid lumber and not veneer. The result is sturdy, repairable and easy to refinish. It also costs a fraction of the finished price.
What you give up. A factory finish. Softwood dents more easily than the hardwood used in premium pieces, and some people like that worn look while others do not. You also give up a few hours.
The fair conclusion. With a $70 lumber bill and a total under $200, it is hard to find a reason to buy unless you need the table immediately, do not want to finish wood, or want a specific hardwood. This is one of the clearest wins in the whole set of plans.
What moves the price
Finish is the biggest swing
At $66 of $177, finish is more than a third of the bill. The estimate assumes a stain or primer and paint, a polyurethane topcoat and stainable filler. Skipping stain and using only a clear coat reduces the cost. Using a cabinet-grade paint adds to it. You can use a pre-stain wood conditioner on pine to avoid blotching, and a water-based polyurethane for the topcoat.
Wood species
The estimate uses No. 2 or better common lumber. Upgrading the top to a hardwood or to select-grade pine raises the cost of a board that is only about $15 to $17 in the estimate, so even that is a small effect on the total. The 2x8 top boards are 10 ft and 12 ft long in the 48 and 60 in versions respectively, and the cost per board is modest.
Fasteners
The plans use pocket-hole screws and glue for the frame, plain screws for the top and the shelf slats. The estimate assumes a pocket hole jig if you have one, and the plans say plain screws also work if you do not. Coarse-thread pocket hole screws 2-1/2 inch are the type the plans call for in softwood.
Glides
Four adjustable glides cost around $4, and they let you level the table on an uneven floor. Adjustable furniture glides are a small upgrade over felt pads.
The hard parts and how the plans handle them
The thick top. Two 2x8 boards laid flat, edge-glued, produce a top about 14-1/2 in deep and 1-1/2 in thick. The glue-up needs flat boards and clamps. Pick the straightest boards in the stack and arrange the grain so the top is not cupped. The plans specify glue, cleats and the fastener schedule, and the top attaches to 2x2 cleats so it can move with the seasons. A few bar clamps are the one tool most beginners need to add.
Square legs and aprons. Four 4x4 legs with 2x4 aprons and shelf rails on edge are joined with glue and pocket screws. Keep the assembly square by checking diagonals before the glue sets.
The slatted shelf. 1x4 boards go on the two shelf rails with #8 x 1-1/4 in screws. The plans give slat gaps, so cutting a spacer block saves measuring each time. A solid shelf option is also described.
Hiding pocket holes. Pocket holes on show faces and screw heads are filled with stainable filler. A stainable wood filler is used so the stain looks even.
The plans’ design check. Every member (top, aprons, shelf rails, slats, legs and the tip-over check) is checked against a stated load. These are generic DIY plans, not engineered drawings, so use judgment if you plan to load the table heavily.
A finishing plan that keeps the cost down
Because finish is the biggest line, it is worth planning. Sand through 80, 120 and 220 grit by hand or with a block, as the plans’ sandpaper assortment suggests, and spend the most time on the top, where every scratch will show under stain. Fill the pocket holes that land on visible faces, let the filler dry fully, and sand it flush before you stain. Pine and fir blotch, so condition first. Then apply the topcoat in thin coats rather than one thick one, sanding lightly with fine paper between coats. A quart of each product covers this table, according to the estimate, so there is no need to buy a gallon unless you are building several pieces. If you prefer a painted look, prime first and use a durable cabinet enamel, and keep the top in a clear coat if it will see drinks and keys.
Where a console works
The three full-depth sizes suit behind a sofa, along a living room wall or in a wide entry, and the lower slatted shelf holds baskets, books or shoes. The narrow hallway version, at 9-1/4 in deep, fits corridors where a deeper table would be in the way. Because the top is two thick boards and the legs are 4x4, the table is heavy and stable, which makes it good for a lamp and a few objects. Measure the wall, the baseboard and any outlet or vent the back apron could cover before you pick a length. If you are putting it behind a sofa, check the height against the sofa back; the table in the plans is 30 in tall.
Safety: anchor it
A console table is not tall, but it can still be pulled over by a child climbing on the shelf, especially with a heavy lamp or a mirror on top. The plans include an anti-tip and safety sheet and an anti-tip strap or wall anchor kit in the shopping list. Screw it to the back apron and into a wall stud. A furniture anti-tip strap kit is cheap insurance, and it is built into the $177 estimate.
Time, tools and skill level
The plans suit beginners and home builders comfortable with a circular saw, a drill and a clamp. A console is the sort of first project that teaches glue-ups, square assembly and finishing without a large lumber bill. You will need a saw, a drill, clamps, a tape and a square, and sandpaper. A random orbital sander helps with the top, which is the visible surface. The plans do not state an hour count; with glue-up and drying, many builders spread this over a weekend, but your pace will vary.
Sizes available
Three lengths come in one kit: 48, 60 and 72 in, each about 14-1/2 in deep and 30 in tall. A narrow hallway version is 60 in long and 9-1/4 in deep, with one 2x10 top and 2x4 legs, for tight entries. The optional drawer kit adds two drawers to the three full-depth tables. Pick the length to match your wall, and leave a few inches of space at each end so it does not look squeezed.
Is it worth building?
For almost anyone with a saw and a drill, yes. Consider the economics: about $177 for a table that finished versions sell for $599 and up. If you want to see how it compares with other projects, the build-cost hub lays out estimates by project, and the console is among the cheapest.
Where to go next
The Farmhouse Console plans cost $9.99 and run 95 pages. They include a plan selector, dimensioned drawings, a cut list and materials list for each length, a pocket-screw and glue schedule, finishing guidance and a solid shelf option, anti-tip guidance and a budget planner. If you are planning more rooms, the complete collection bundles every plan for $129. Measure your wall, choose a length, and see the console plans for the full shopping list.